WordPress Plugin: Create a Custom Login Screen With The Login Designer

You've probably created custom WordPress login screen for at least some of your clients. It sure wasn't precisely super-easy. With the free Login Designer, you'll be able to do this much faster from now on.

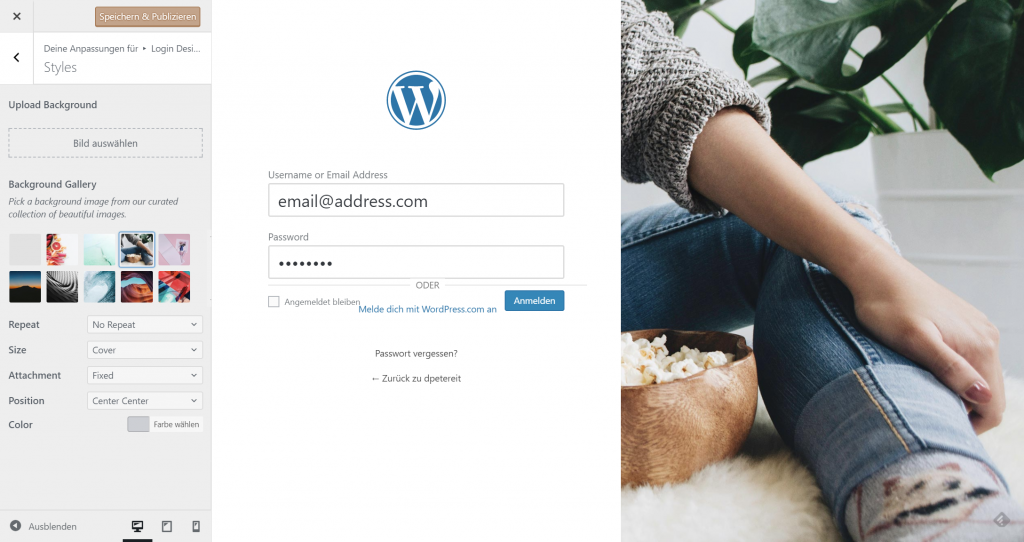
The New Login Screen is in the Works in the Customizer. (Screenshot: Noupe)[/caption] Once you've arrived in the backend, switch to
The Final Result is More Interesting Than the Boring Default Screen. (Screenshot: Noupe)[/caption] After a training period of five minutes, you'll already be able to create your custom login screen. As with other theme changes, you can save and publish your adjustments by clicking the designated button in the top left of the Customizer.
Good Idea: Adjusting the Login Screen Via Theme Customizer
The unique thing about Rich Tabor's new WordPress plugin Login Designer is the fact that it seamlessly ties in with the WordPress Theme Customizer. This way, customizing your login screen works the same way as it already did with the theme. I would even go as far as saying that the Login Designer allows any tard to build a nice login screen. It's that simple. So, what can you, as a professional, get out of the tool?How to Get the Login Designer
Download the Login Designer for free on Rich Tabor's website ThemeBeans. Visit the linked page, and click onFree Download in the top right. This opens an overlay where you can enter an email address that Rich will send a download link to.
Shortly after, you'll receive the according email. It contains the download link. Clicking it starts the download of the 2.6 MB zip archive with the Login Designer inside. Remember the zip's storage location, and log into your WordPress installation.
[caption id="attachment_103514" align="aligncenter" width="1024"]
The New Login Screen is in the Works in the Customizer. (Screenshot: Noupe)[/caption] Once you've arrived in the backend, switch to
install > plugins. There, click on upload plugin in the top left, then click select file. Now, open Explorer, Finder, or your file tool of choice, go to the storage location, and select the archive login-designer.zip. Back in the backend, click on install now and be patient. In a short time, WordPress declares "mission accomplished", and offers to activate the plugin, which you confirm.
By now, the Login Designer has found its way into the WordPress plugin index, allowing you to install it right from within the repository via the backend. Both approaches lead to the same result.
First Steps With the Login Designer
Under the menu itemDesign, you'll find the sub-item Login Designer. Clicking on it opens the Theme Customizer, which the Login Designer has been tied in with, and shows you your current login screen.
To help your creativity, the Login Designer comes with two different templates, one of them in the popular dark style. The additional templates are not needed, though, as the Theme Customizer's tools let you work right within the preview, and a click on each screen element opens the corresponding editing options.
[caption id="attachment_103515" align="aligncenter" width="1024"]
The Final Result is More Interesting Than the Boring Default Screen. (Screenshot: Noupe)[/caption] After a training period of five minutes, you'll already be able to create your custom login screen. As with other theme changes, you can save and publish your adjustments by clicking the designated button in the top left of the Customizer.

Nice post! Thank you.