How to Create Custom WordPress Widgets

Aside from plugins, custom WordPress widgets are another great way of adding useful features to your WordPress. While most of the time, plugins provide specific features for the website, like displaying related articles, for example, widgets extend the possible features for your theme's widget areas. You can think of many interesting features here, for example displaying an "about me" box or your latest tweets. In this article, we'll use two examples to show you how you can easily create custom WordPress widgets.
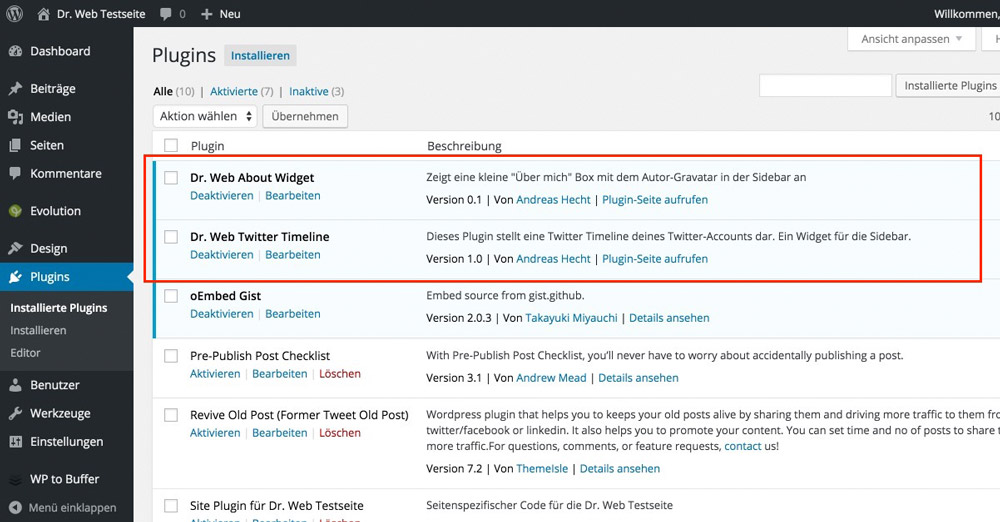
 As the widget is also handled like a plugin, there is no way around having a plugin header. When this step is forgotten, the widget will not appear in your WordPress' plugin area, and thus, can't be activated. With a header, however, it appears in the overview.
 The Widget's Settings
 The Final Result on the Website

 The Widget's Settings
 The Final Result on the Website

What are WordPress Widgets and Why Should You Know That?
WordPress Widgets add content and additional features to your widget areas. There are plenty of options, as widgets can be placed in many different areas of a theme, for example, in the sidebar, the footer, or in particular widget areas within your theme's special landing page. The features that can be provided are just as diverse as the possible placements.If You Develop Themes, You Should Also Provide Widgets
Many people that deal with WordPress in-depth plan on creating their own themes at one point in time. The logical evolution of that is offering features via widgets. Generally, it's a lot better to provide additional functions via plugins and widgets, as then, these features can still be used after the theme has been changed. This is done for the purpose of user friendliness, which will surely be rewarded by your visitors.Developing WordPress Widgets - Getting Started
Those that plan on developing custom widgets should have knowledge in PHP. It's just like it is with theme and plugin development. In-depth knowledge in PHP always creates good results as long as you stick to the WordPress coding standards. The two widgets that I'll present here are both fairly straightforward, so even beginners should be able to work with them after a bit of practice. Further Information:- WordPress PHP Coding Standards
- WordPress Widgets
- WordPress Widgets API
- How To Build WordPress Widgets Like A Pro
- Creating Your Own Widgets Using Various WordPress APIs: Introduction
Developing WordPress Widgets - the Basics
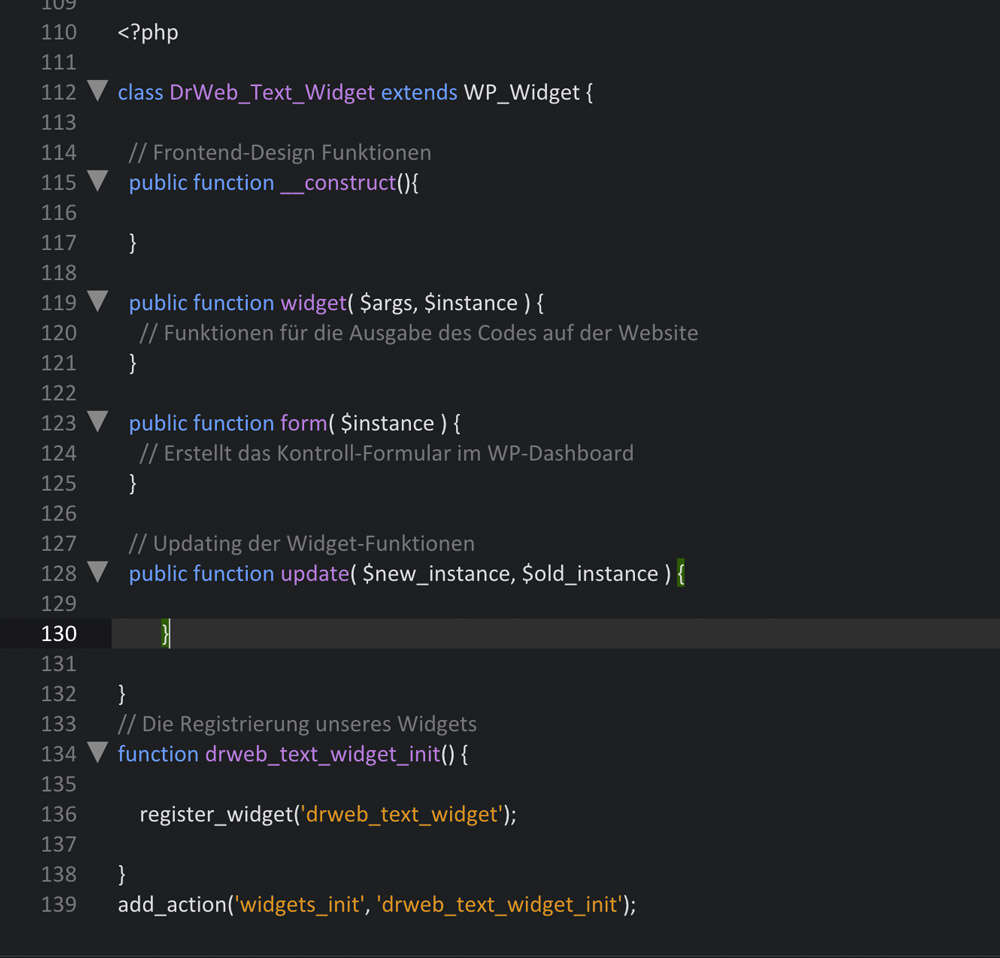
Since WordPress 2.8, widgets are set up by extending the widget class WP_Widget, which is unique to WordPress. Here, a widget is divided into five different basic areas: 1 - The Initialization - function __construct(). Here, the widget's ID, name, and description are defined. Additionally, we can also set the default options in this area. Also, when JavaScript or stylesheets need to be referenced, the required function also comes from this area. 2 - The Frontend-Design - function widget(). This is the area into which the function for the disbursal of the code is placed. Thus, it's the widget's actual function area. 3 - The Backend-Design - function form(). The required features alongside the HTML for the widget's control area in the WordPress admin area go into this area. 4 - The Update of the Settings - function update(). As the name already gives away, the function for the validation and the update of the widget settings is stored. 5 - The Registration - function init(). The widget is registered in WordPress, and can thus be activated like a plugin. These five areas make up the core structure of a widget, as clarified by the following screenshot. One Click Opens the GitHub Gist
The Most Important Step - the Plugin Header
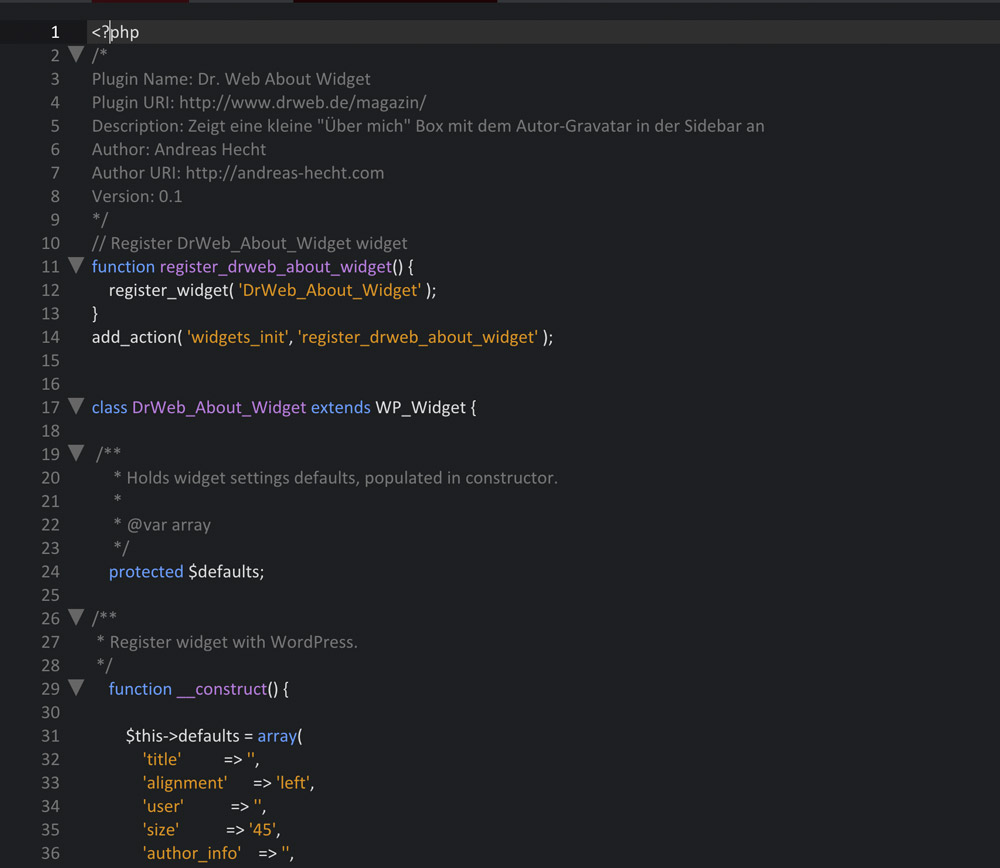
Before you can use your finished widget, it still needs a »Header«, so it can also be displayed in the plugin index under the menu item "Plugins". As the widget is also handled like a plugin, there is no way around having a plugin header. When this step is forgotten, the widget will not appear in your WordPress' plugin area, and thus, can't be activated. With a header, however, it appears in the overview.

Two Example Plugins Including Download
Often, examples are the best way to learn something. Thus, I chose two widgets as examples and rewrote them. The level of difficulty is suitable for beginners, the »About me« widget is kept simple, the »Twitter Timeline« widget is a bit more sophisticated, as it adds a JavaScript file to the footer when used. However, the Twitter widget is also to be considered a beginner widget.The »About me« Widget
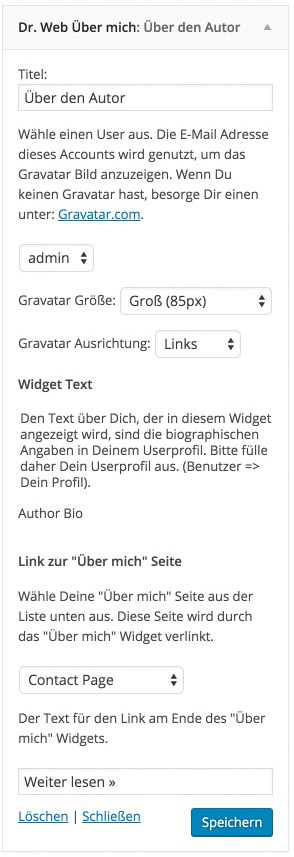
This small plugin creates a simple "About me" widget, which can display a text about you as well as a Gravatar. The size of your Gravatar can be adjusted, as well as the page that the widget links to. One Click Opens the Complete File on GitHub. The Widget's Settings
 The Final Result on the Website

The Twitter Timeline Widget
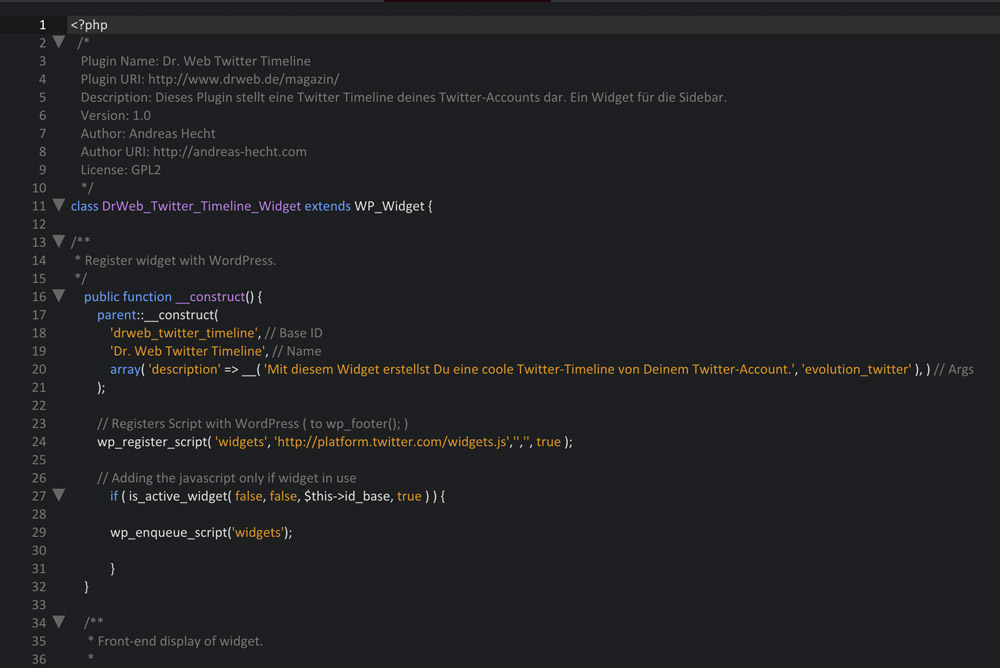
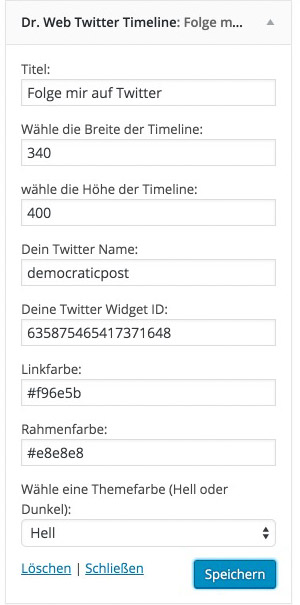
The Twitter timeline widget displays the popular Twitter timeline in the sidebar. This widget allows you to display your latest tweets in a rather appealing way. Additionally, your visitors can tweet you directly from within the application. You need a Twitter widget ID to be able to use the widget. This article (in German) explains how to receive it in a detailed way. One Click Opens the Complete File on GitHub. The Widget's Settings
 The Final Result on the Website

