Icons for Everyone: How to Use Font Awesome With WordPress
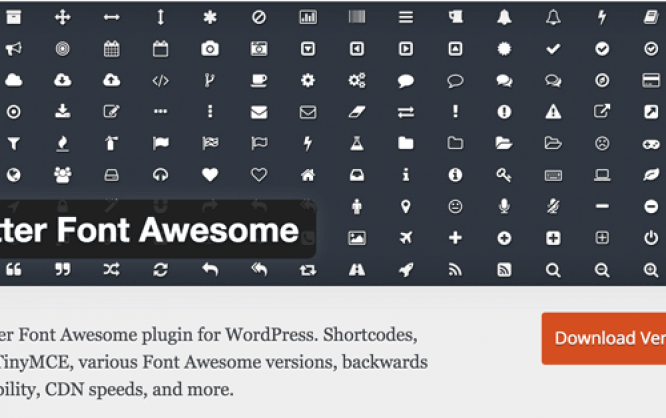
Font Awesome is one of the most popular icon fonts worldwide. By now, more than 60 million websites use the font to display pictograms in all colors and versions. These 60 million websites include whitehouse.gov, thebeatles.com, and washingtonpost.com. In this article, we'll show you how you can use the icons for your blog.
Currently, Font Awesome provides 634 pictograms for a whole load of applications. For example, it is possible to use them to create social follow icons, like I did on my blog.

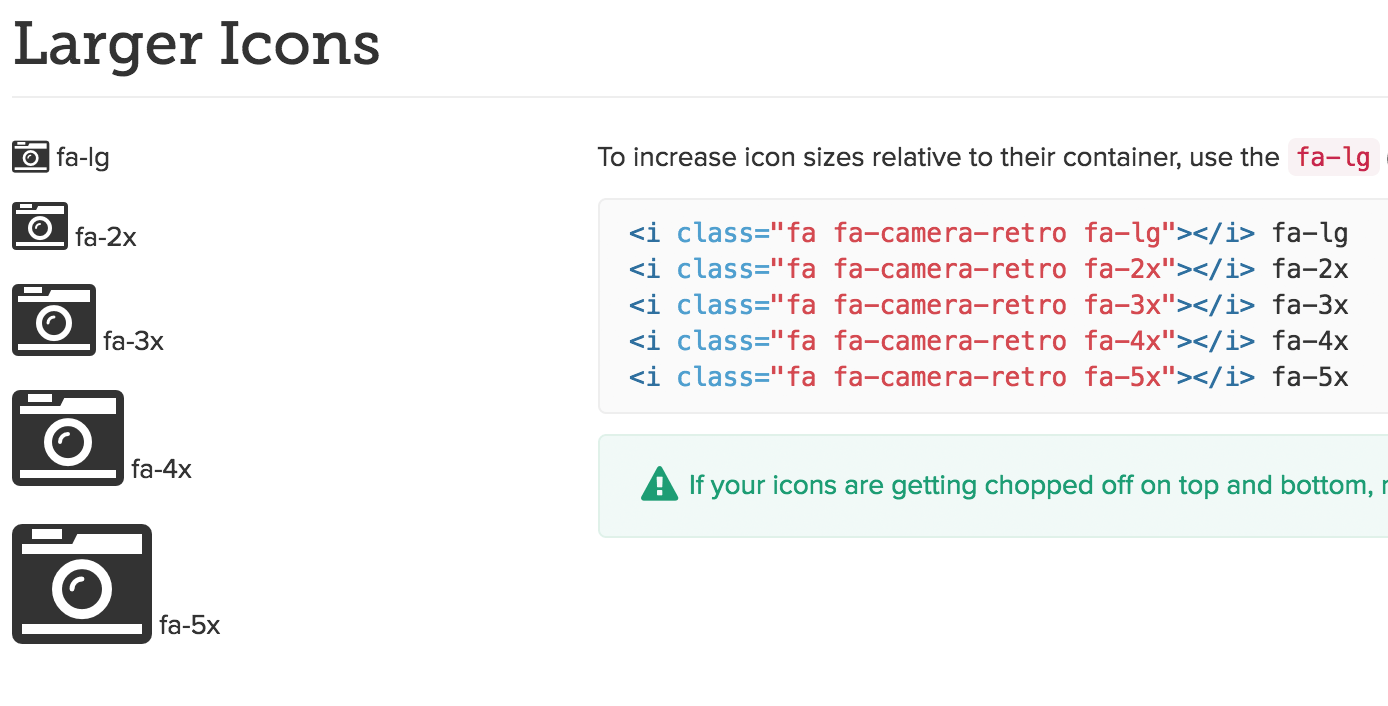 Adjusting the Icon Size is This Simple.[/caption]
However, you're not tied to the <i> tag, but also able to define and use the icons in the CSS. This is useful for areas that don't tolerate additional markup well. By the way, Less and Sass are supported just as well as pure CSS.
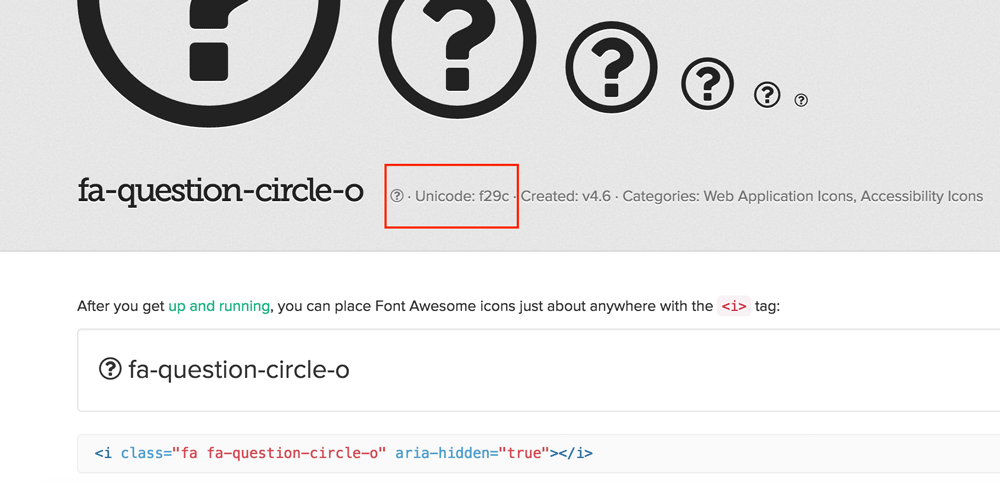
When you click an icon on the overview page of Font Awesome, you get to a page where the particular <i> tag is displayed. Above that, you'll also find the so-called Unicode, which is required for the use in the CSS file.
A part of my CSS for the social follow buttons (screenshot above) looks as follows:
https://gist.github.com/anonymous/791df49ad67685ccdfbf5558d657091b
Find the Unicode Here:
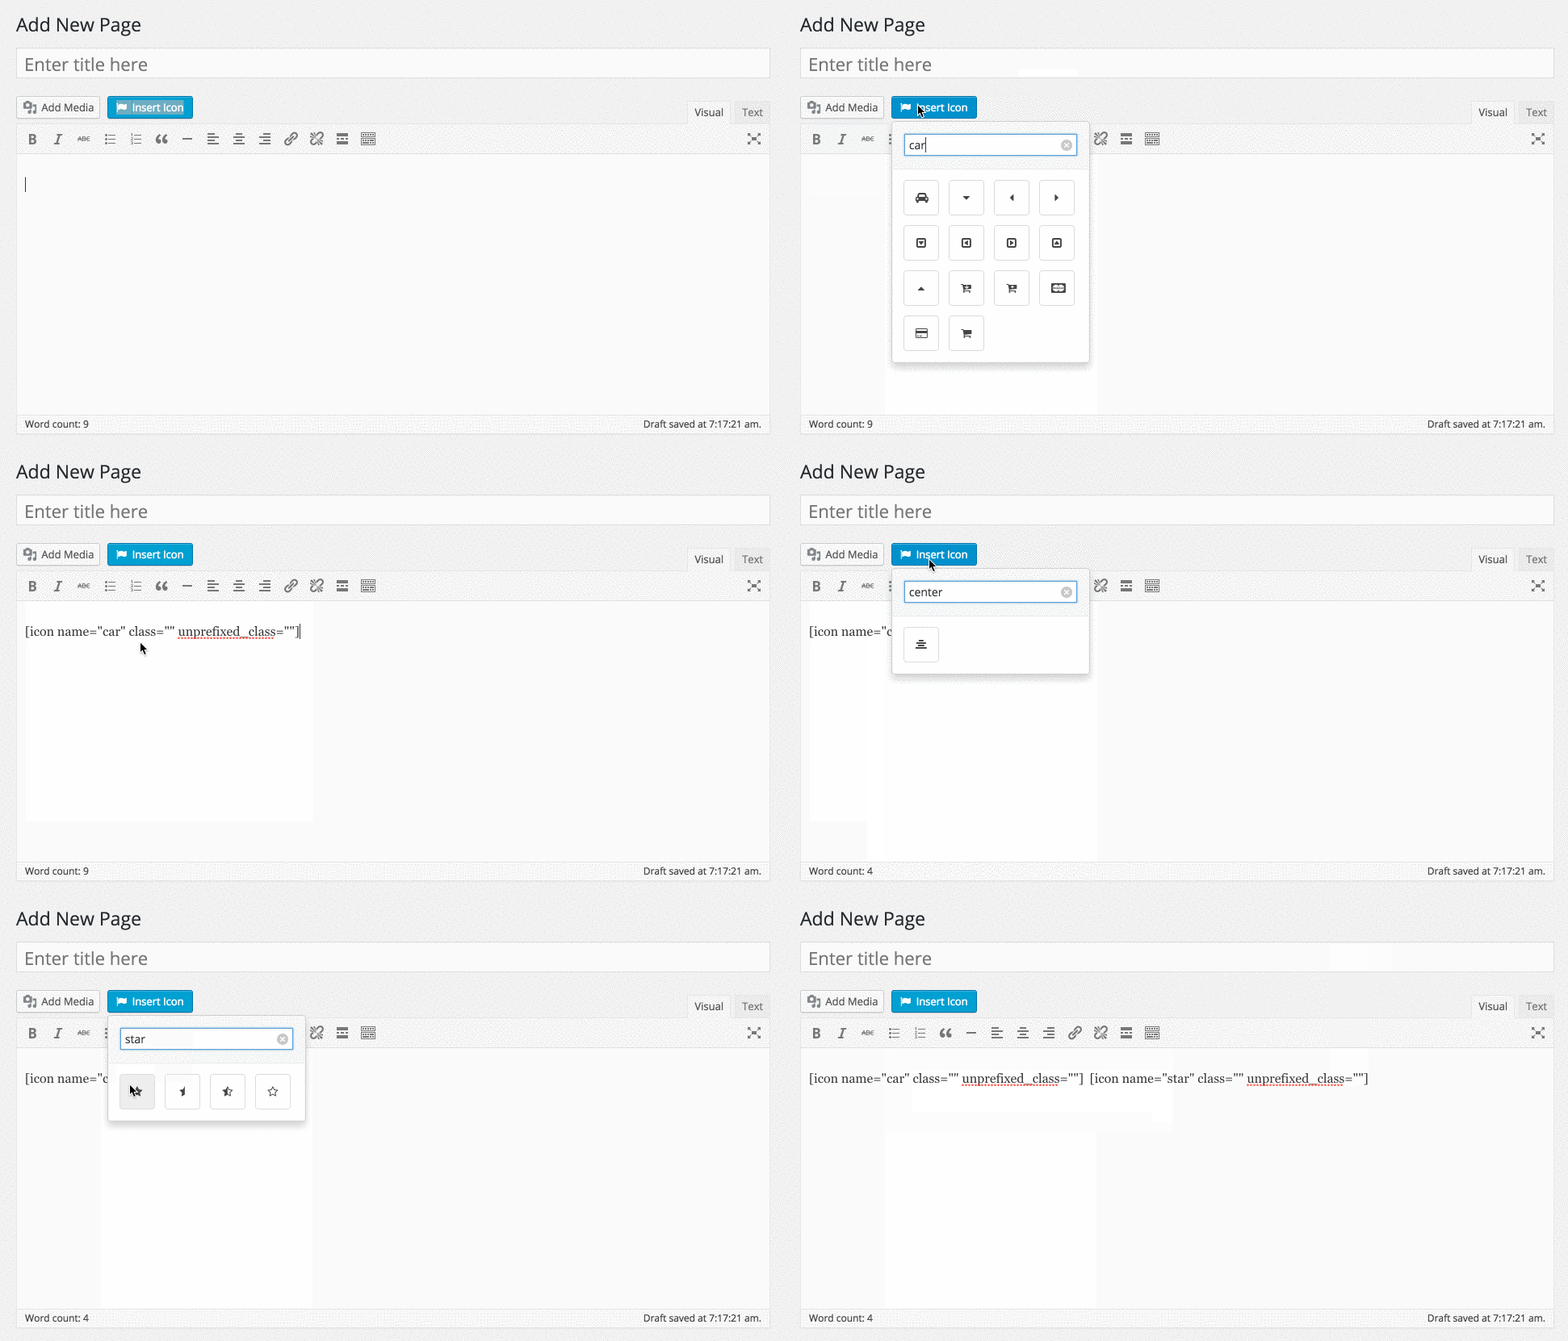 Number 2: Using Shortcodes
 Here, you can choose which version of Font Awesome you want to use. The newest version, currently version 4.6.3, is recommended. The second option makes for a compressed CSS file that loads faster. You should tick that off.
The third option makes it so that other Font Awesome files that are used by other plugins are removed from "Better Font Awesome." You should tick that off as well, as one version of the file is entirely sufficient.
The fourth area in the settings is a help for you if you want to use the shortcode or the HTML tag.
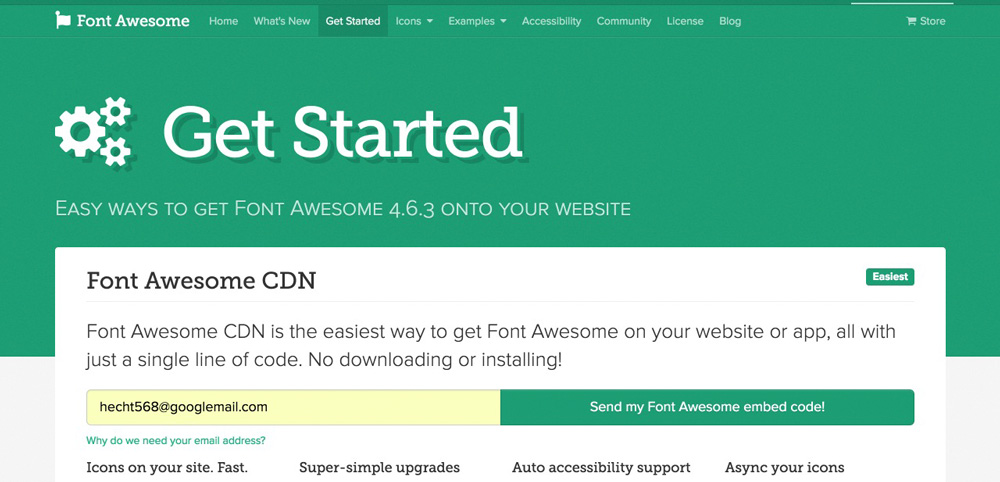 However, this code has a huge downside. Although you can make sure that the code is delivered asynchronously after the registration, it still loads rather slowly. I have tried it for this article, and I was not impressed. My website was 400 milliseconds slower than it is with a linked CSS file.
Thus, I can't recommend this variant.
The Advantages of the Icon Font "Font Awesome."
In comparison to used graphics, an icon font offers generous benefits. Icons can be scaled wonderfully, making it possible to display them in any desired size. On top of that, you can adjust them, so they have the colors you want them to shine in. This might be substantial for a business website if there is a corporate identity to stick to. Adjustments happen via CSS. Thus, everything that CSS can do is possible. Size, colors, text shadow, and much more are all possible. On the Following Page, You Get to Take a Look at All 634 Icons in an Overview.How to Use Font Awesome in Your Theme
There are two options how to use the font in your theme. I will present them to you one by one. Which method you choose depends on whether you like the easier way of using plugins or the more tedious manual work. Either way, you'll find the right method for you in this article.1 - Manual Work. We Only Link the CSS File
Before you get to use the icons, you need the CSS for the icon font. The CDN service provider KeyCDN has hosted the font on their servers. This way, a simple link to the file in your header's website is sufficient. A small code snippet that you need to copy into your theme'sfunctions.php takes care of that.
You can choose between two methods. Code number one links the CSS file in your blog's header. Code two is ideal if you want to optimize the speed of your website. Then, the file is loaded into the footer.
https://gist.github.com/anonymous/b4b2ce4d8af44503e501f70f86f3173b
https://gist.github.com/anonymous/27c9e331dd9a08a59cbc863bb31f4a17
Now, you are already able to use the icons. You have two options for the manual application. Option number one is the <i> tag, provided for each icon by Font Awesome. Take a look at plenty of examples on the example page.
[caption id="attachment_78218" align="alignnone" width="640"] Adjusting the Icon Size is This Simple.[/caption]
However, you're not tied to the <i> tag, but also able to define and use the icons in the CSS. This is useful for areas that don't tolerate additional markup well. By the way, Less and Sass are supported just as well as pure CSS.
When you click an icon on the overview page of Font Awesome, you get to a page where the particular <i> tag is displayed. Above that, you'll also find the so-called Unicode, which is required for the use in the CSS file.
A part of my CSS for the social follow buttons (screenshot above) looks as follows:
https://gist.github.com/anonymous/791df49ad67685ccdfbf5558d657091b
Find the Unicode Here:

Using the Icon Font in the WordPress-Editor
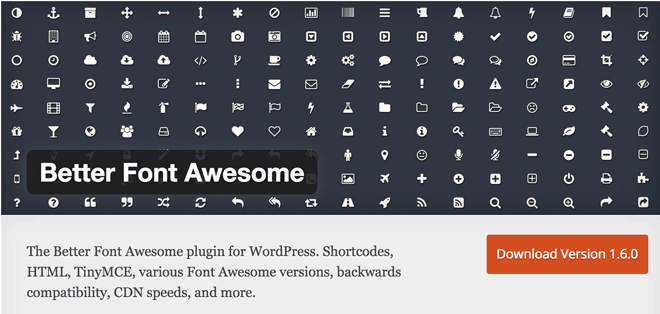
Of course, you can also use the neat icons directly within the WordPress editor when writing your articles. To do that, you have to pay the text area a visit and enter the corresponding <i> tag where you want it to appear. Visit the overview page of Font Awesome, pick an icon and click it. On the next page, you'll find the proper tag for that icon.2 - Easy Peasy, Using the Plugin »Better Font Awesome.«

- Developer: Mickey Kay
- Work in progress: yes
- Latest version from: 06.01.2016
- Costs: free via WordPress.org
- License: GNU GENERAL PUBLIC LICENSE
- Known compatibility issues: unknown
- Developer Homepage: Unknown
- Download on WordPress.org
 Number 2: Using Shortcodes
[icon name="flag" class="2x spin border"]Number 3: The Well-Known HTML-Tag
<i class="fa fa-check-square-o" aria-hidden="true"></i>
The Plugin Settings:
Find the settings under »Settings => Better Font Awesome«. Here, you can choose which version of Font Awesome you want to use. The newest version, currently version 4.6.3, is recommended. The second option makes for a compressed CSS file that loads faster. You should tick that off.
The third option makes it so that other Font Awesome files that are used by other plugins are removed from "Better Font Awesome." You should tick that off as well, as one version of the file is entirely sufficient.
The fourth area in the settings is a help for you if you want to use the shortcode or the HTML tag.
There's a JavaScript Version as Well
Right. It exists. You can enter your email address under the menu item "get started," to receive a JavaScript code that always keeps the icon font up to date. However, this code has a huge downside. Although you can make sure that the code is delivered asynchronously after the registration, it still loads rather slowly. I have tried it for this article, and I was not impressed. My website was 400 milliseconds slower than it is with a linked CSS file.
Thus, I can't recommend this variant.
