How to Create a Circus Tent in Adobe Illustrator
Today we will be learning how to create a cute circus tent in Adobe Illustrator. Get ready to use some basic tools such as Pen Tool and some quite useful Pathfinder features. We will create colorful balloons and flowers as well. The illustration can be used for multiply purpose such as Birthday invitations, Circus posters, etc.
Let us move from words to deeds!
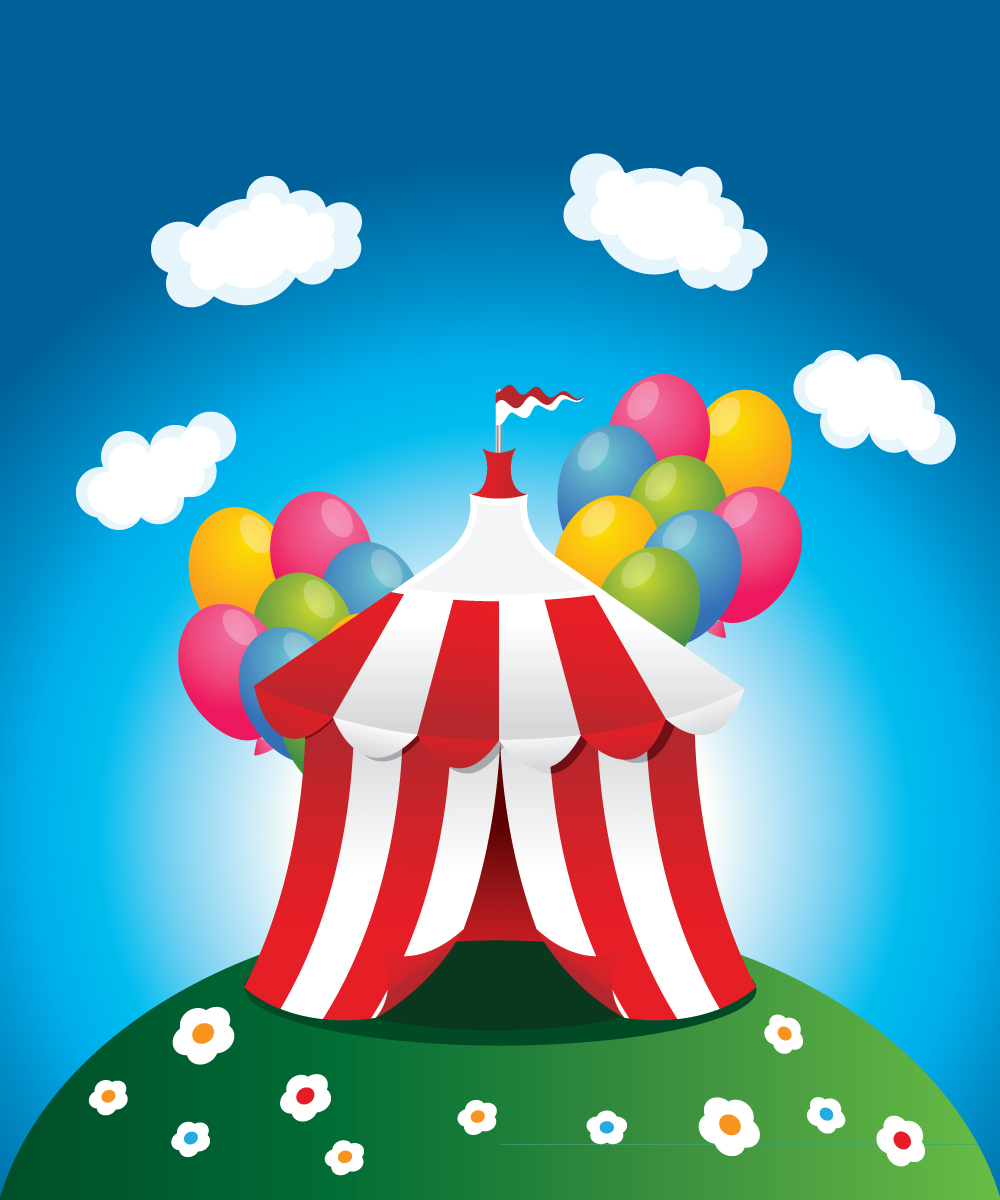
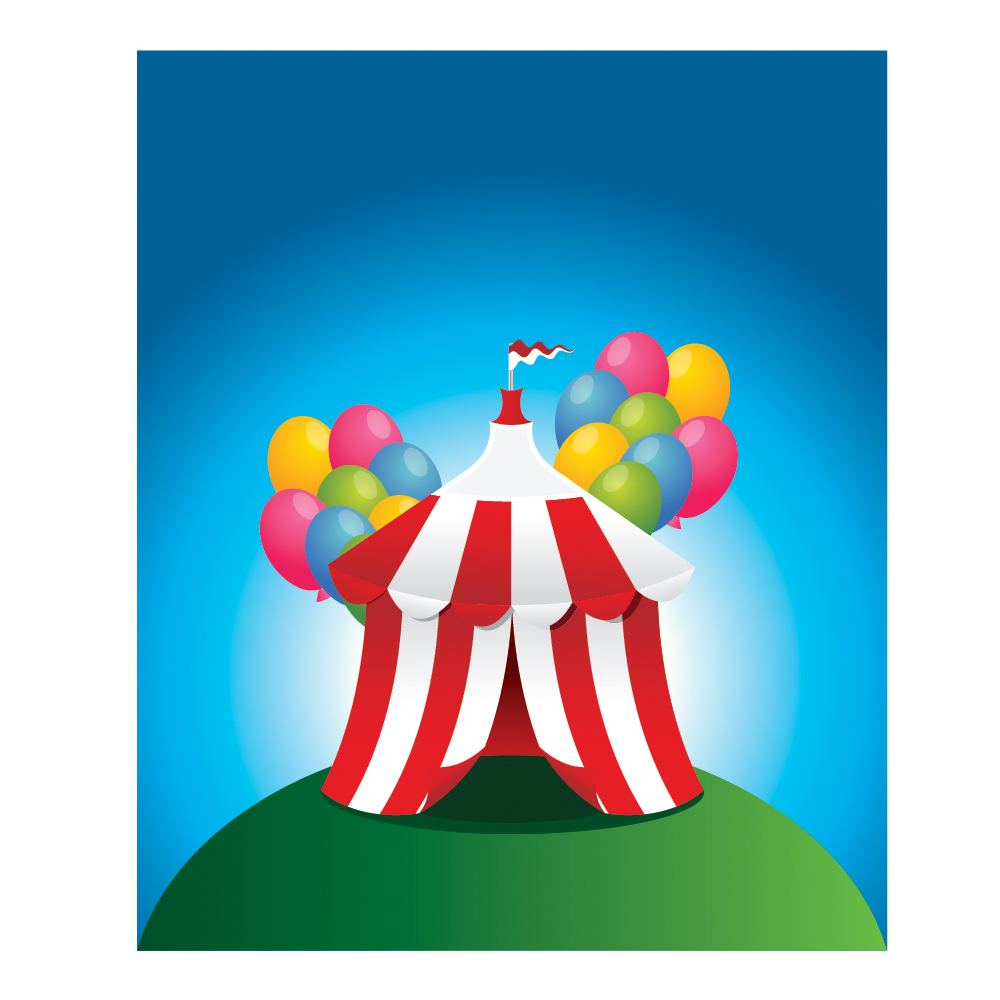
This is what we'll be creating.
 For the start, grab the Pen Tool (
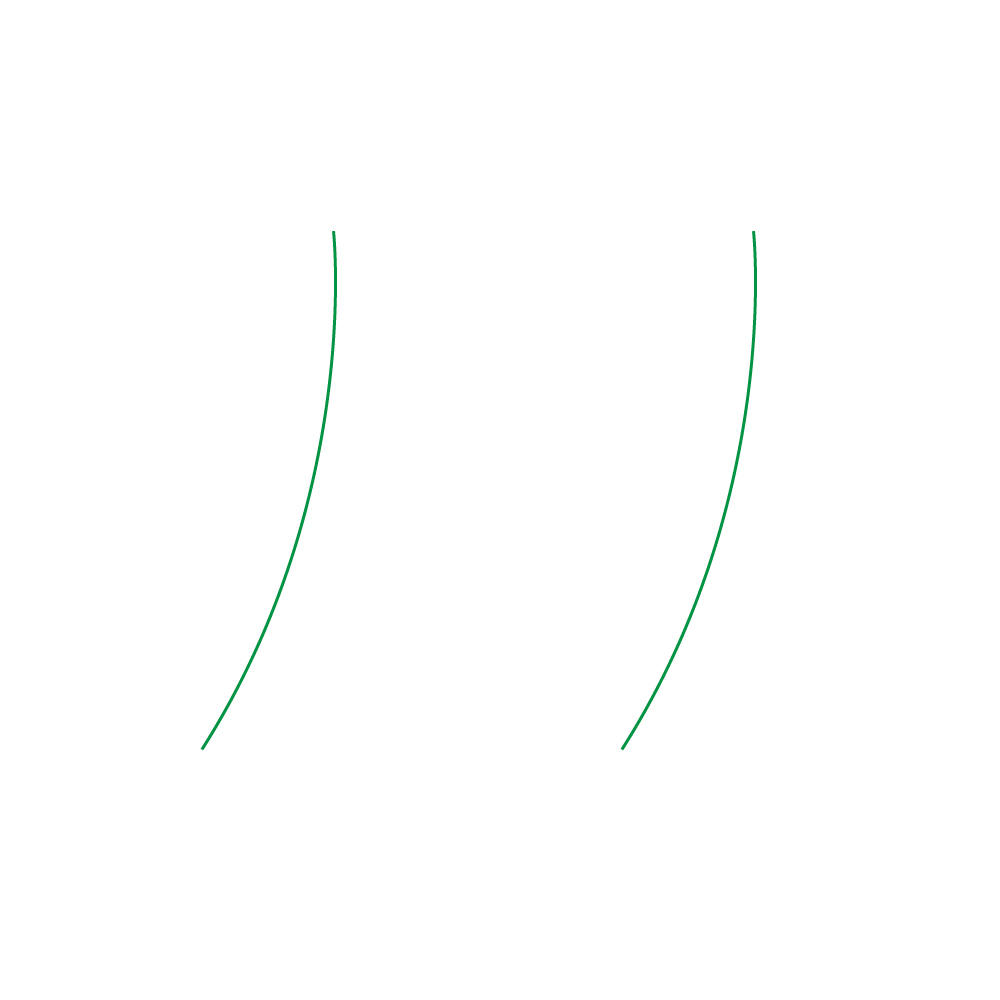
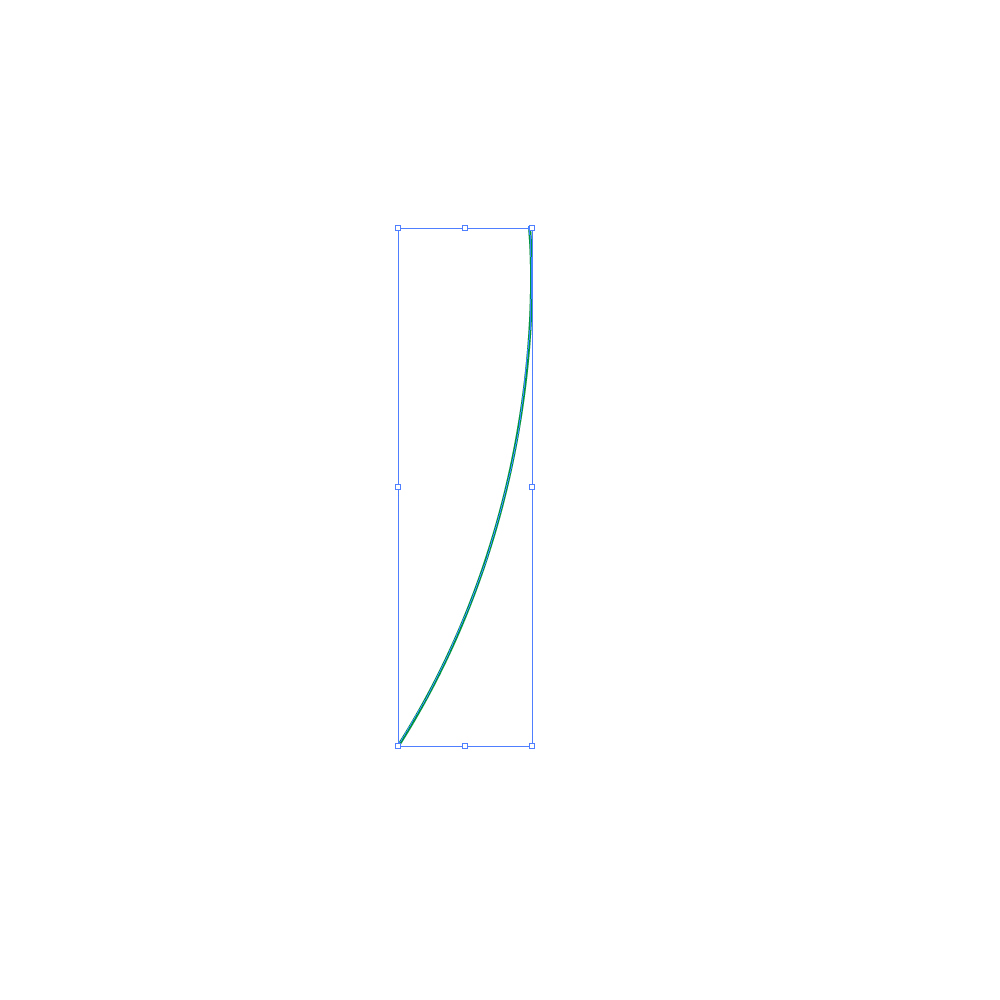 Holding the Alt key on the keyboard select the path and move it to the right. Don' t forget to hold the Shift key for the straight dragging. This way we will create the copy of the path. You should end up with something like this.
 Select the Pen Tool (
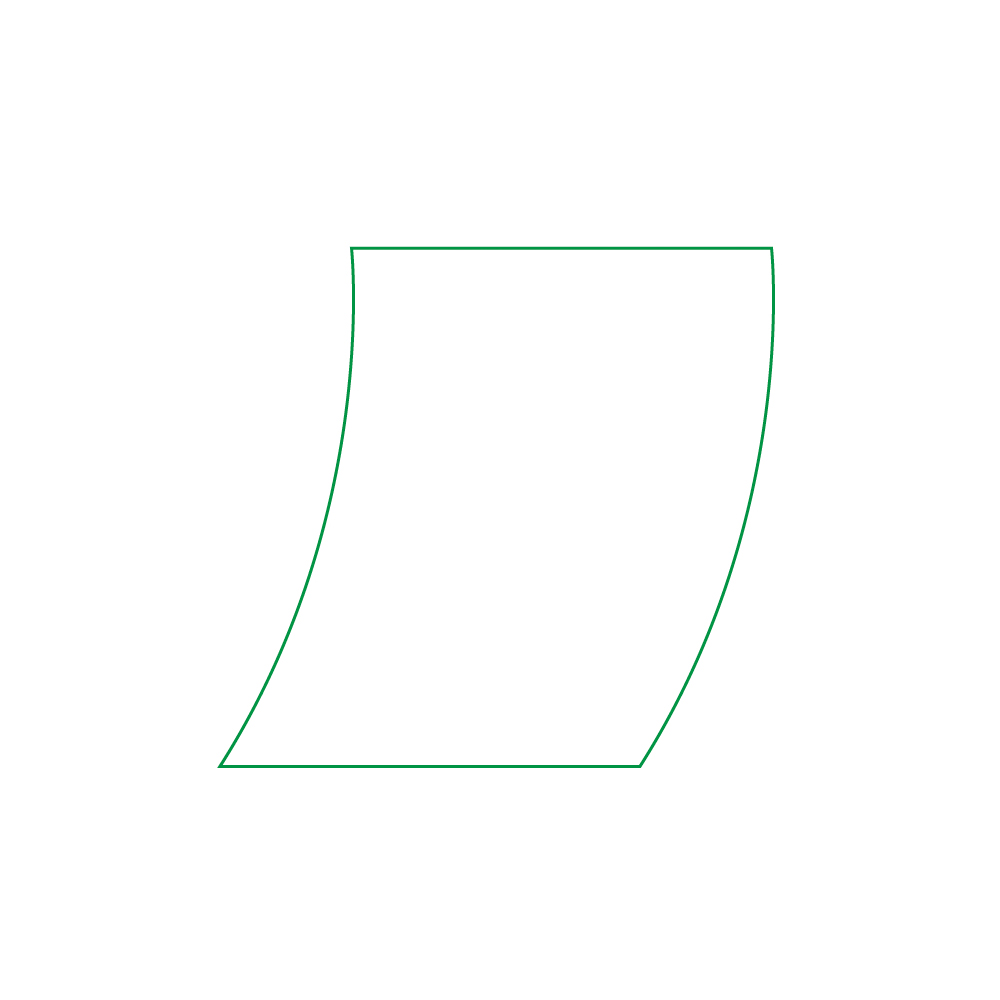 Select the Add Anchor Point Tool (
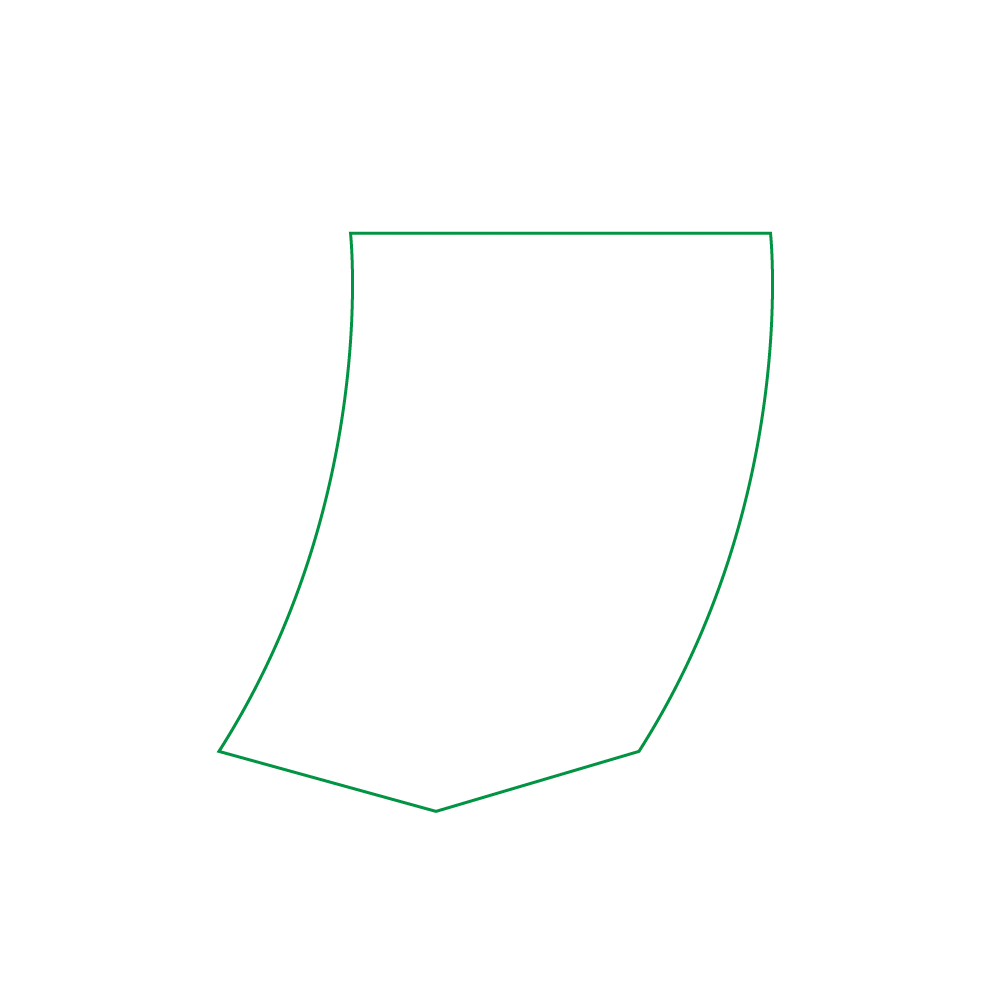
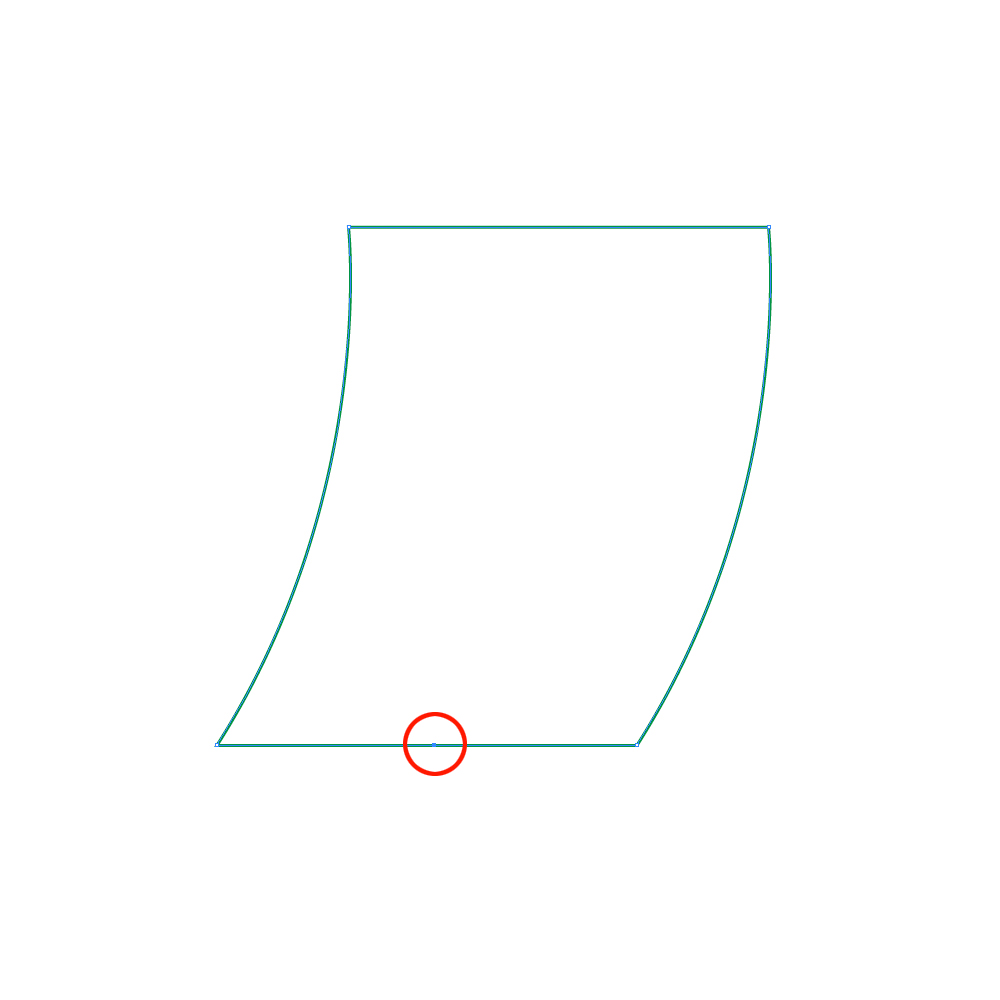 We need to nudge this anchor point few pixels downwards. To do that select the anchor point we've just created with Direct Selection Tool (
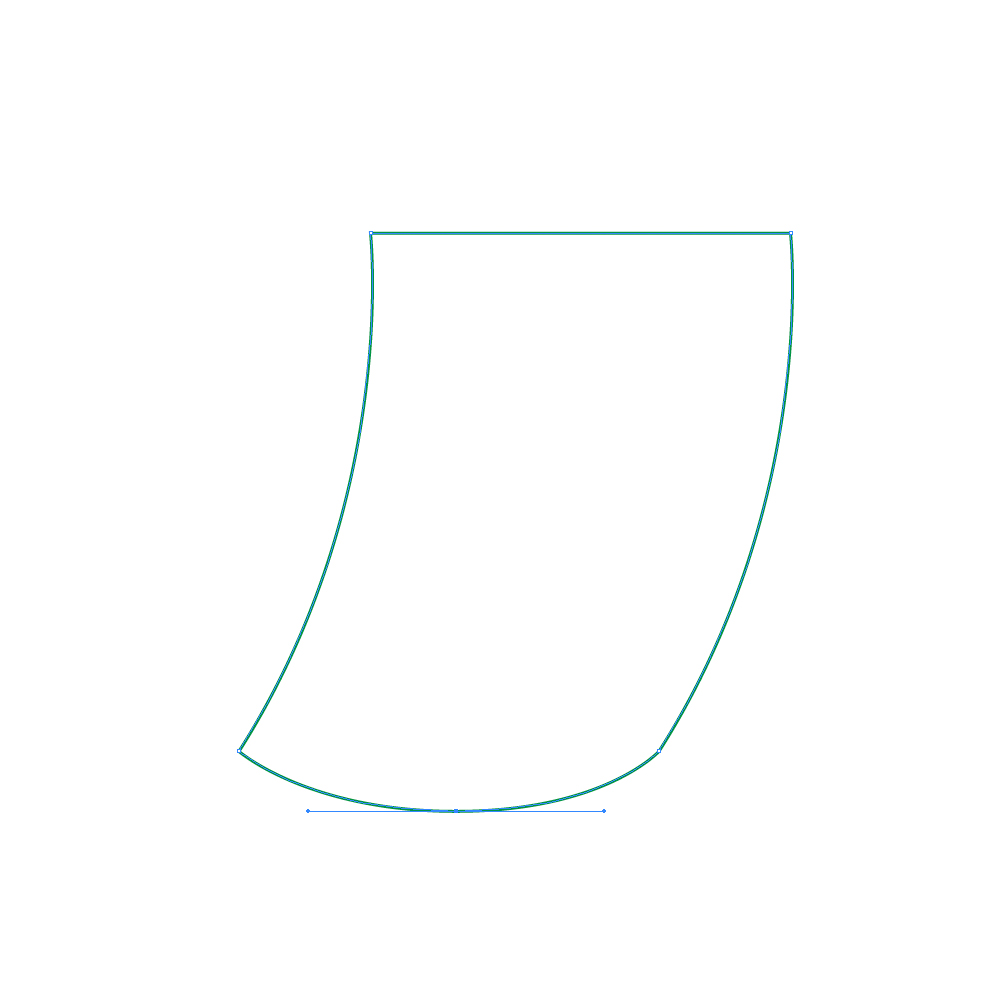
 Let's create a nice arc. Grab the Convert Anchor Point Tool (
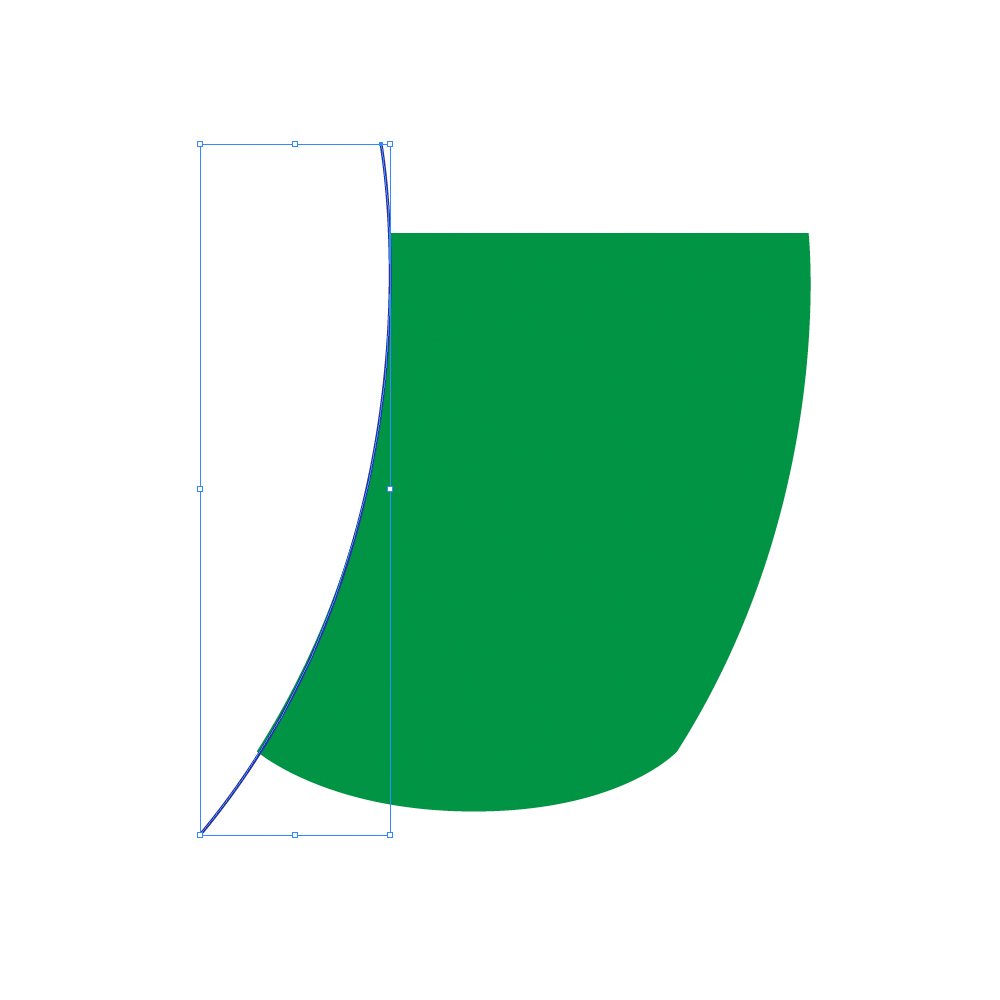 We have to create the copy of this path. Hold the Alt key on the keyboard and click on the path. Holding the Shift key on the keyboard (for straight dragging) move the copy to the right.
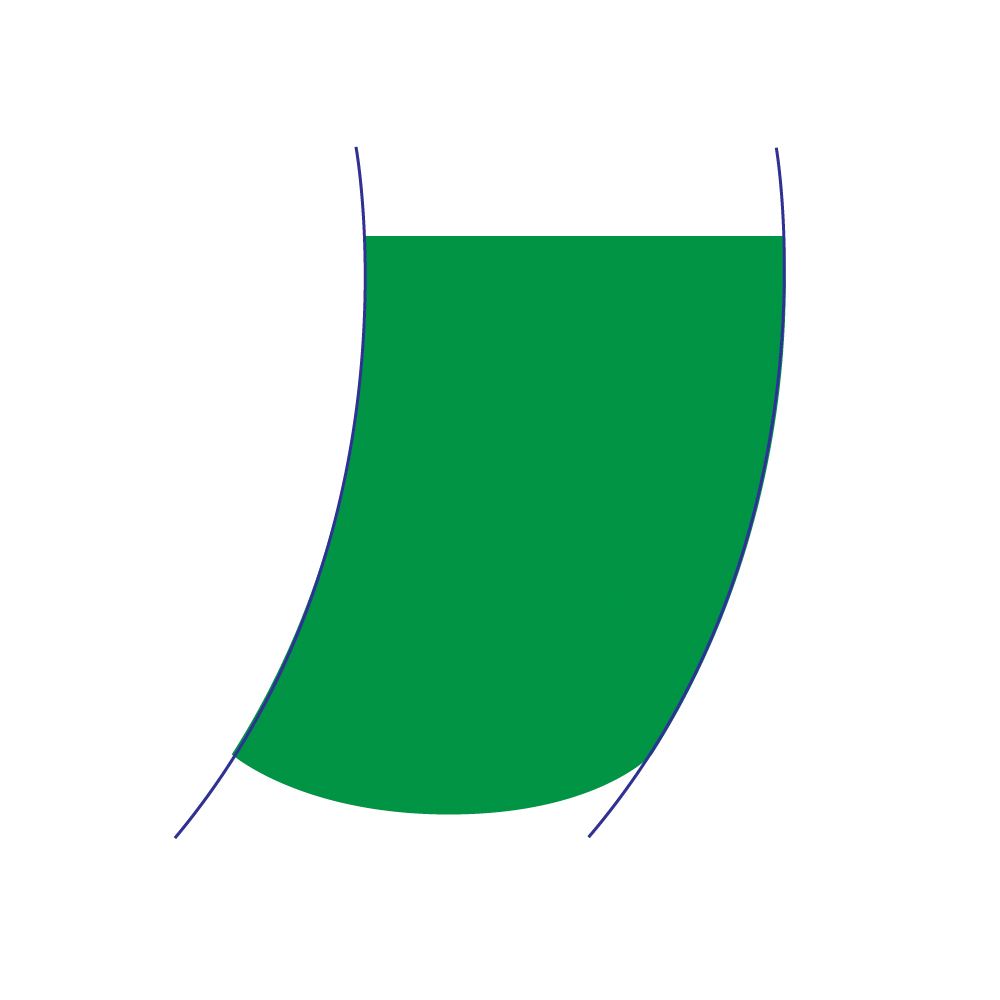 Select both paths and under the Object select Blend > Make.
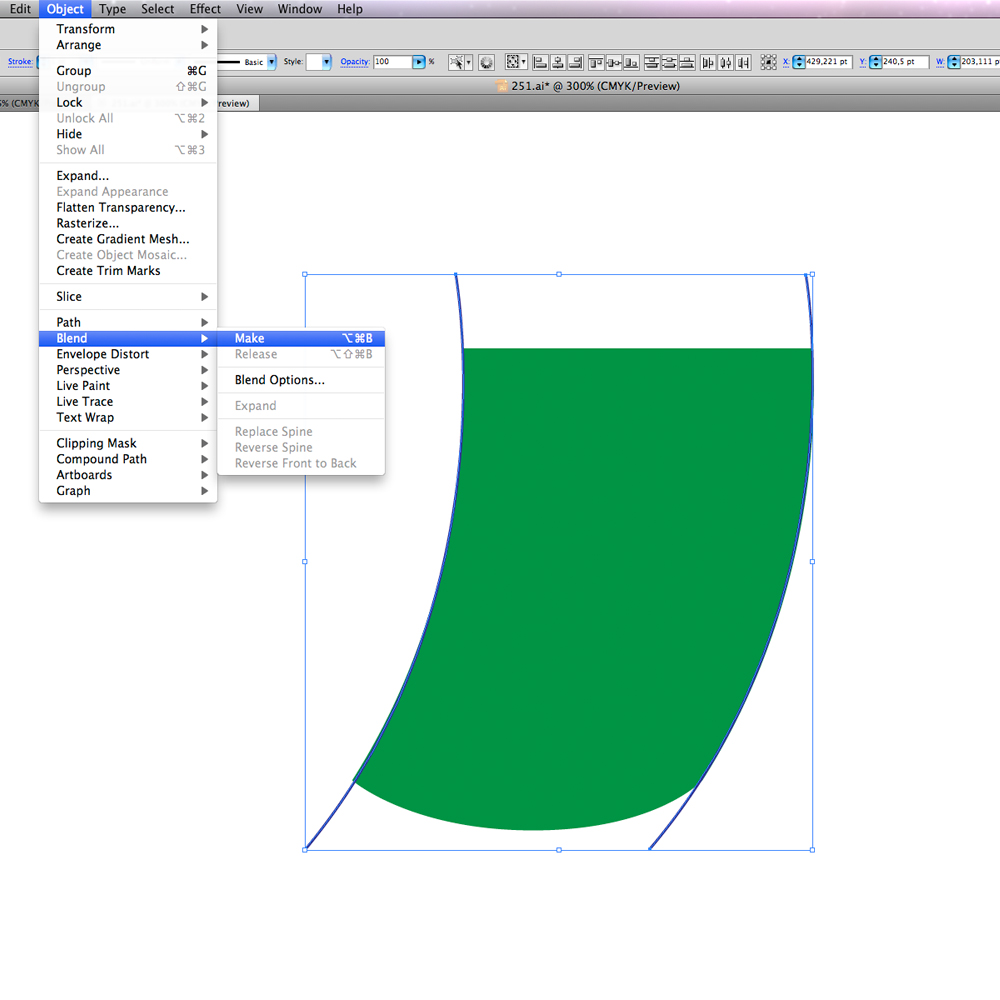 Under the Blend Options set the Spacing to Specified Steps and the value to
 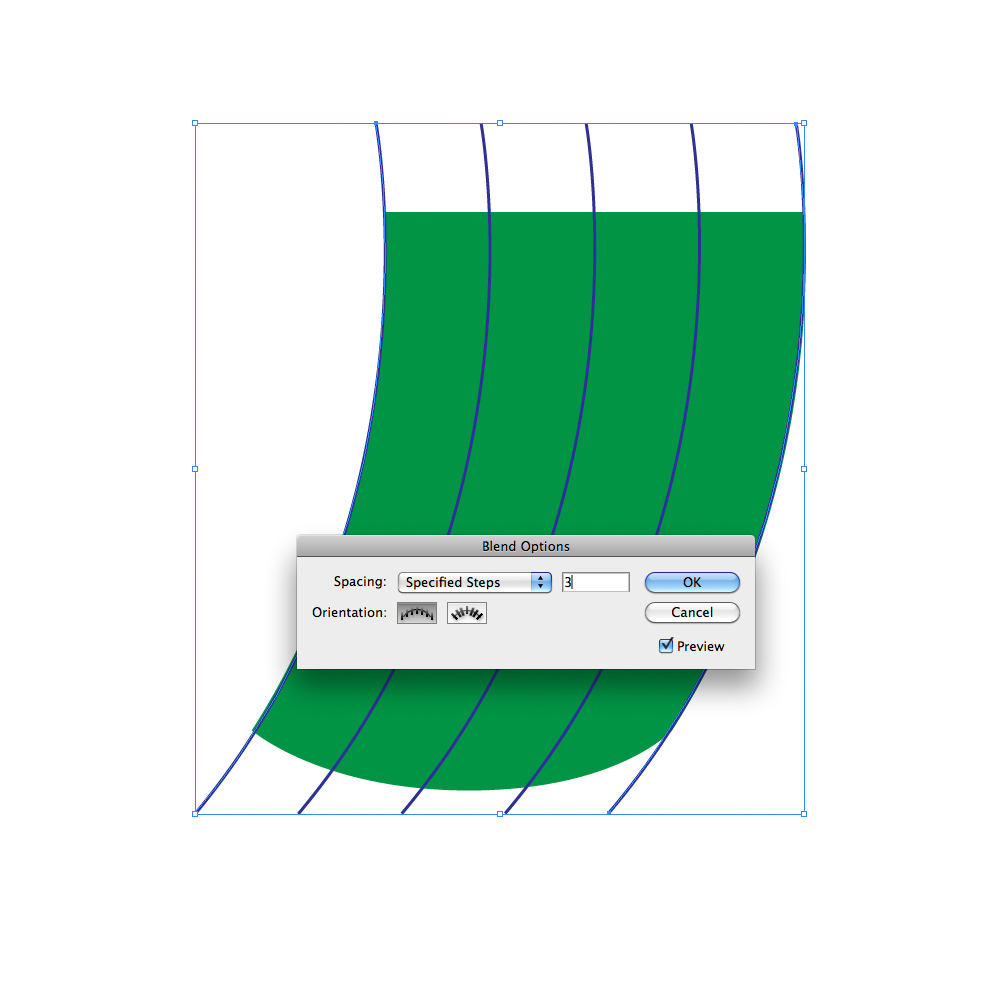 Under the Object select Expand and Ungroup (
 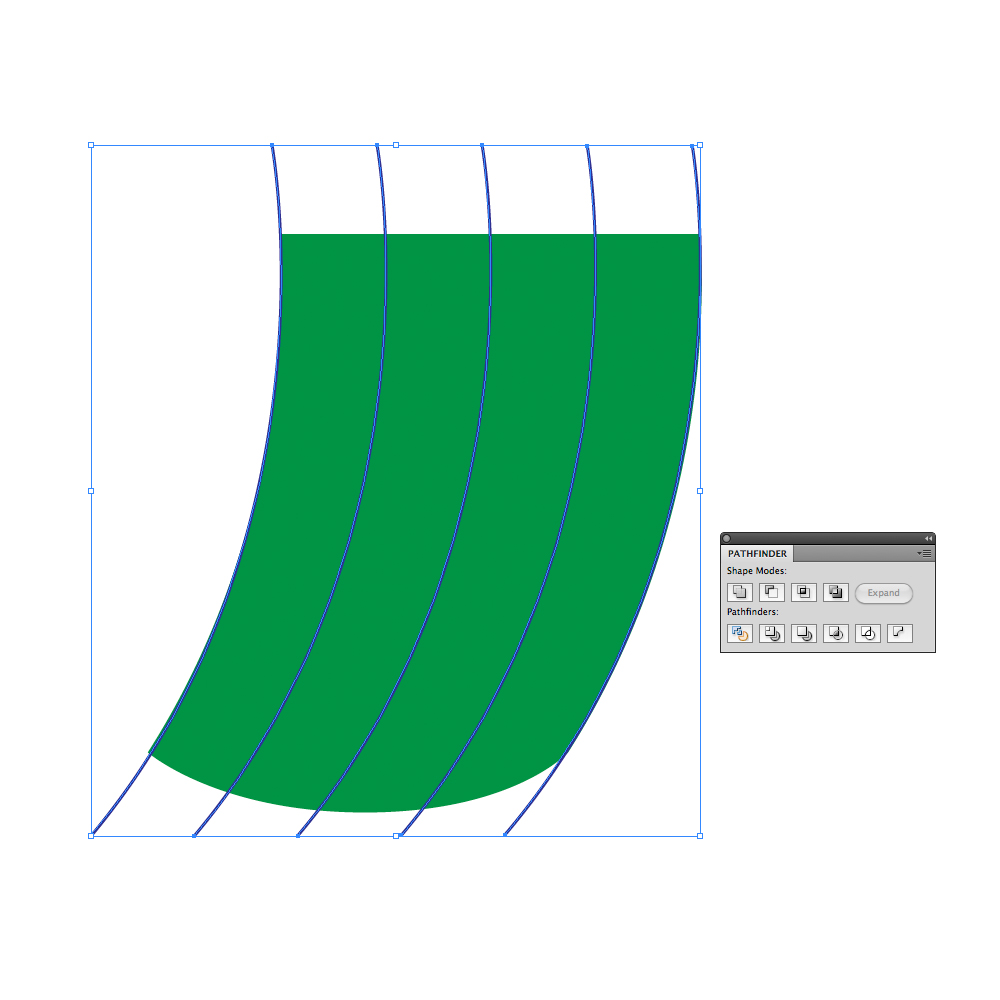 Ungroup (
 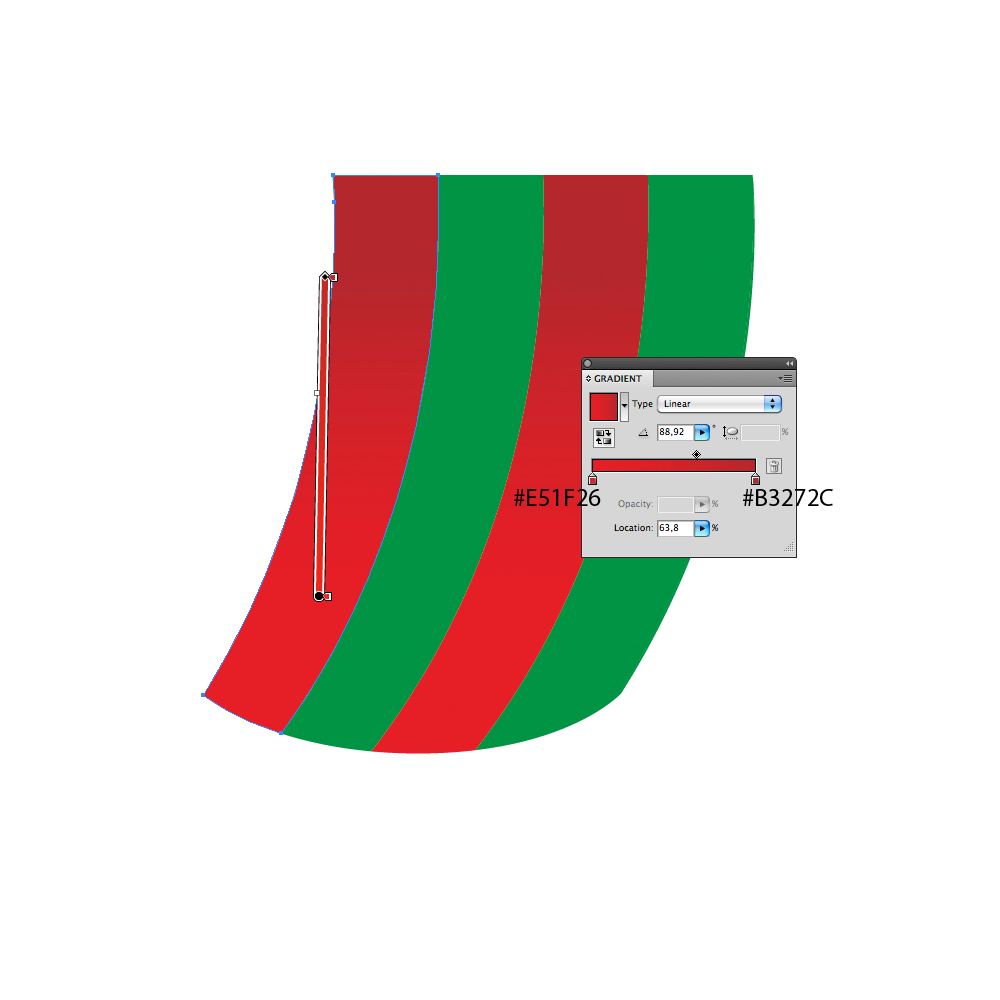 We will do the same for white stripes.
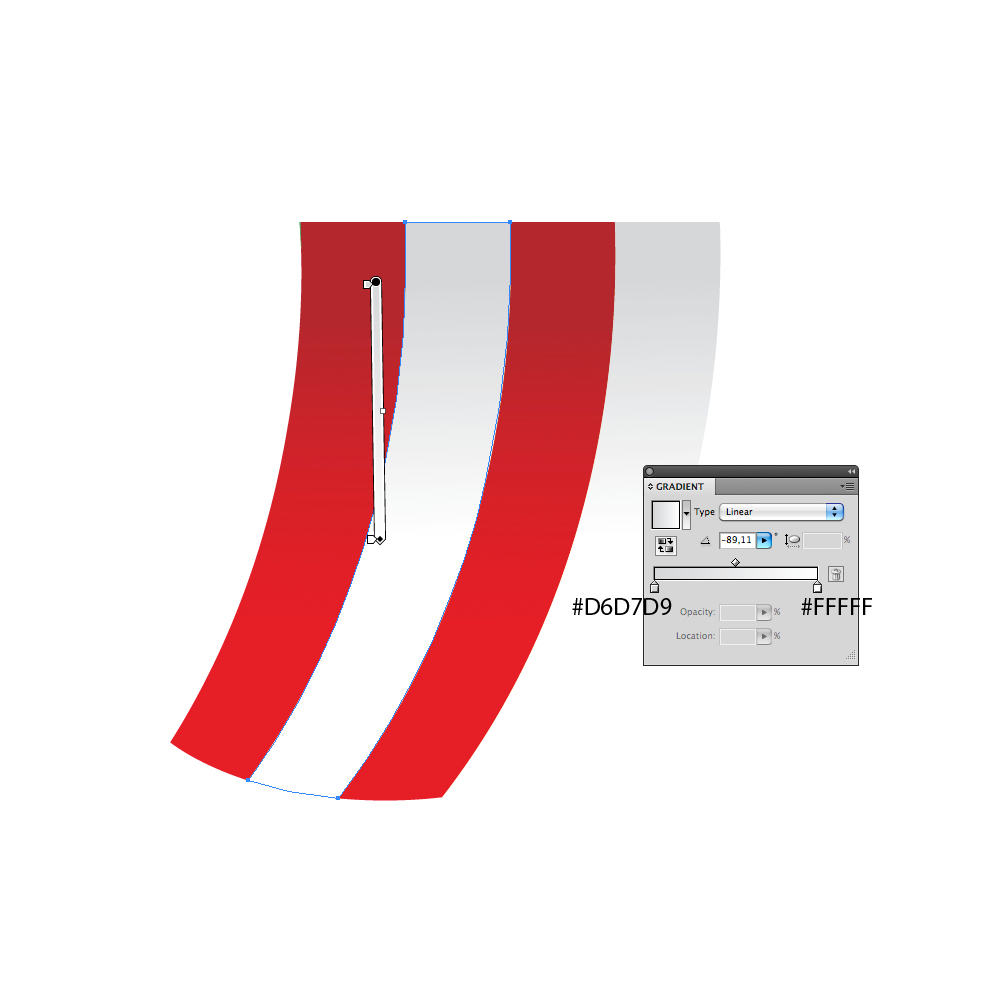 Now we will create a folded part of the tents side. Grab the Line Tool (
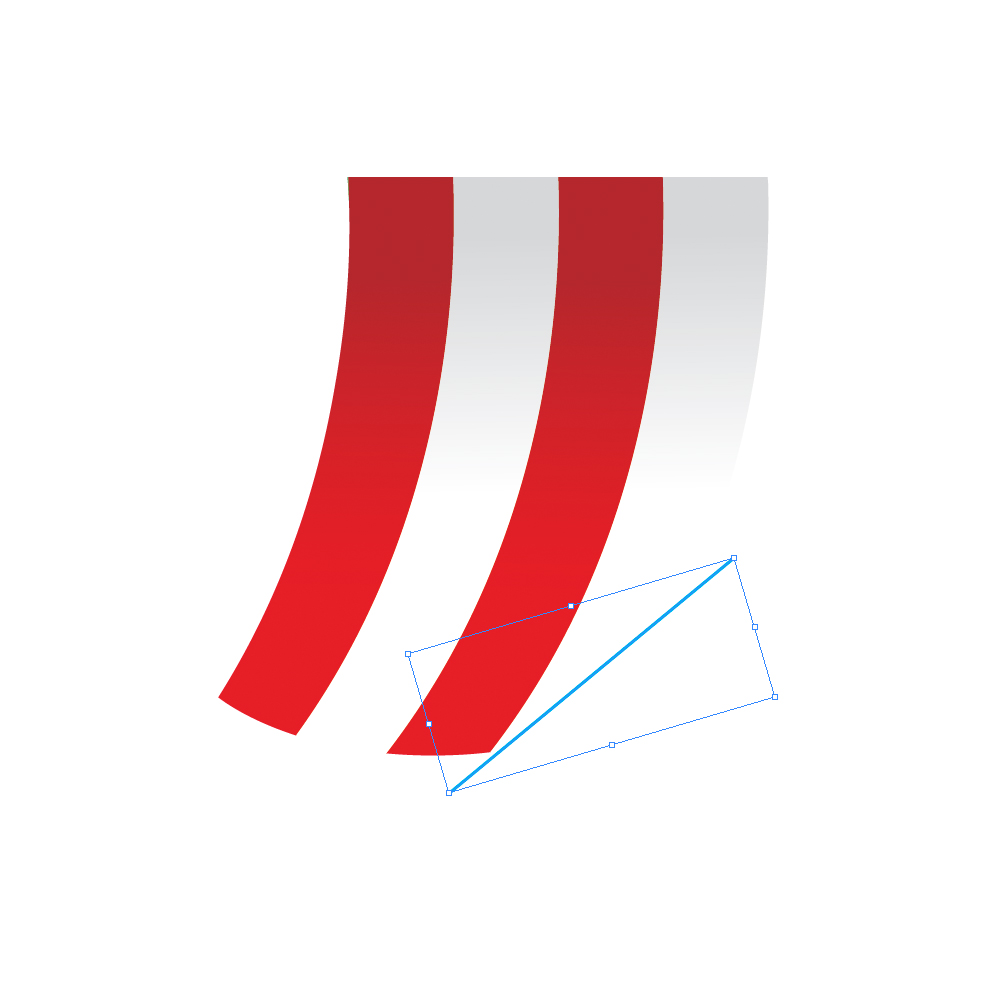 Select the white strip and the line and under the Pathfinder Panel hit Divide button.
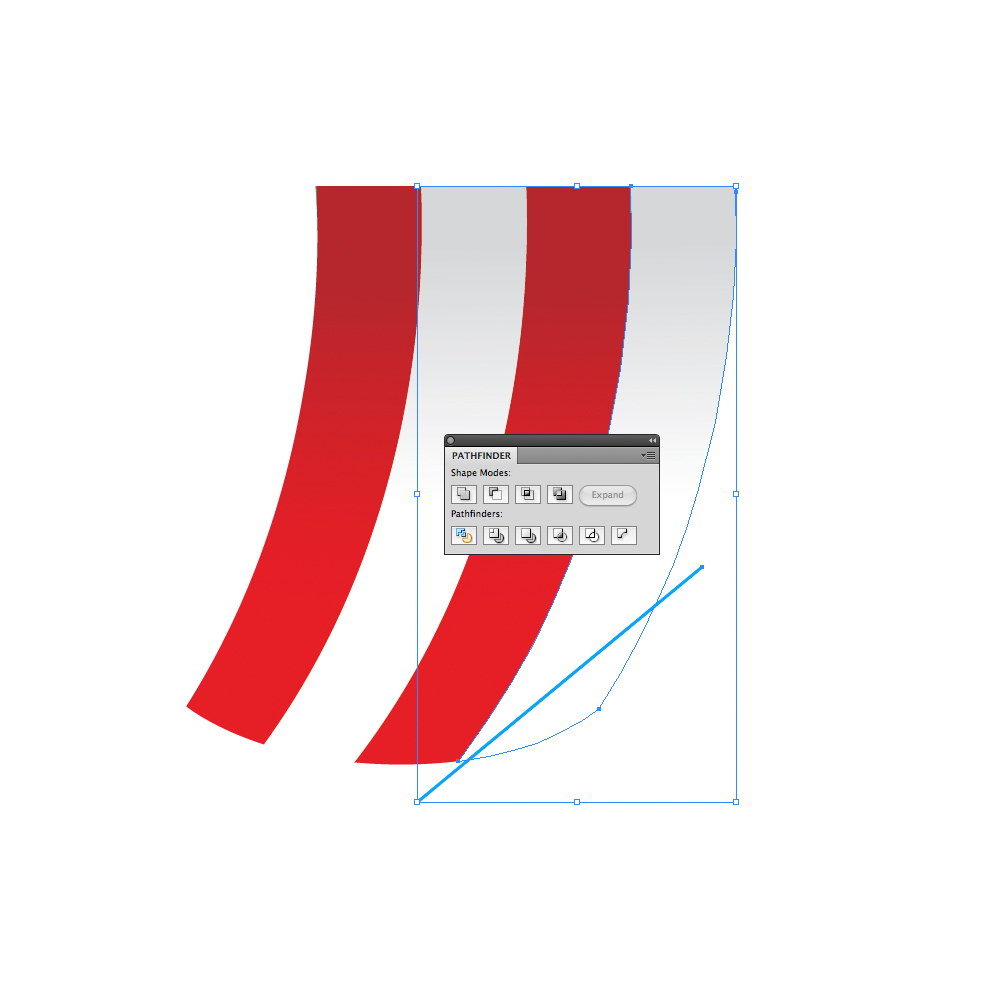 Ungroup (
 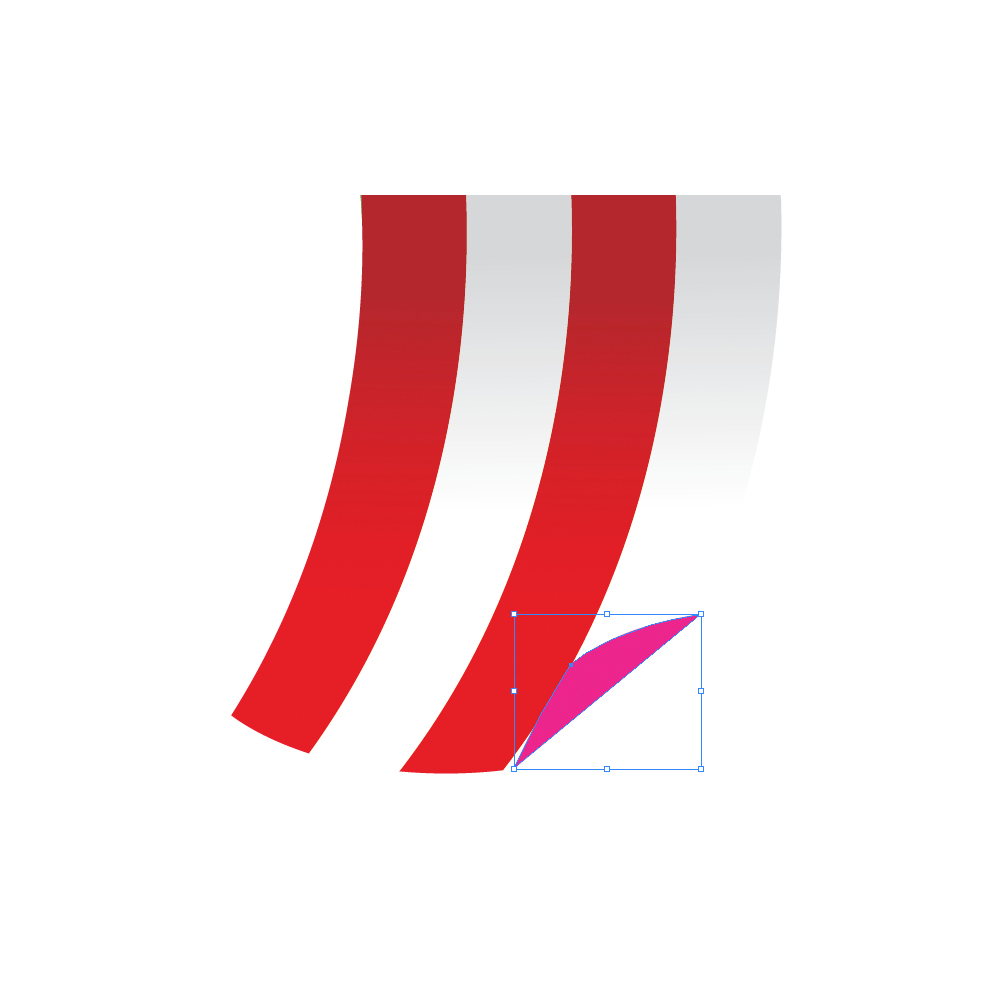 We have to adjust a bit the folded part. To do that grab the Direct Selection Tool (
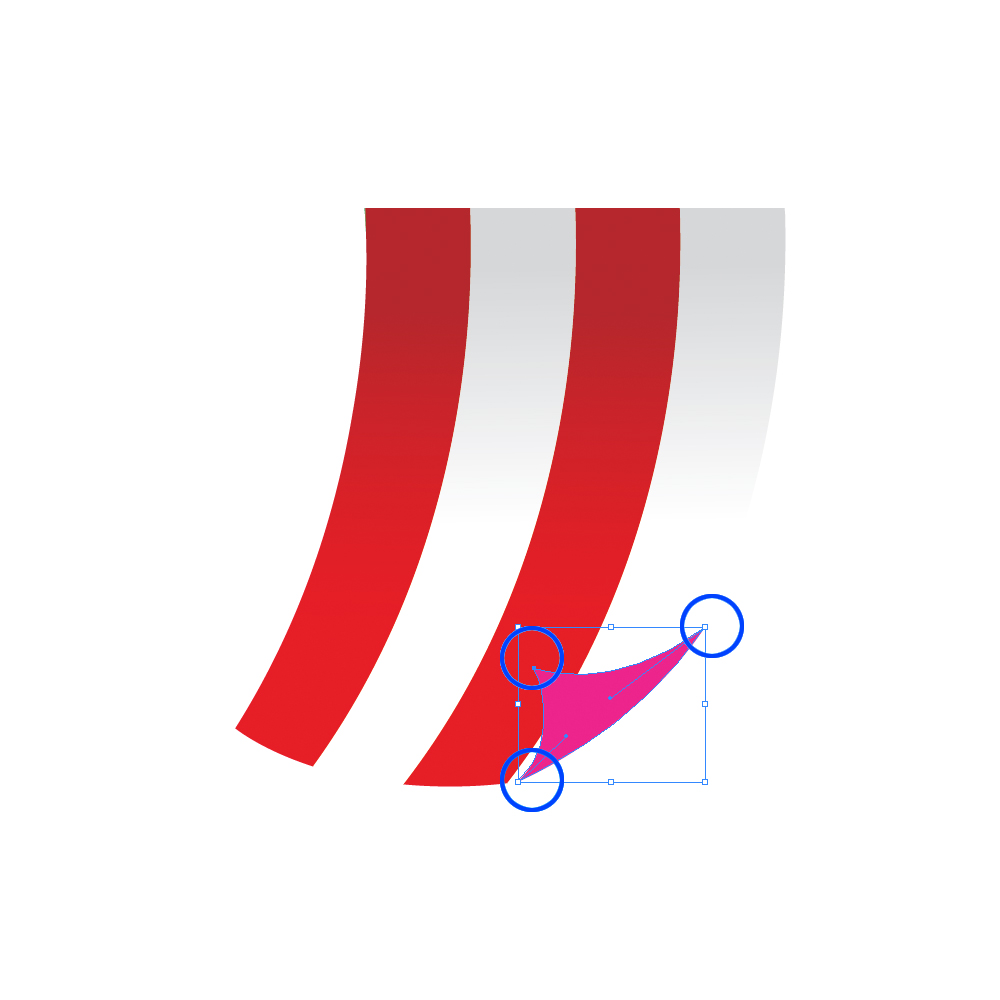 With the linear gradient we will create an illusion of curled side of the tent.
 Select all the elements we have created so far an Group them (
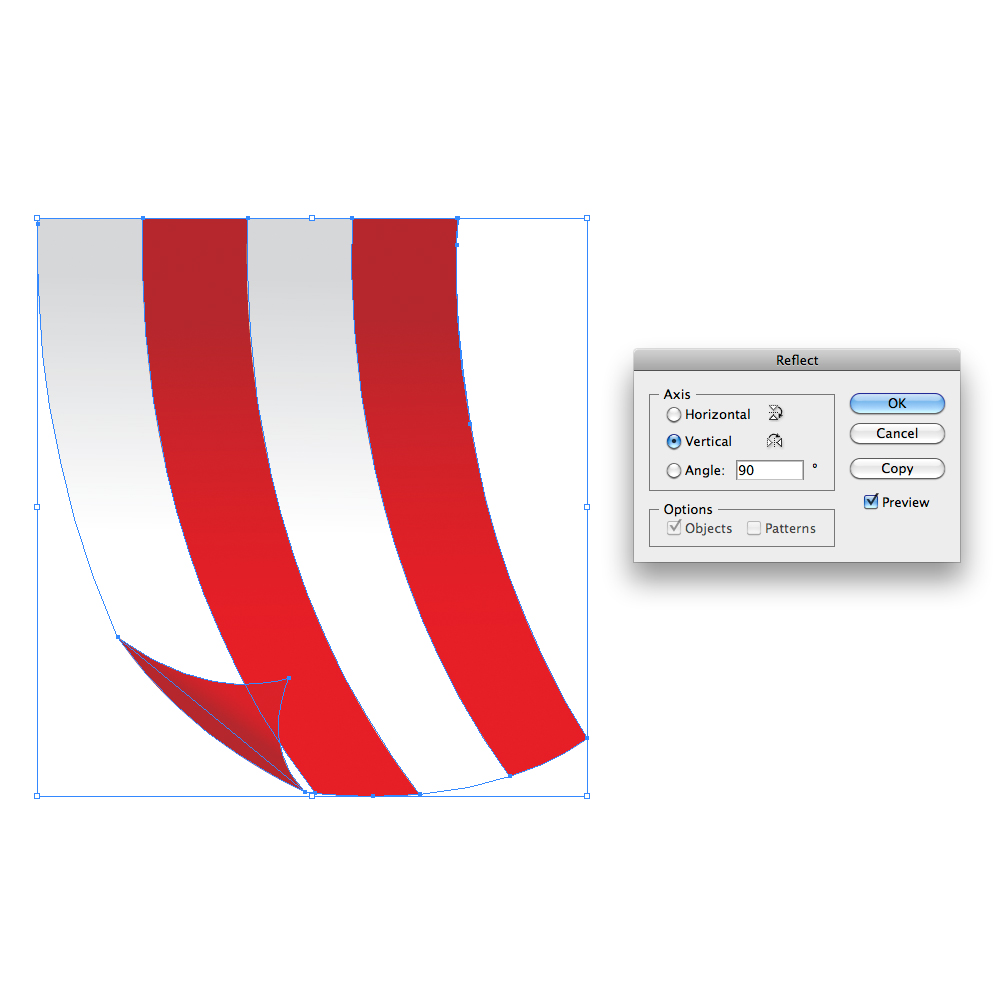
 Group (
 Under the Object select Transfer > Reflect. For the Axis select
  Grab the Ellipse Tool (
 Now we will have to add and to remove some anchor points. Select the Add Anchor Point Tool (
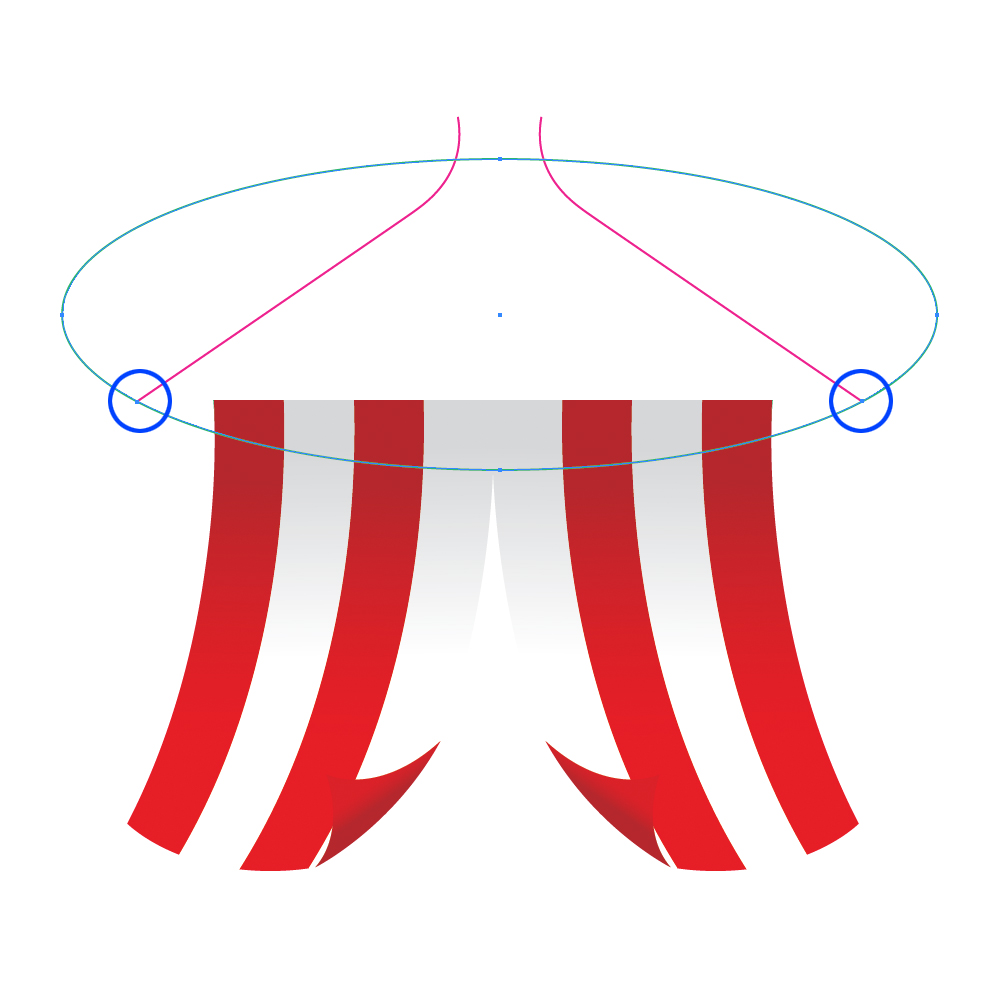 Grab the Direct Selection Tool (
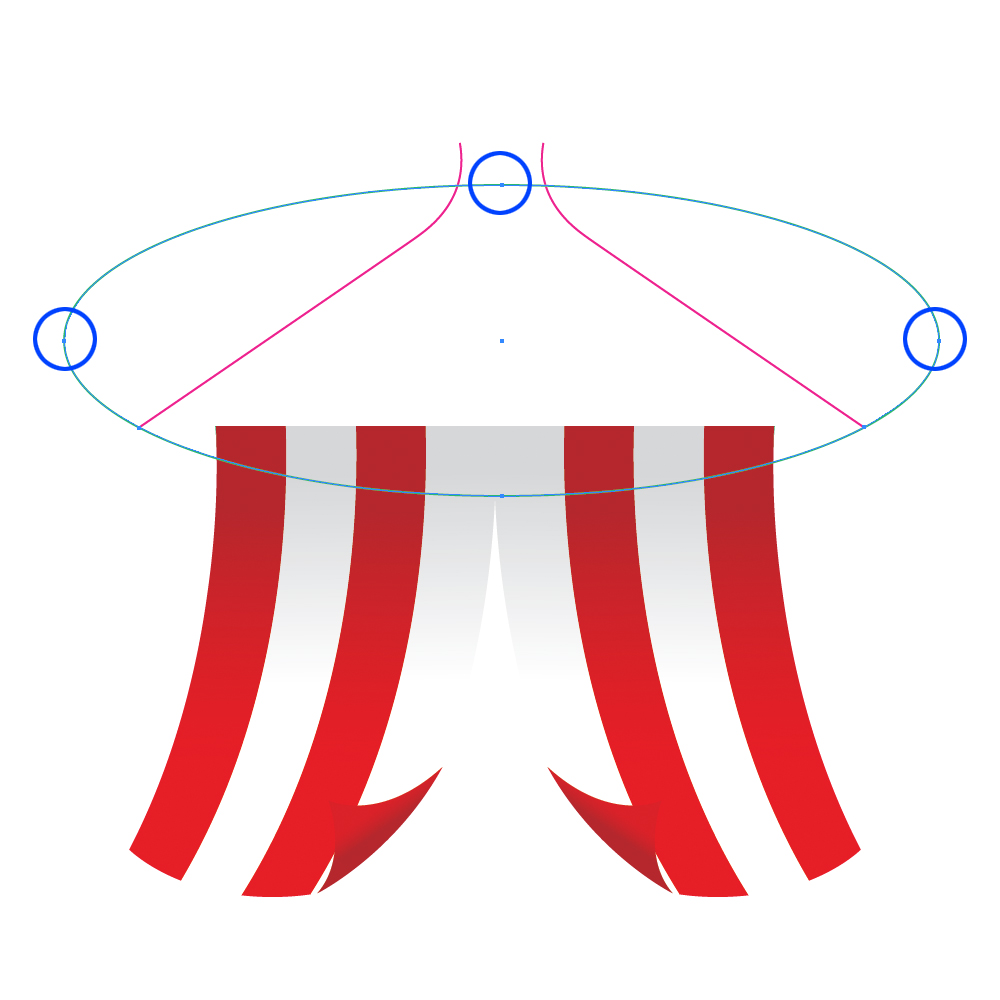 Withe Direct Selection Tool (
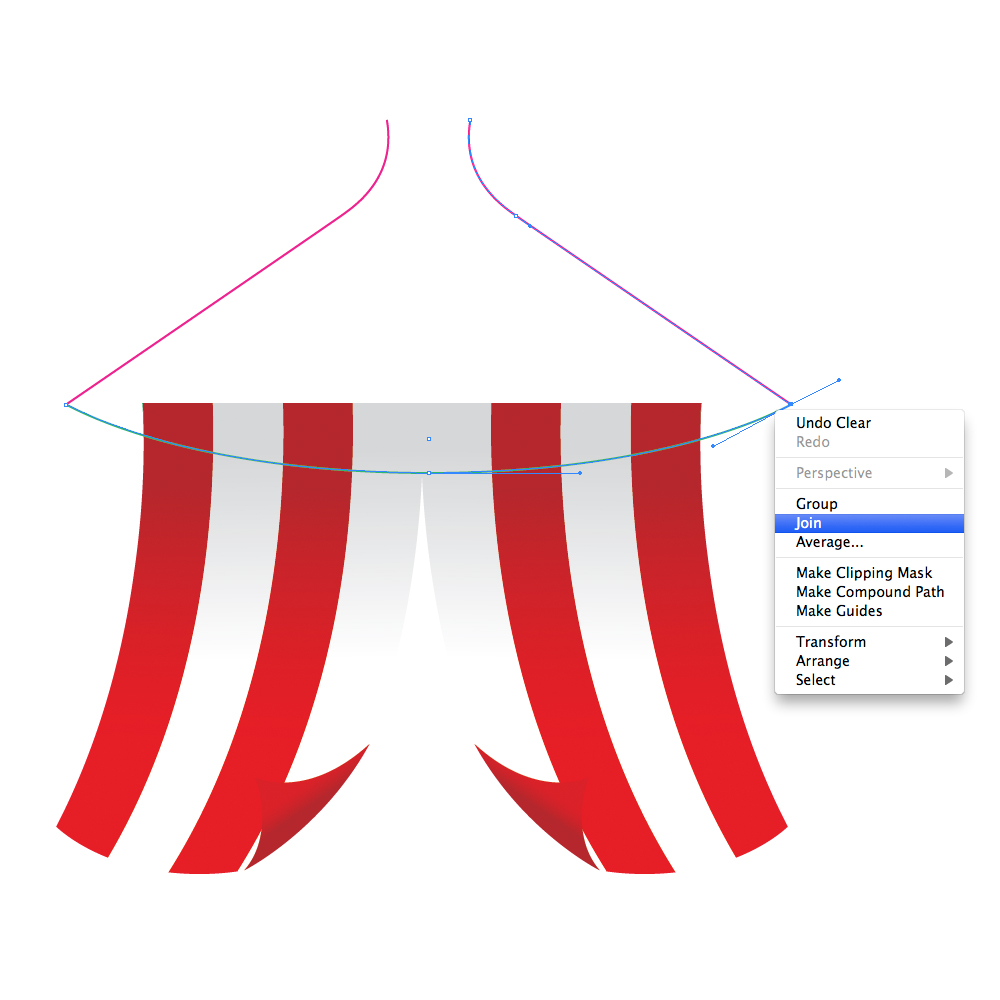 With the Pen Tool (
 Let's create red and white stripes for the upper part of the circus tent as well.
Duplicate (
 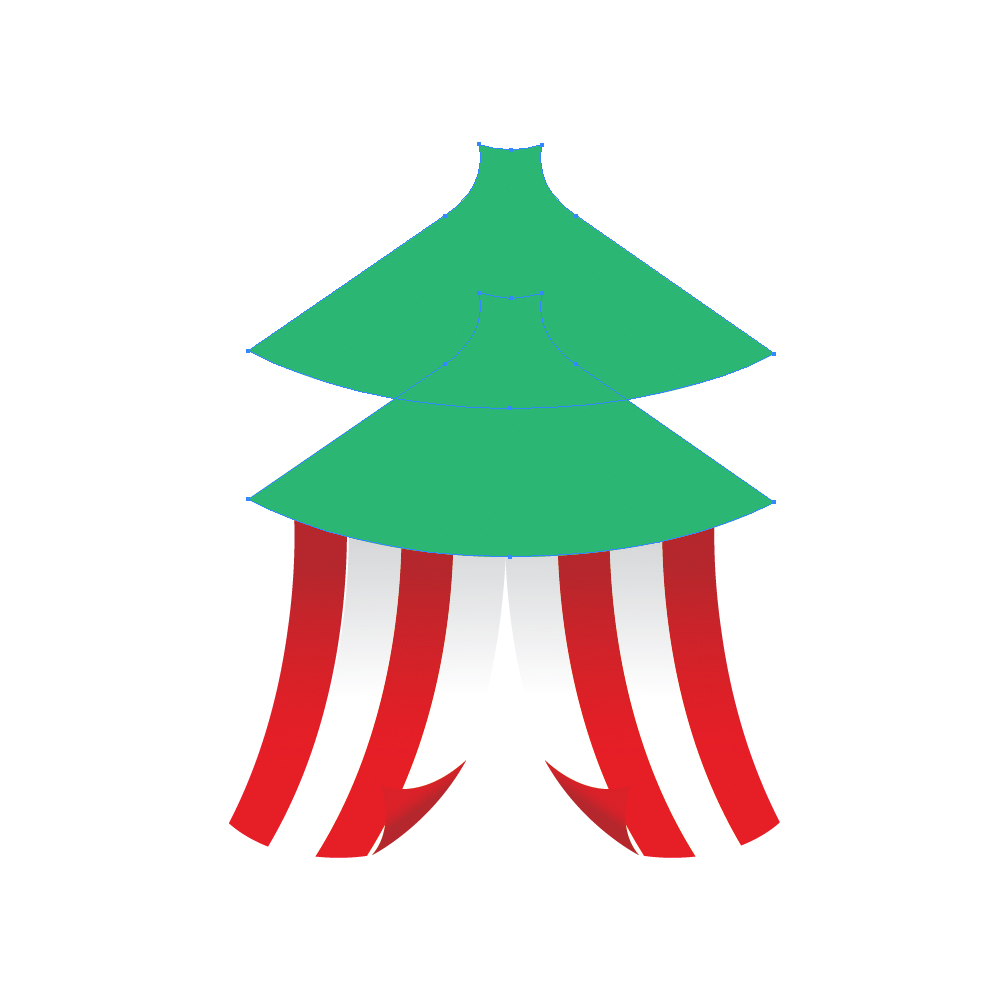 Select both copies we have made and under the Pathfinder Panel hit the Intersect button.
 Grab the Line Tool (
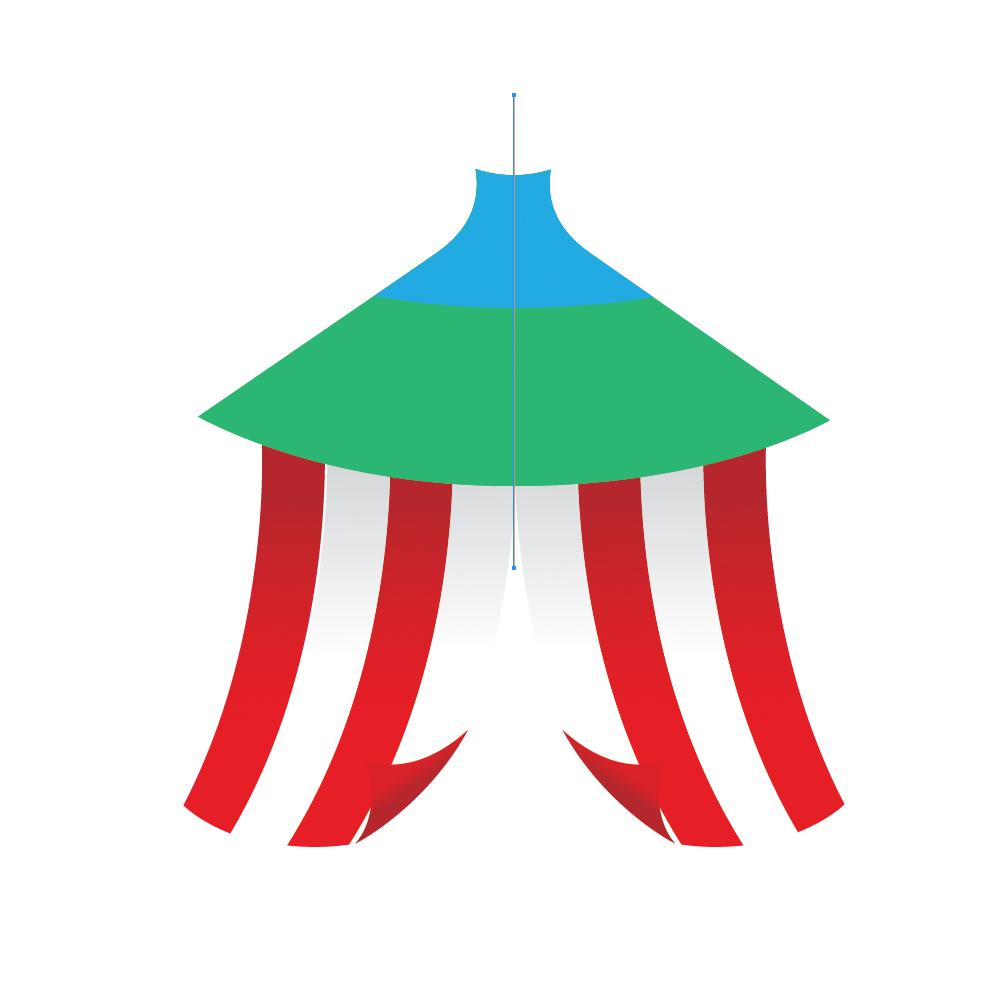 Grab the Rotate Tool (
 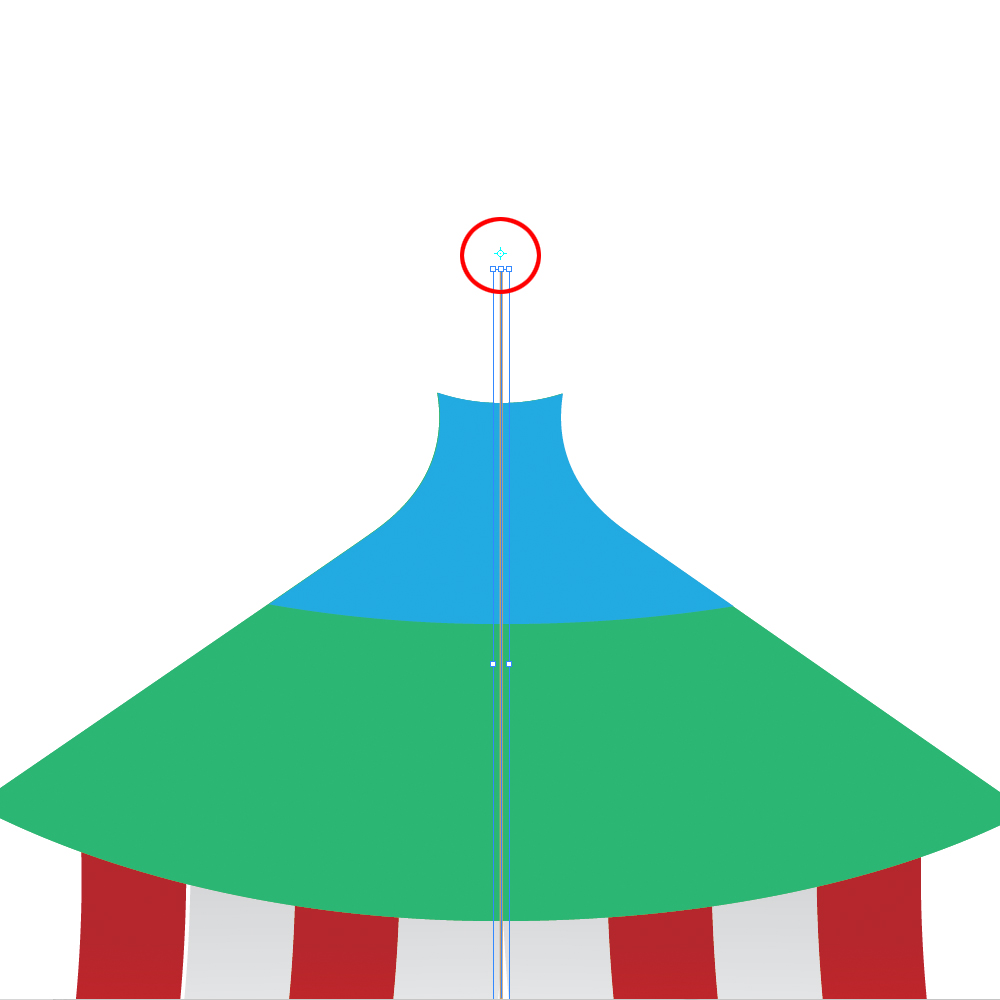 The Rotation Option dialog will pop up. Set the value for the Angle to
 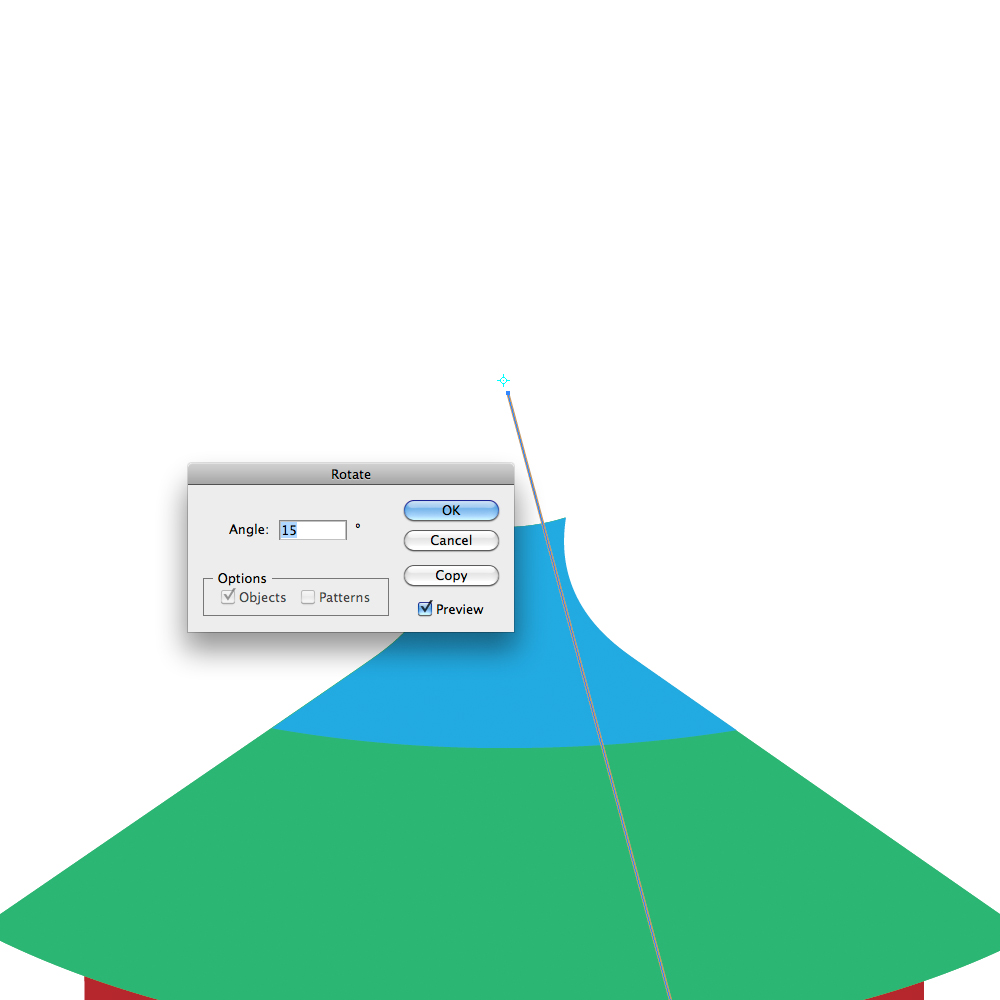 Hit the
 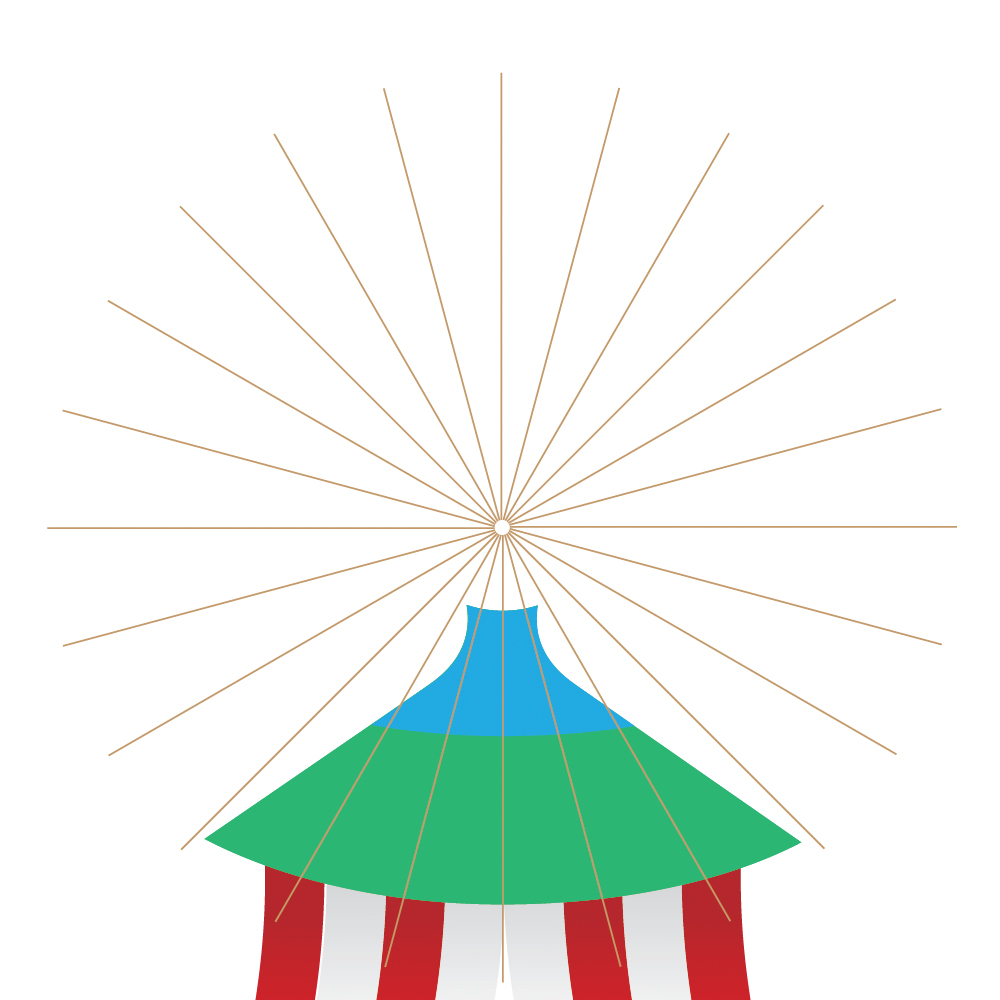 Remove unnecessary lines. Select green shape and the rest of the lines and under the Pathfinder Panel hit Divide button.
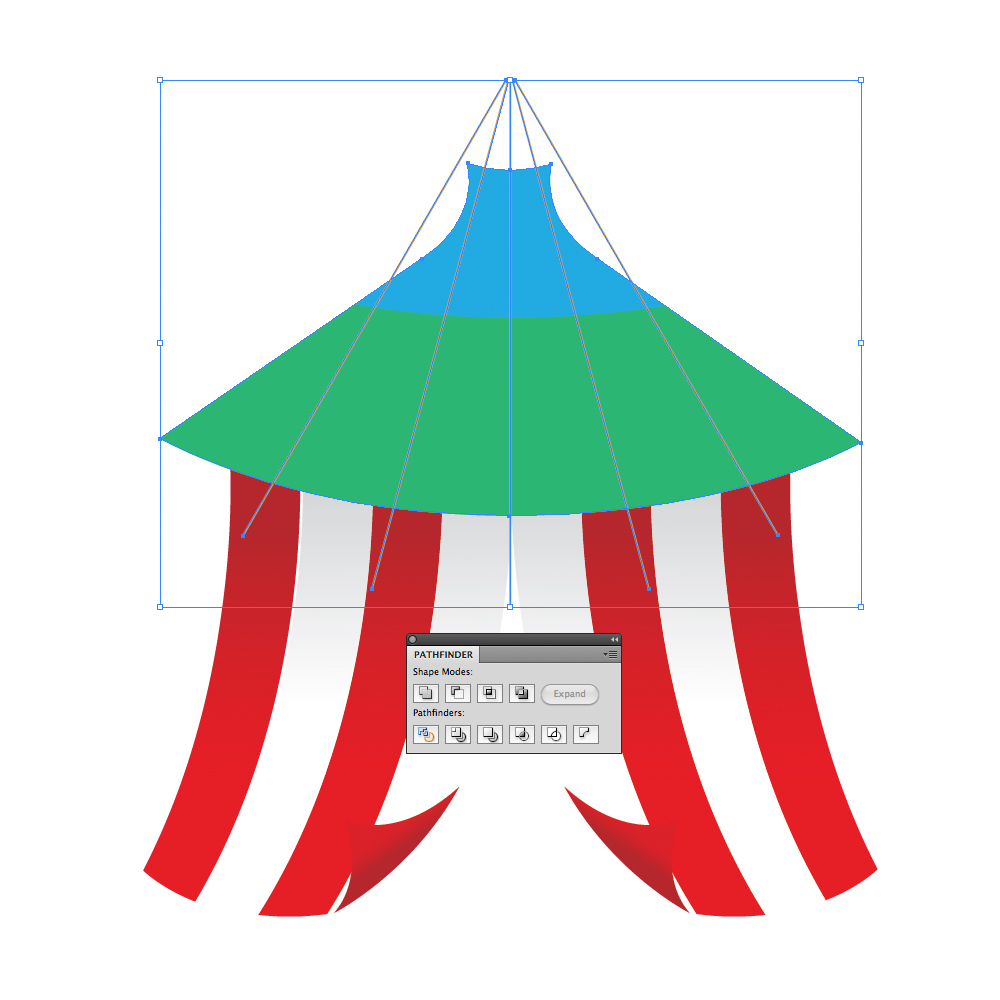 Ungroup the new shape and apply red and white gradients, just like we did before. Use the same gradients we've used for the lower part of the tent.
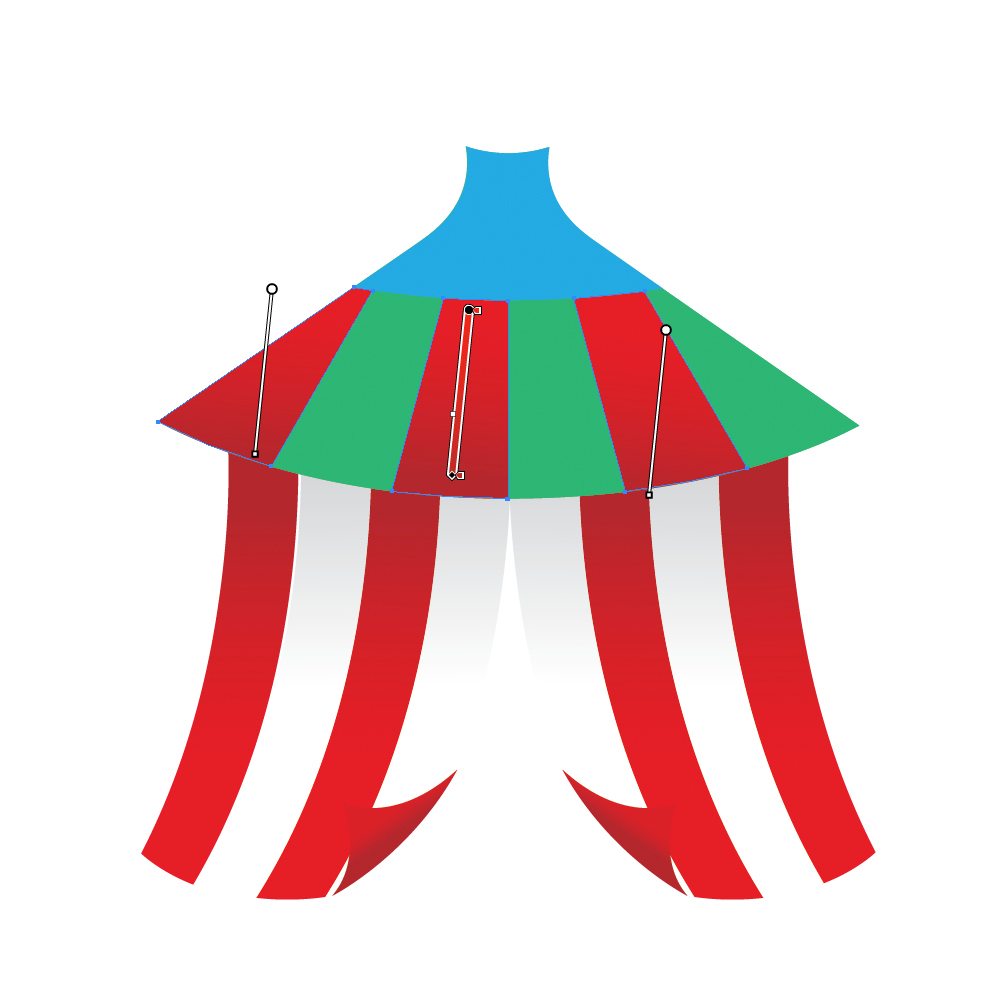
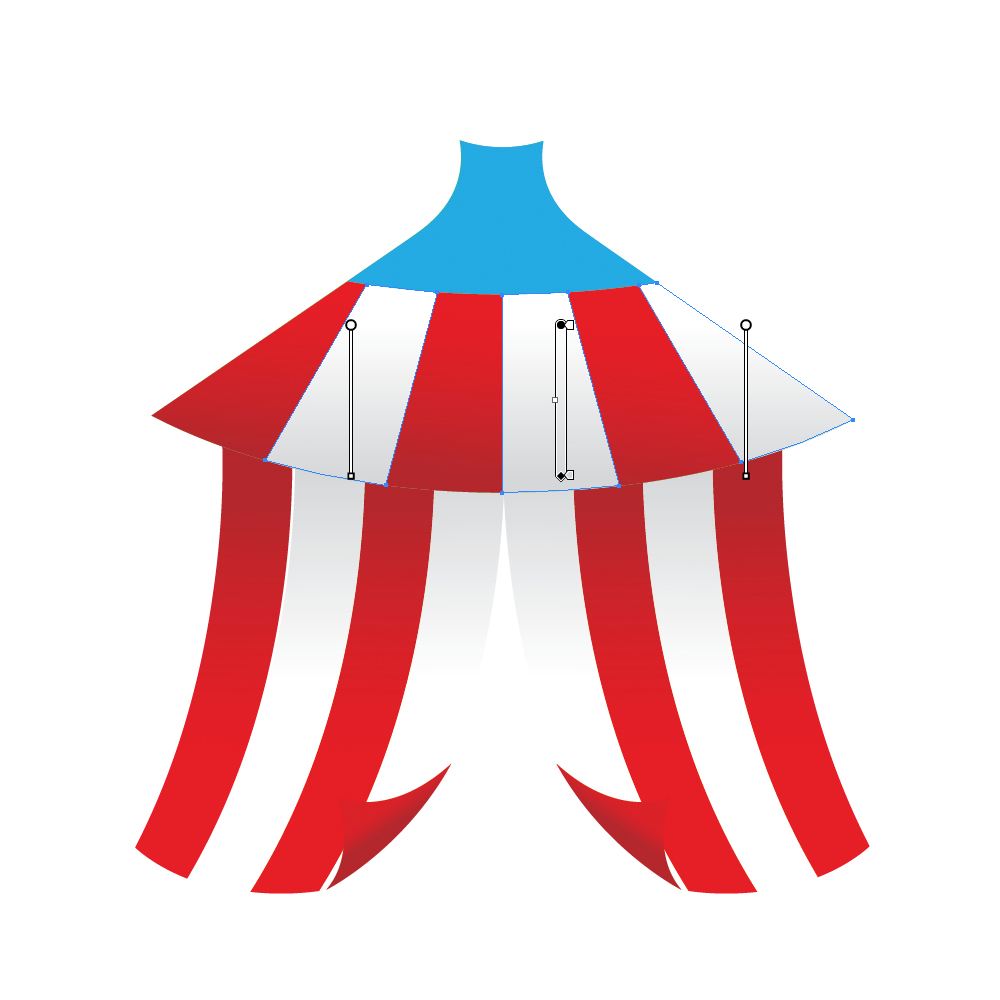 Set the Fill color of the blue shape to white (
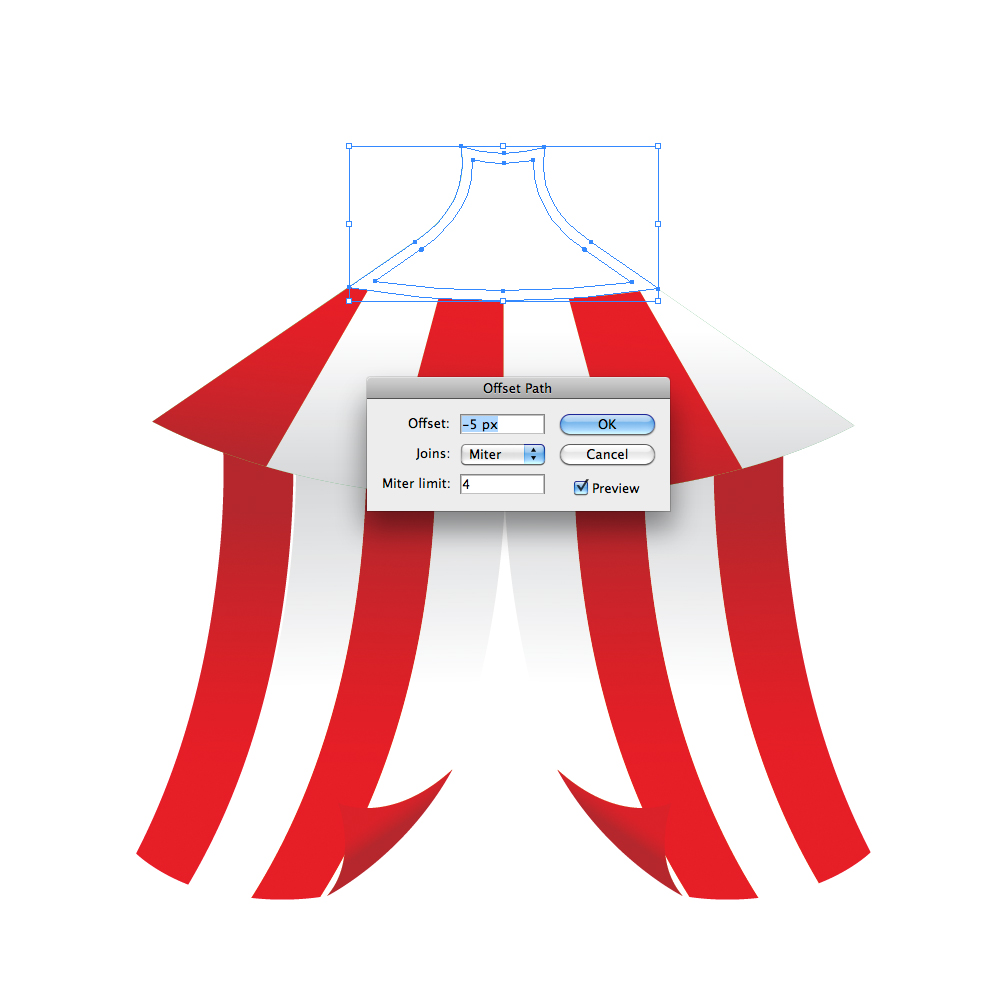 Grab the Pen Tool (
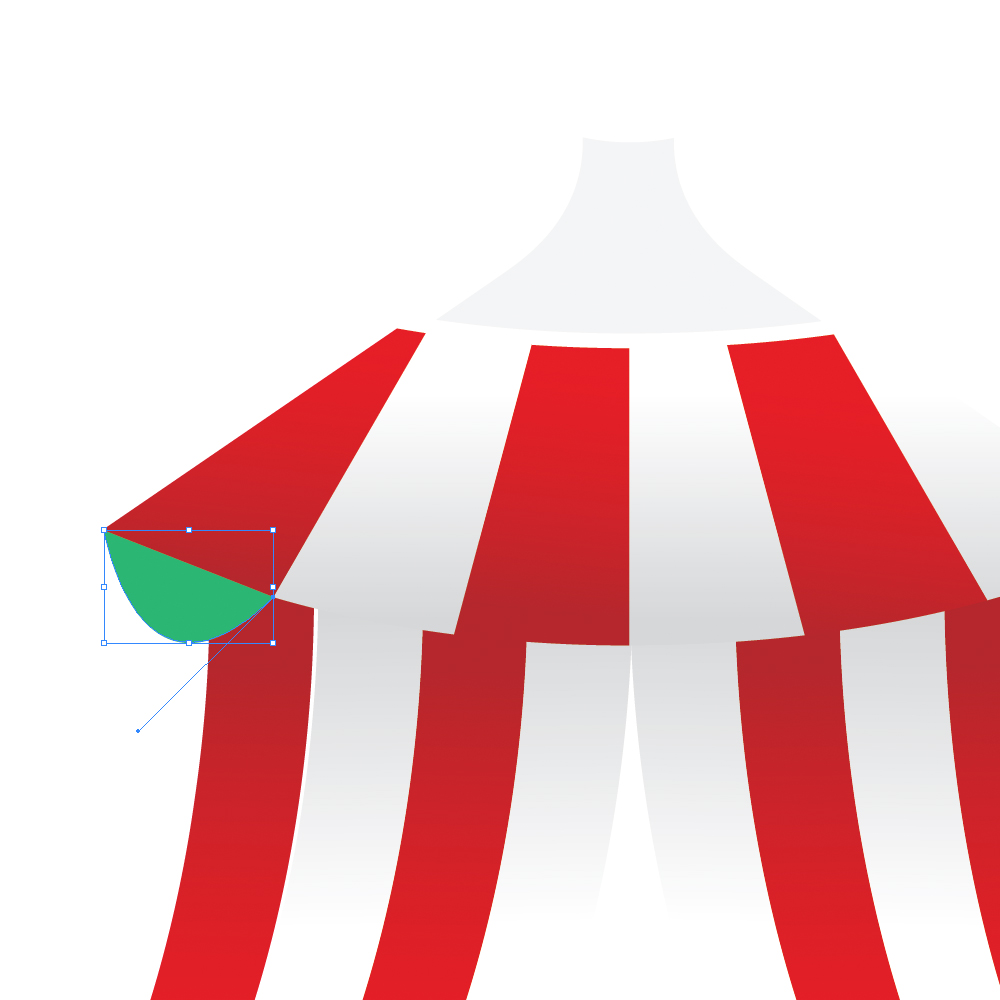
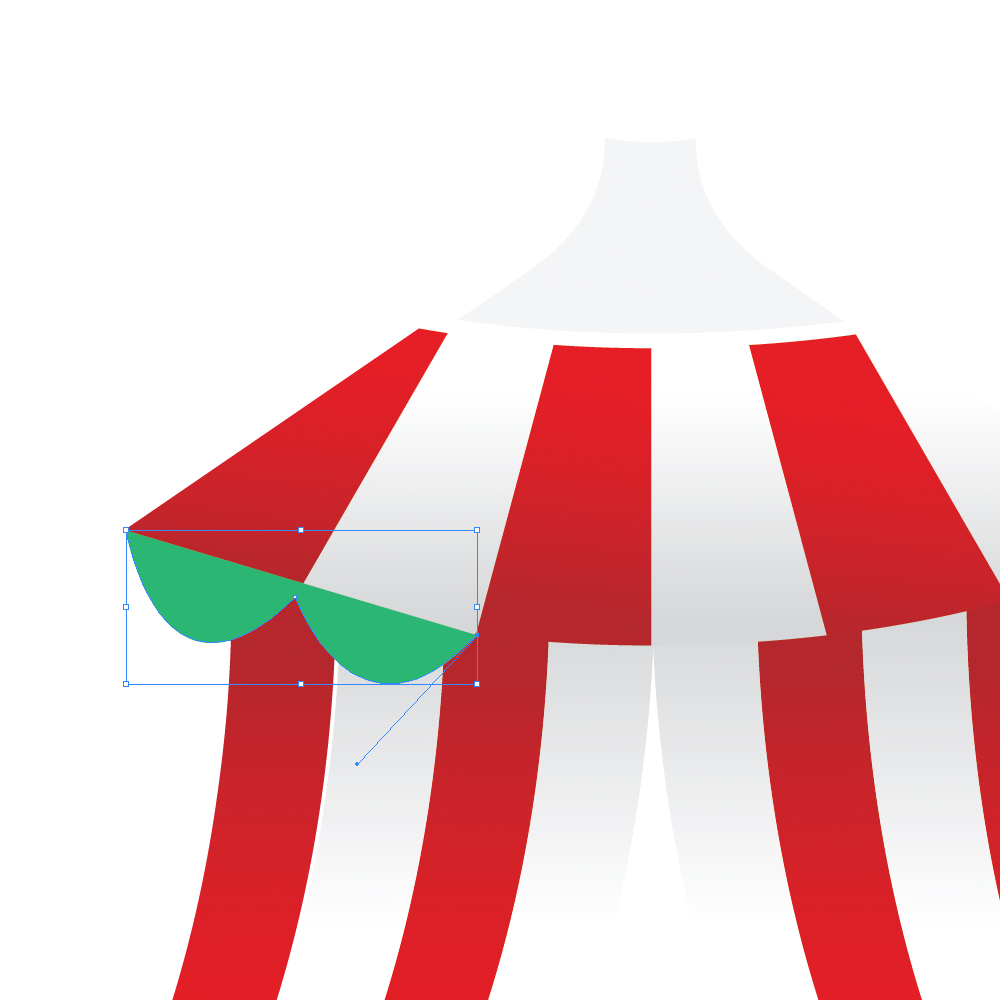
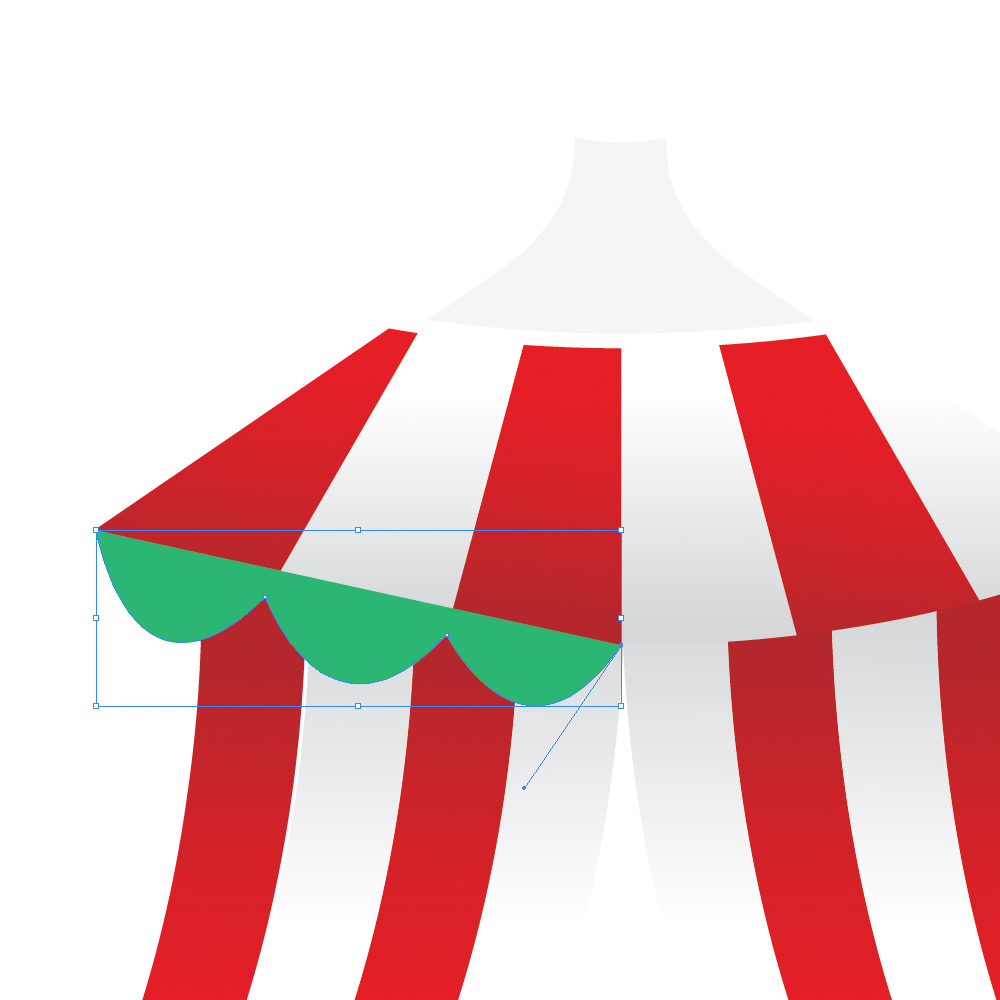
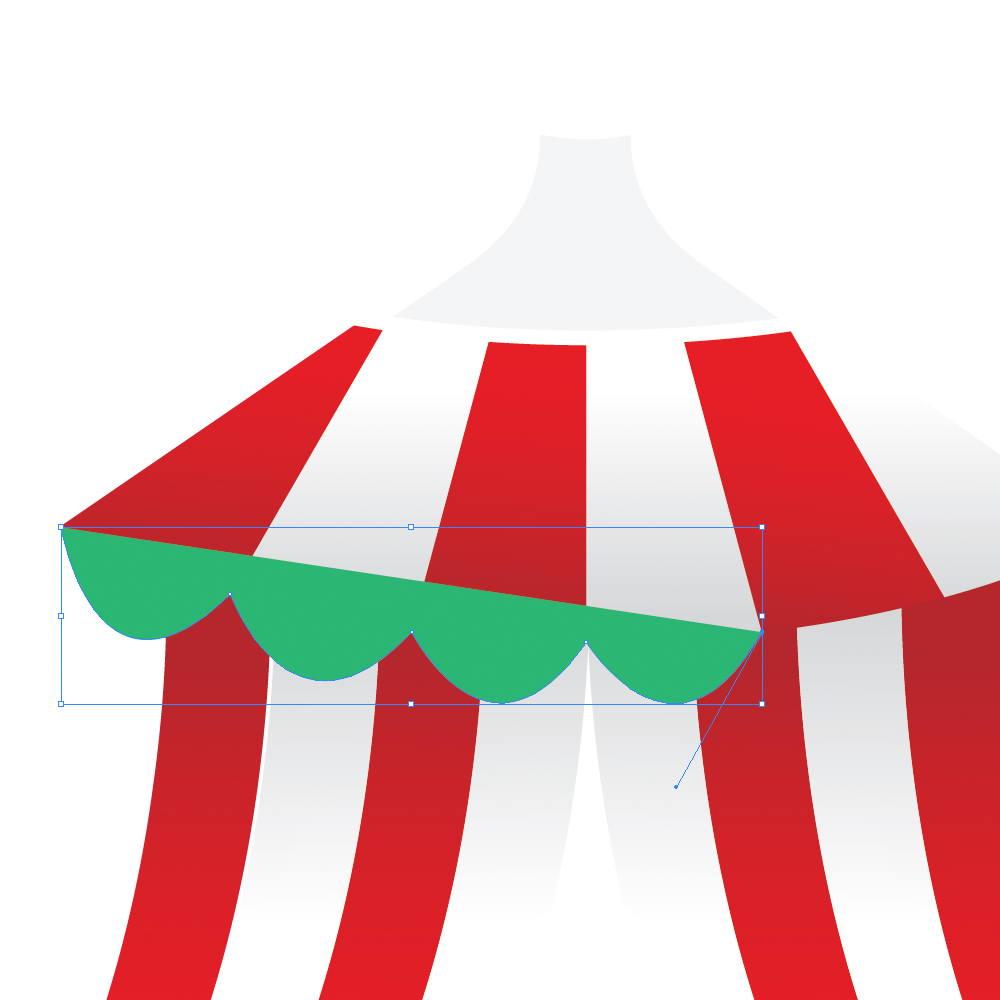
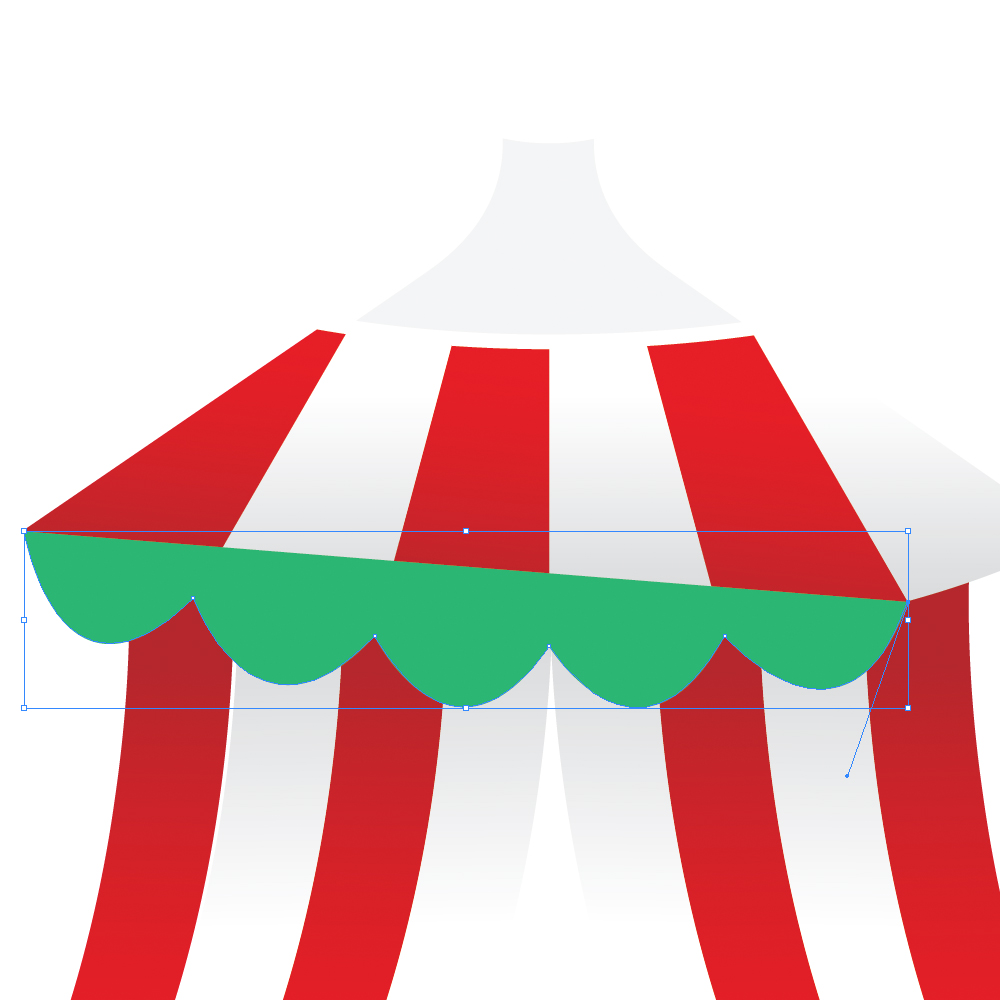
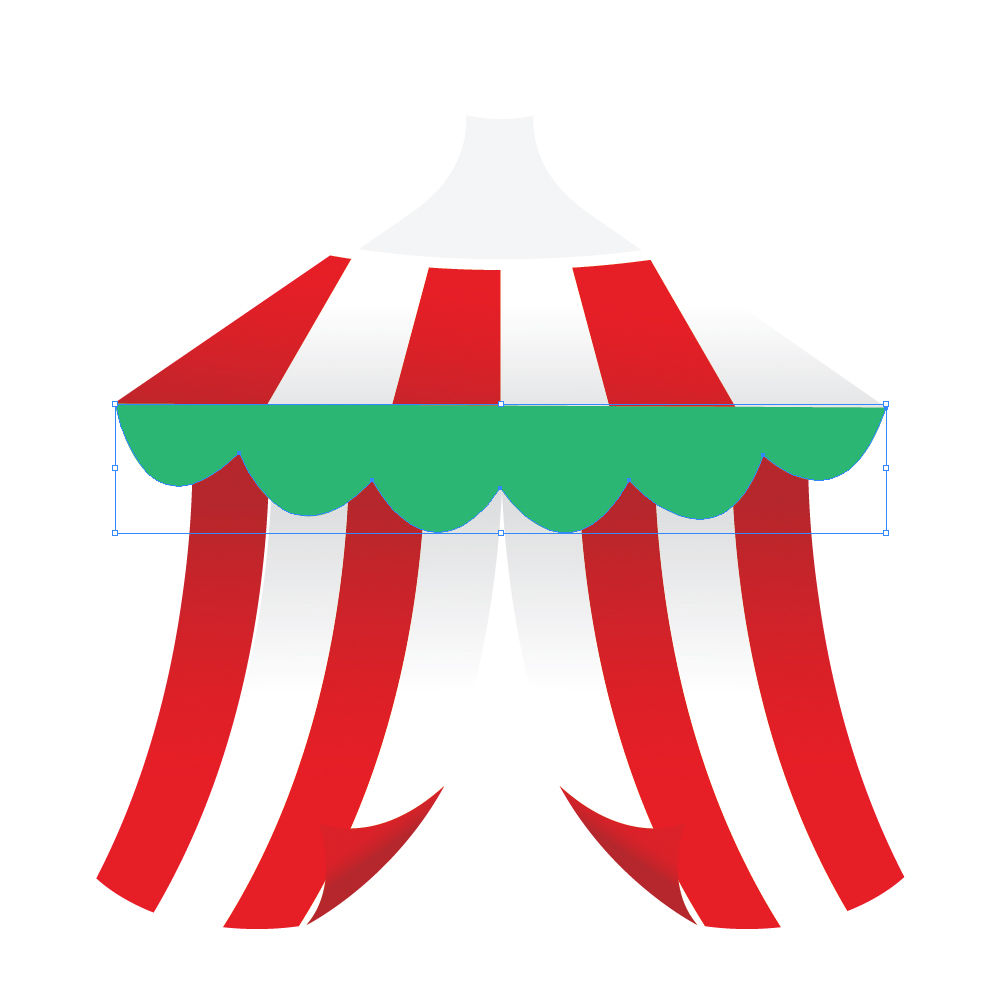
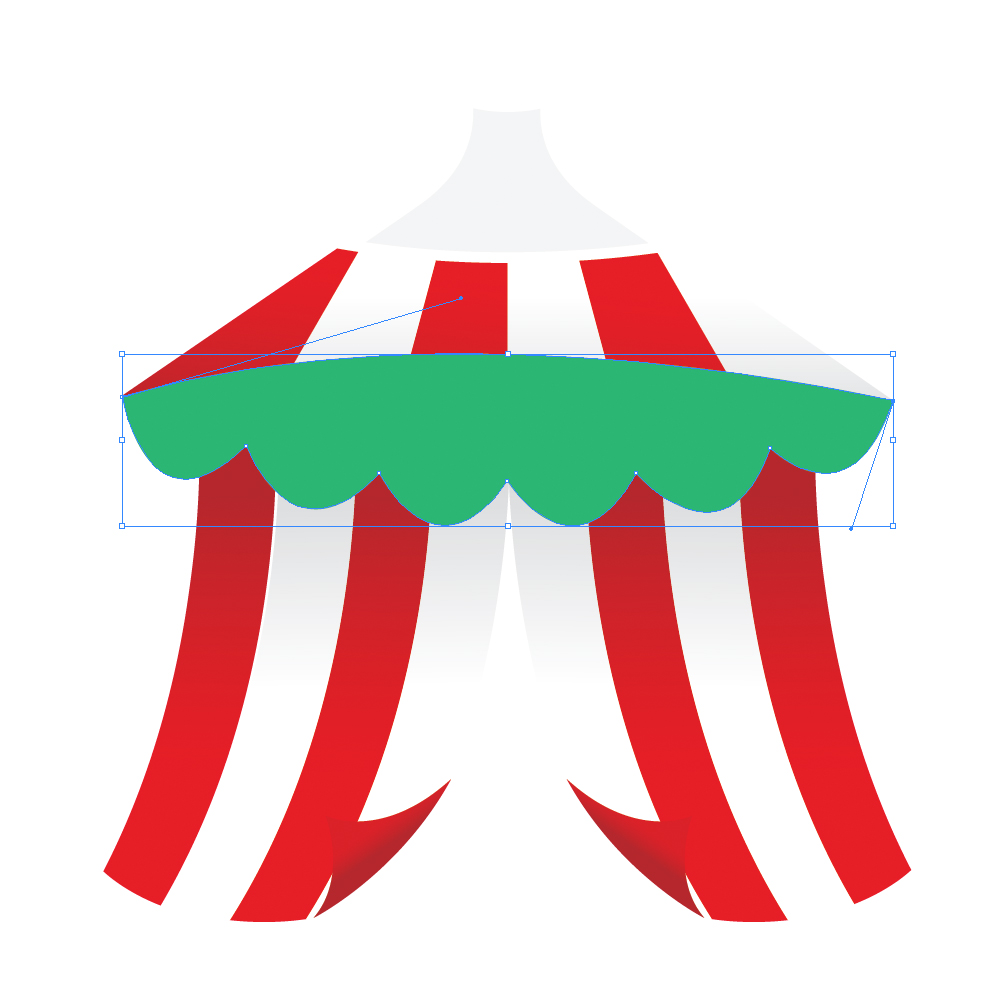 Select all the elements of the upper part of the tent (except the green shape) and send it to front (
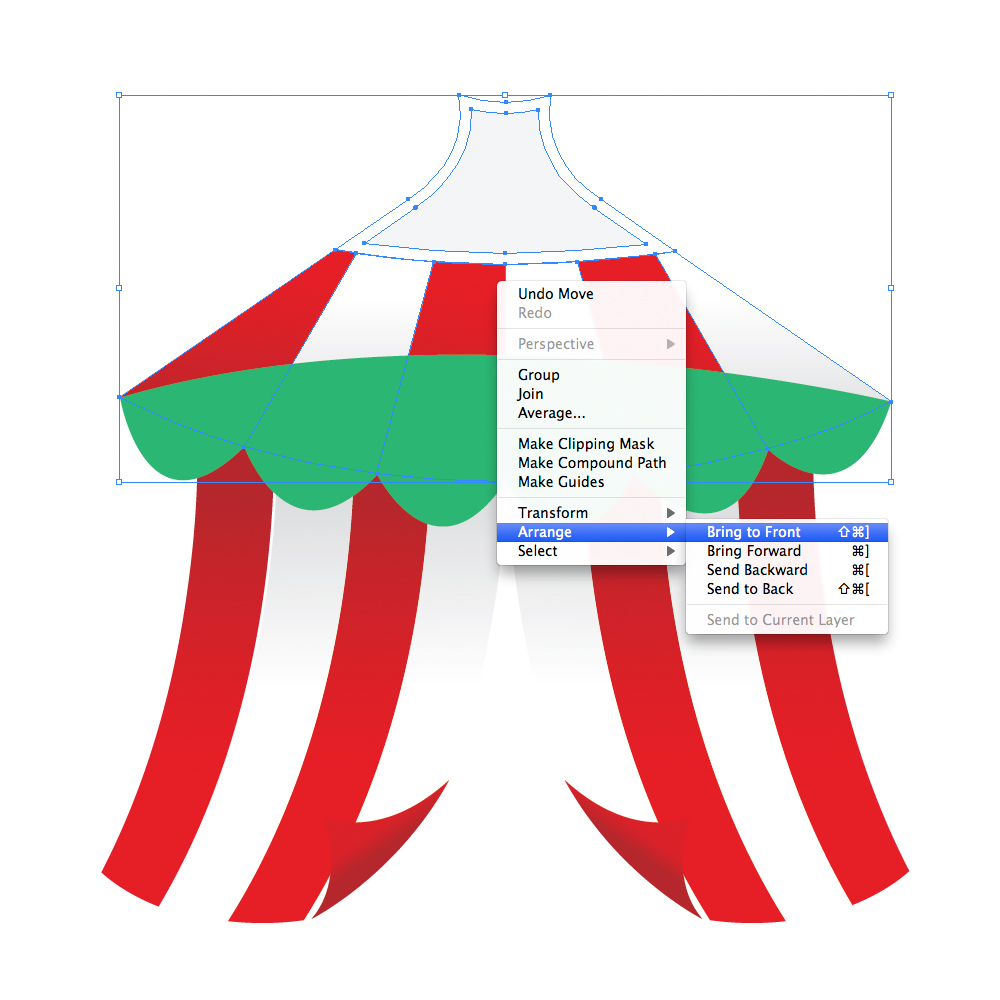 Select only red and white stripes (as it shown on the picture below) and duplicate them (
 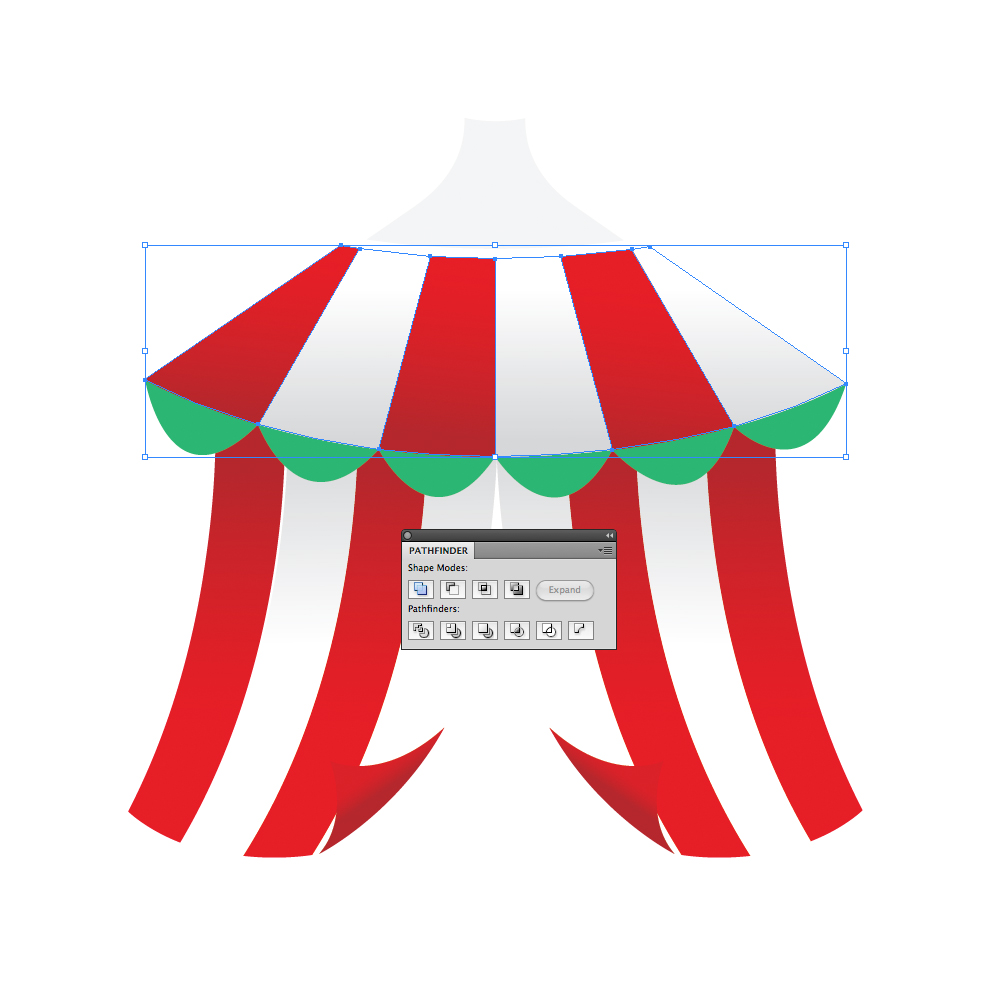 Select the shape we have just created and the green shape and under the Pathfinder Panel hit the Minus Front button.
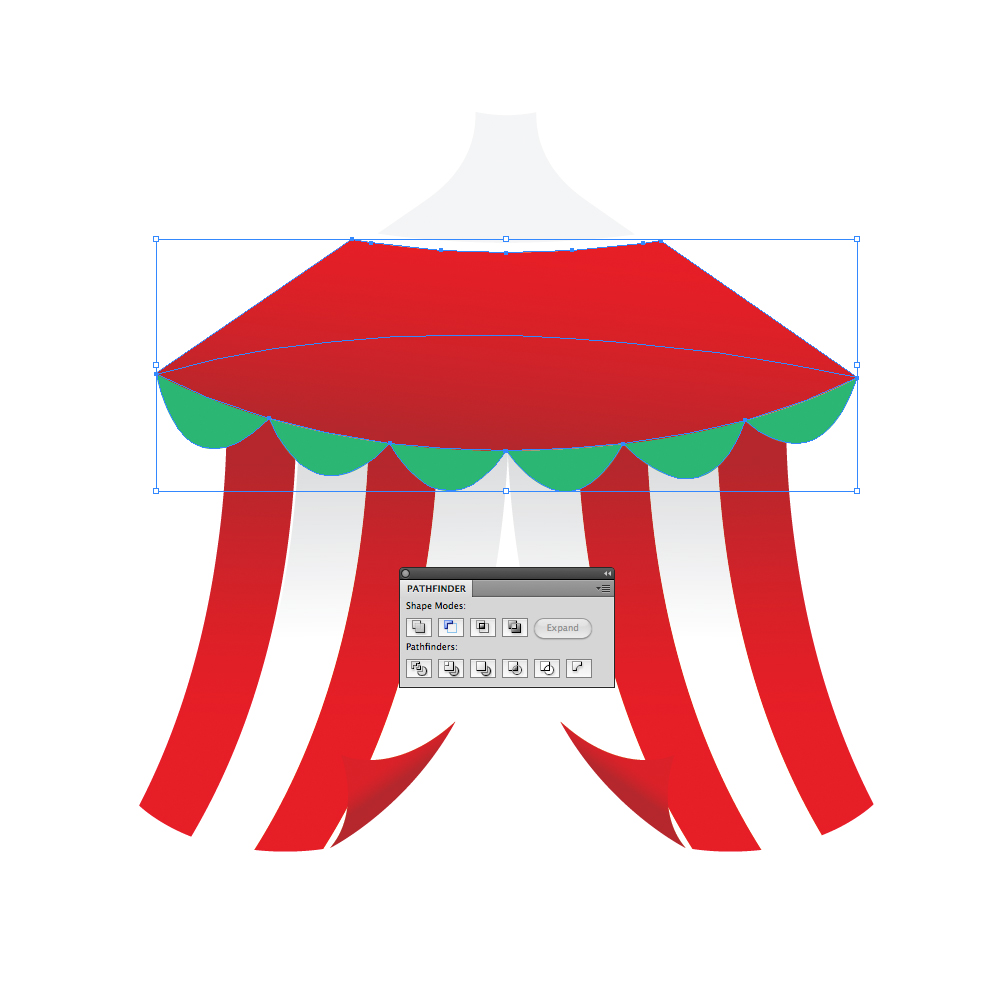 Ungroup (
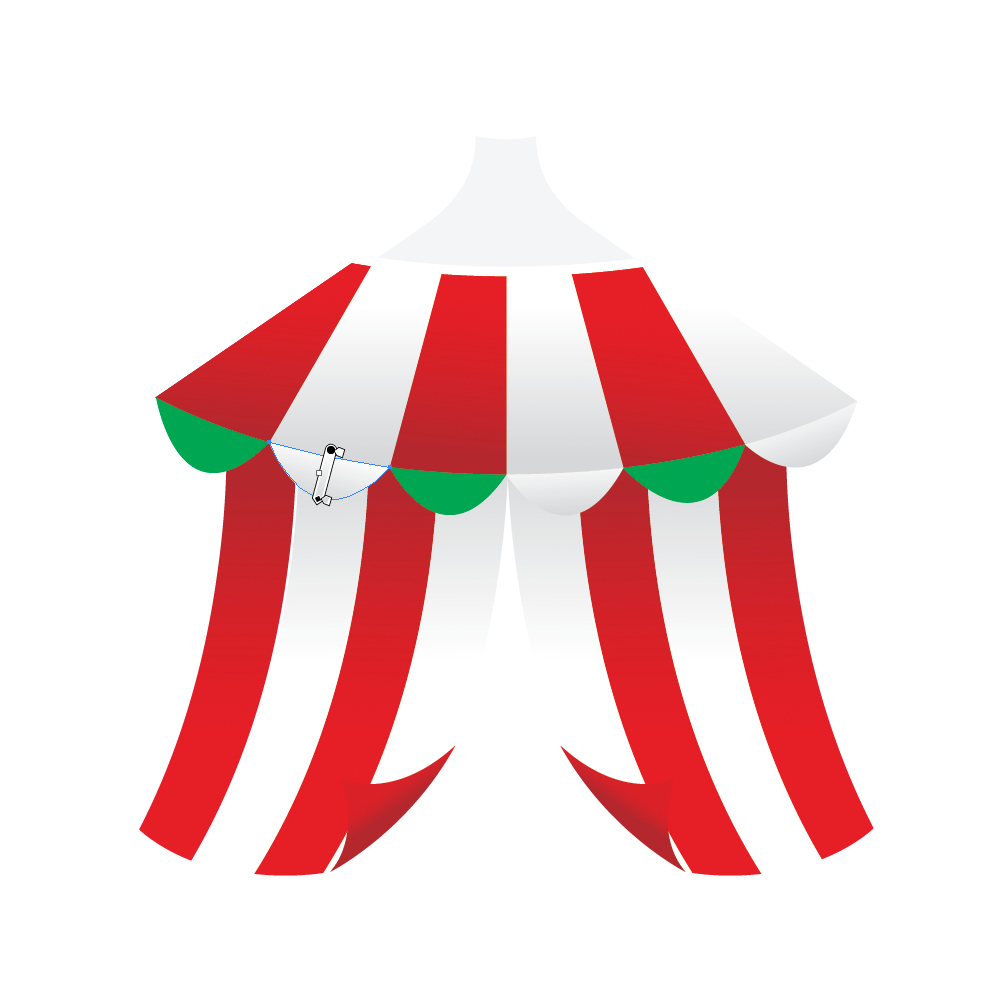
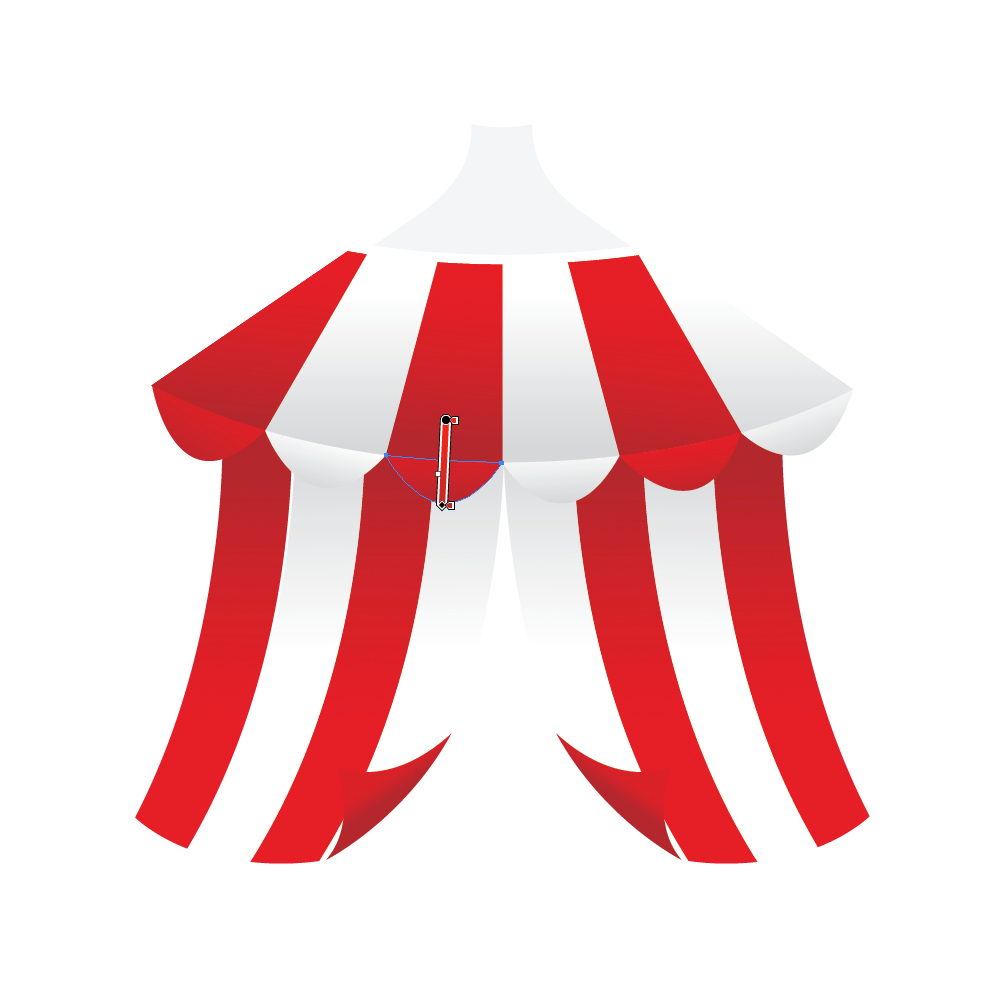 Grab the Pen Tool (
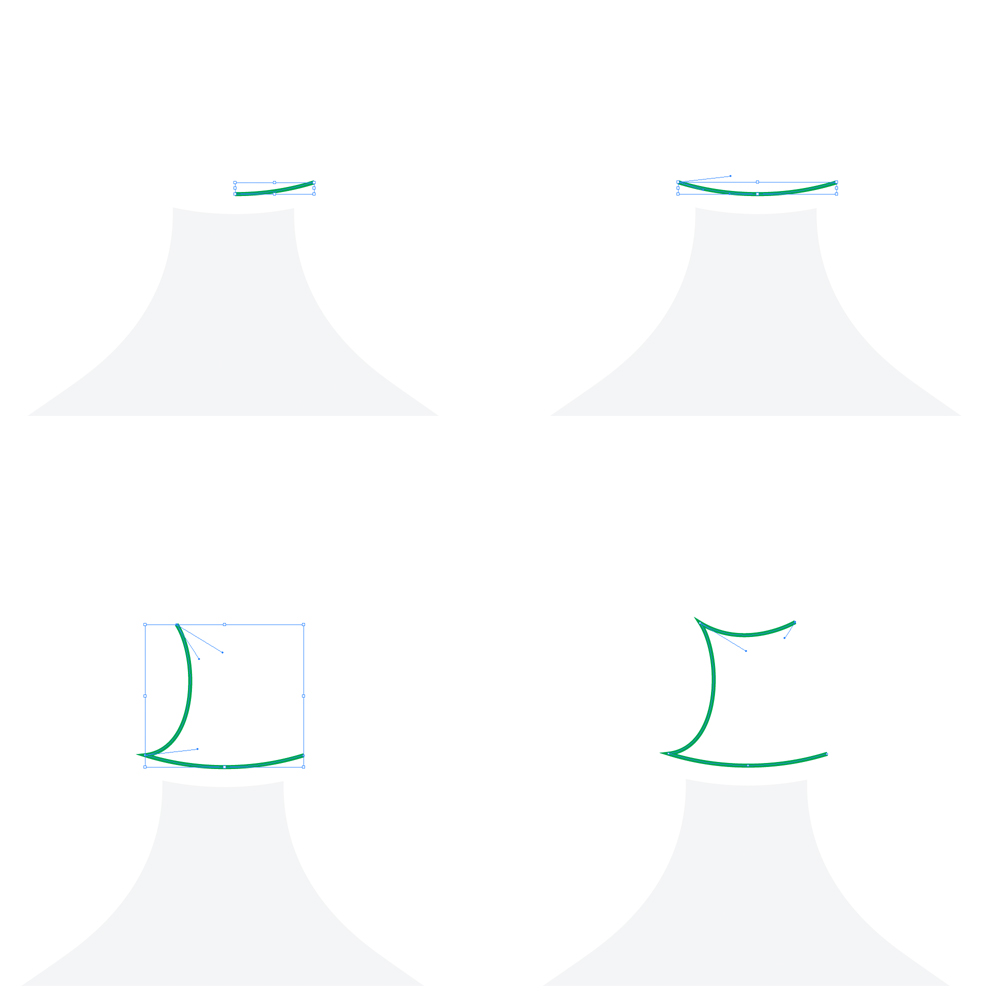
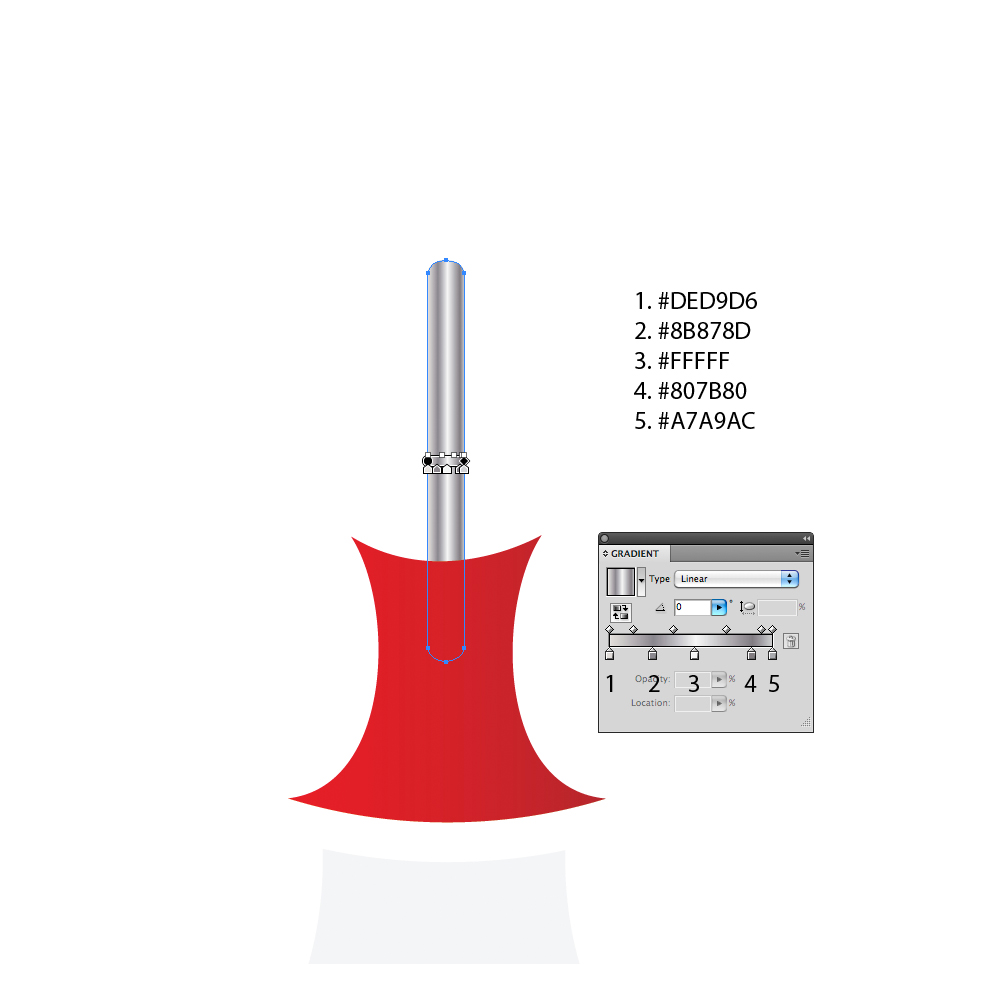 We will create the shape of the flag with Pencil Tool (
 Select the Pencil Tool (
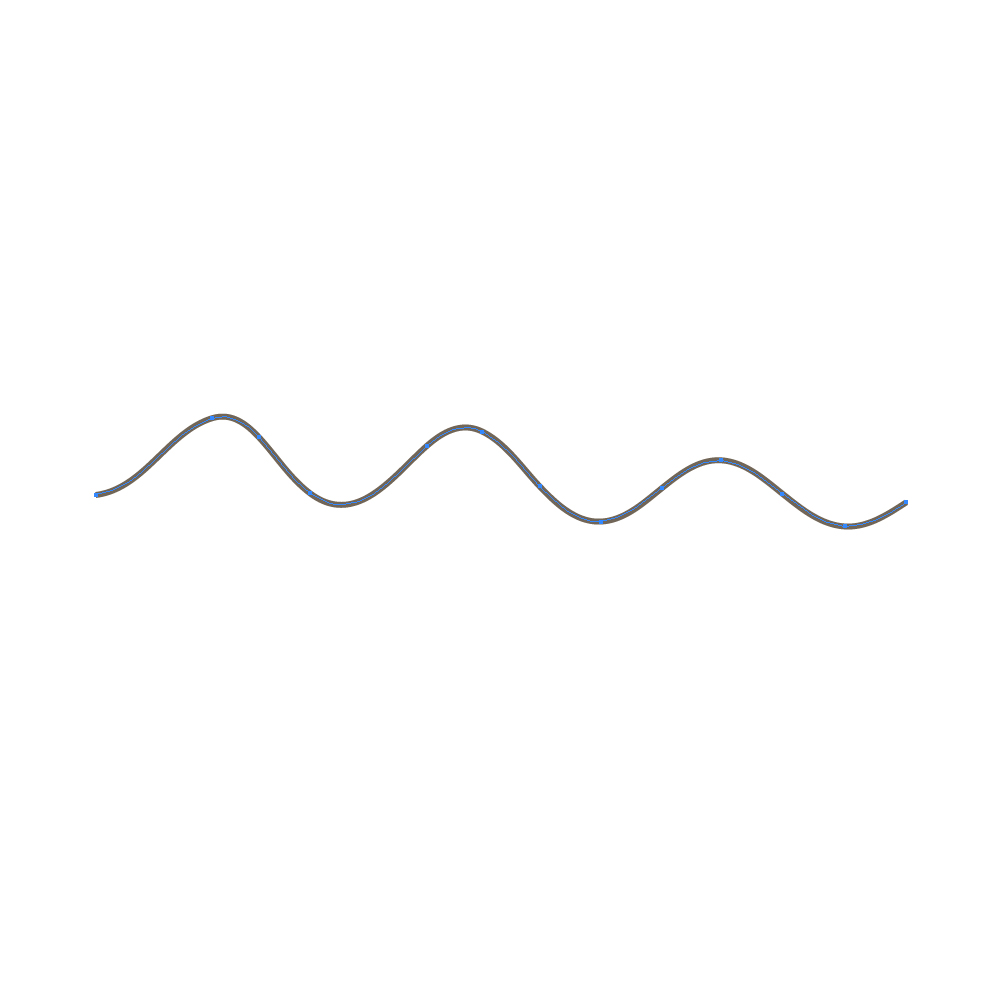 Duplicate the path (
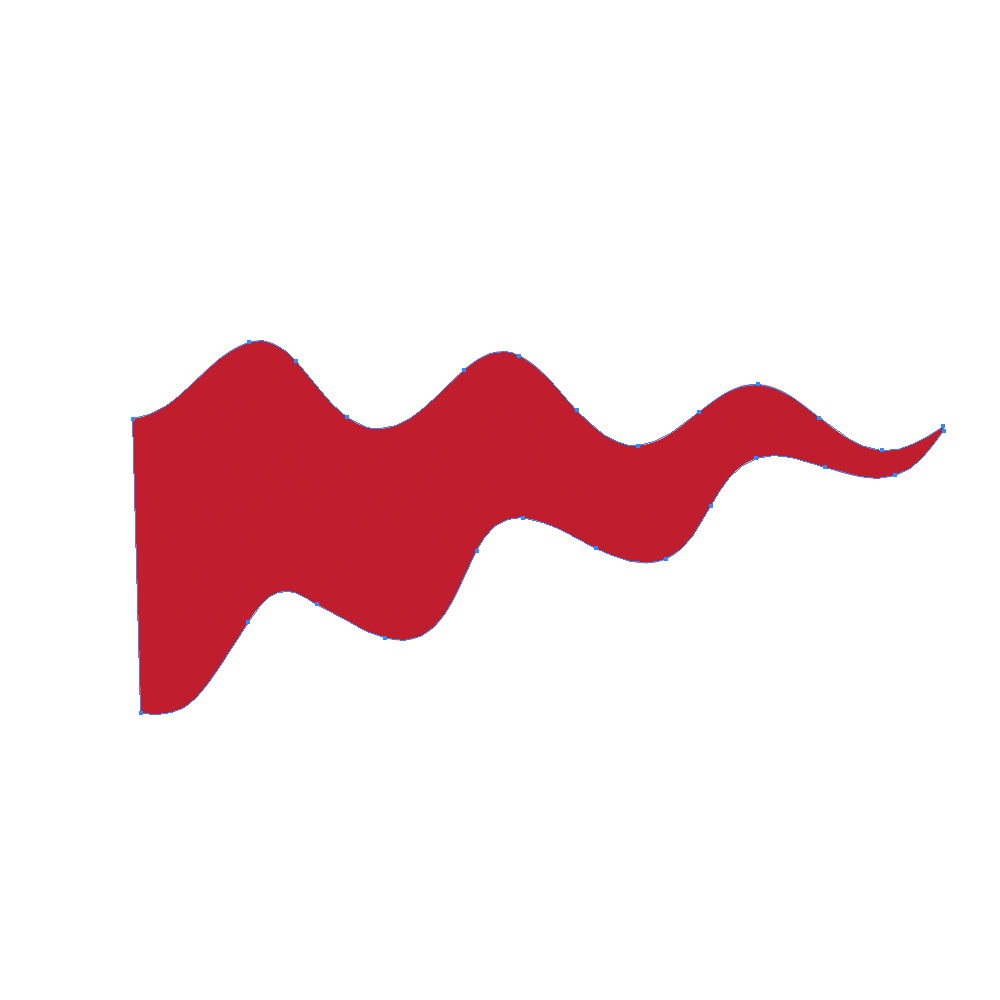
 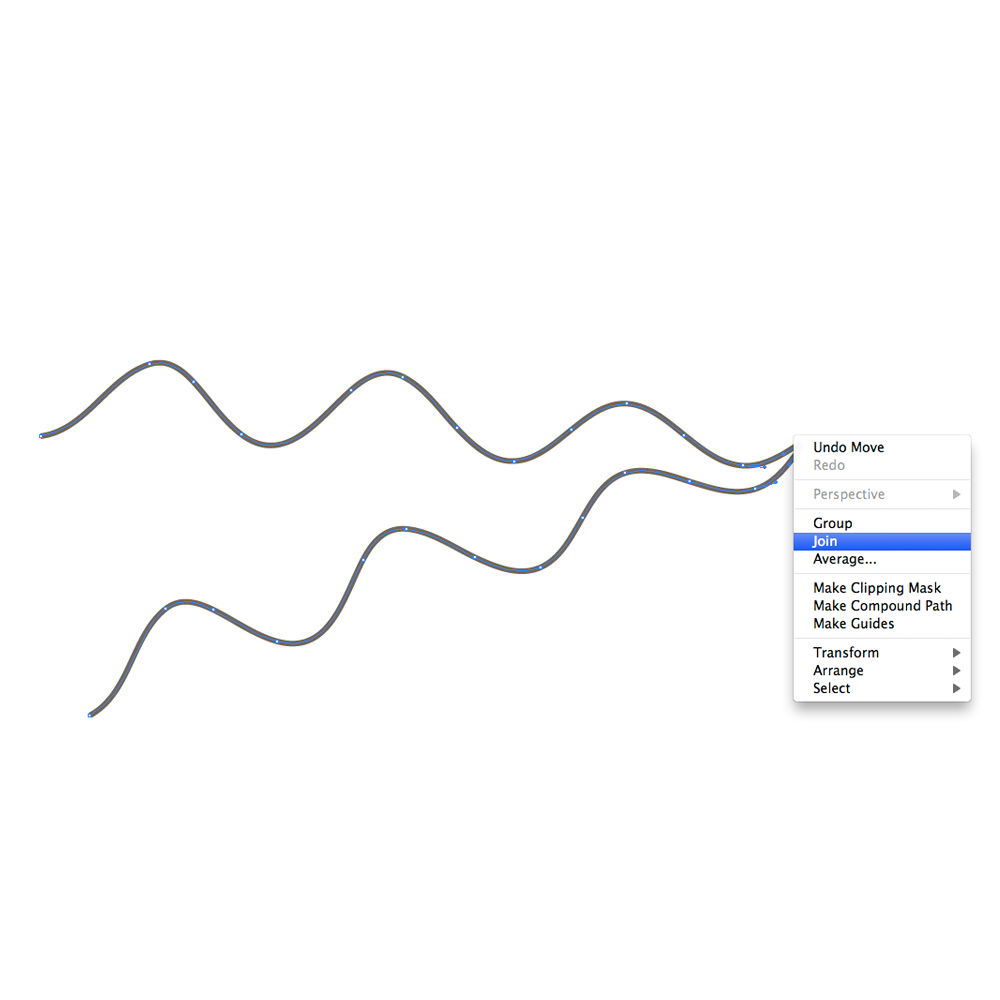 With the Pen Tool (
 Duplicate the flag twice (
 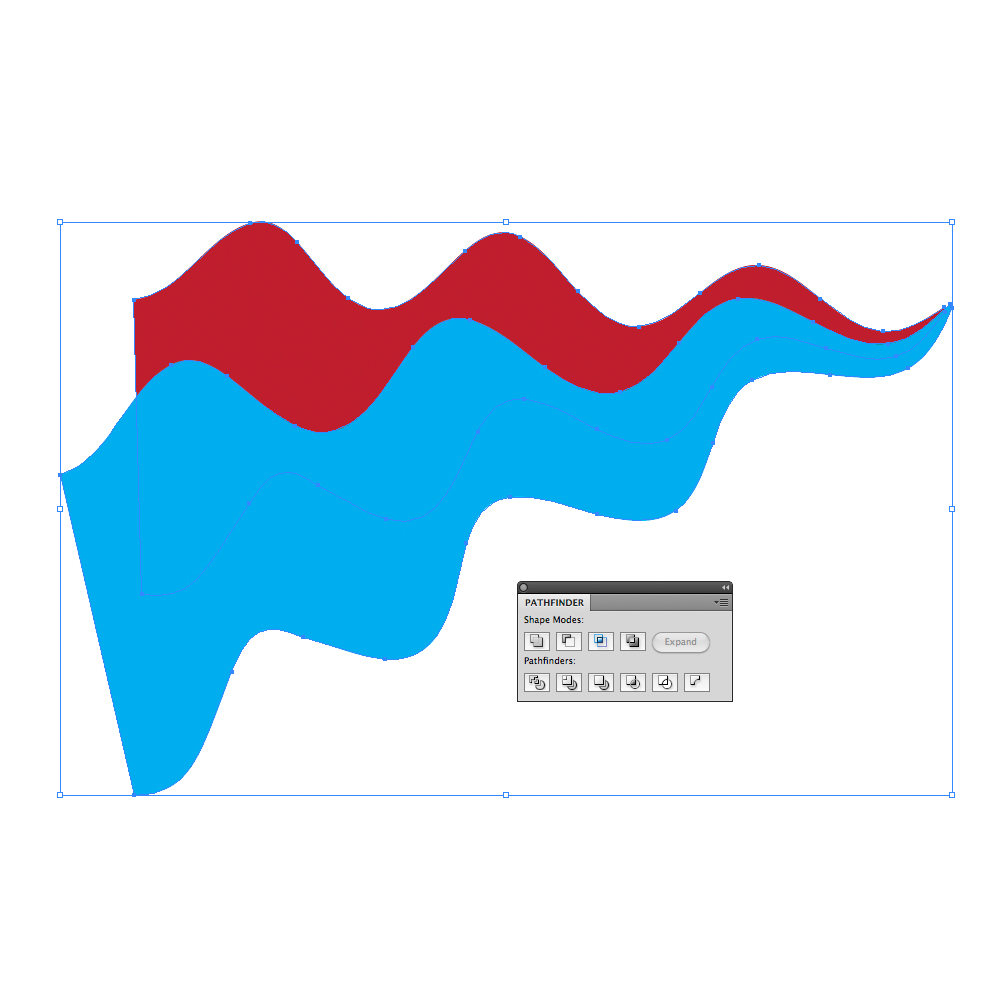 Set the Fill color to white (
 Grab the Pen Tool (
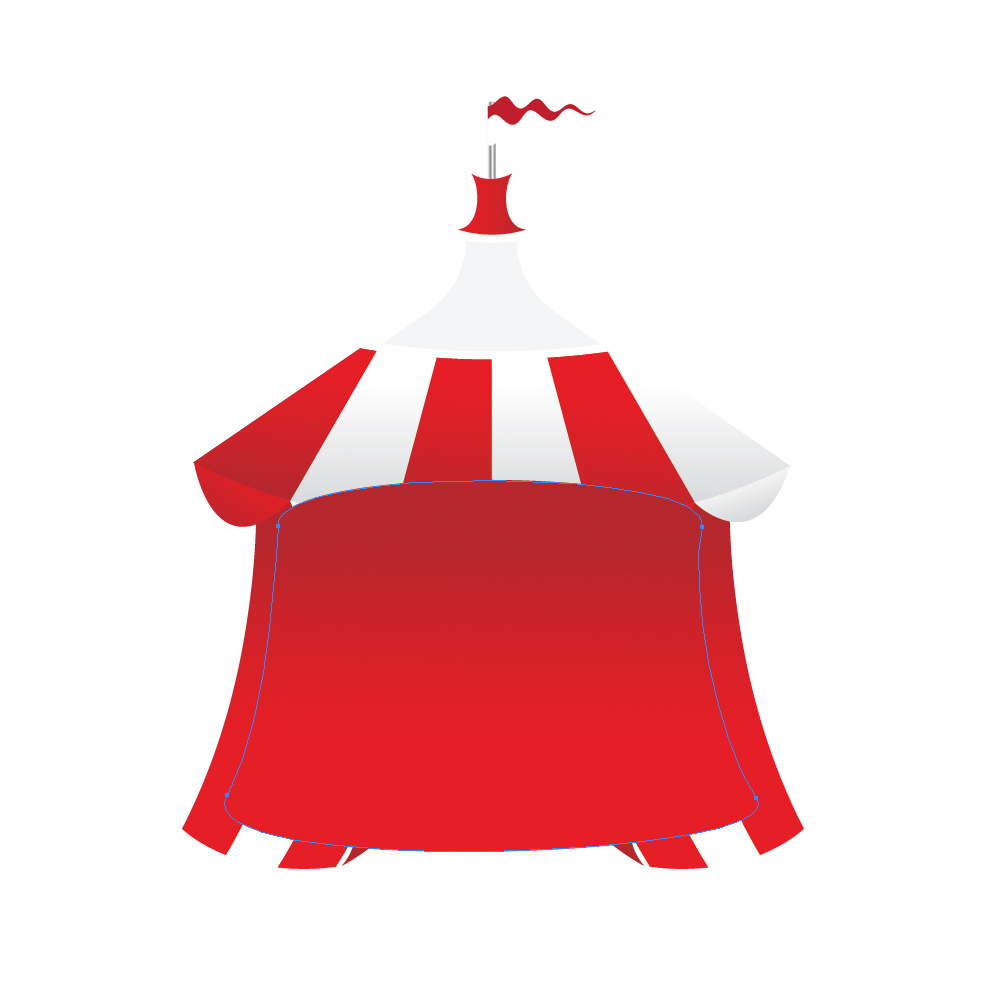 Send the red shape to the back (

 Ungroup (
 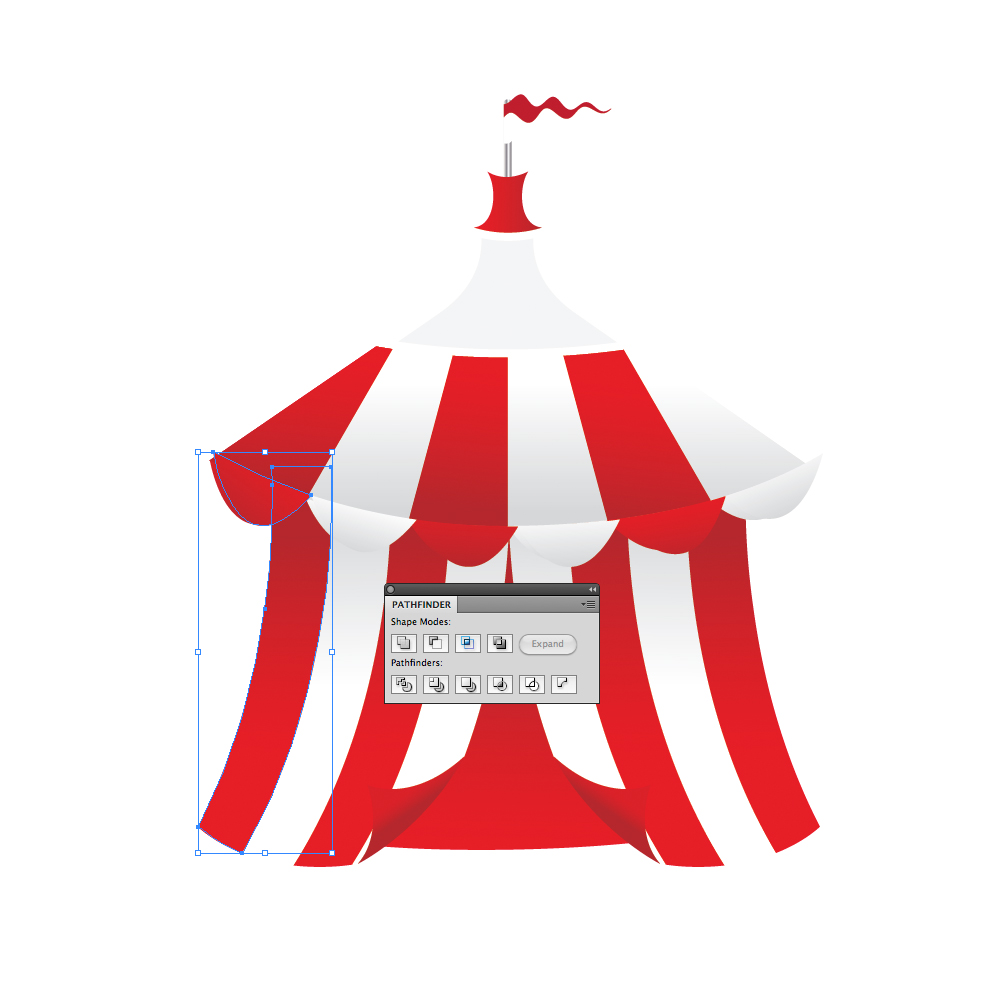 Set the Fill color to
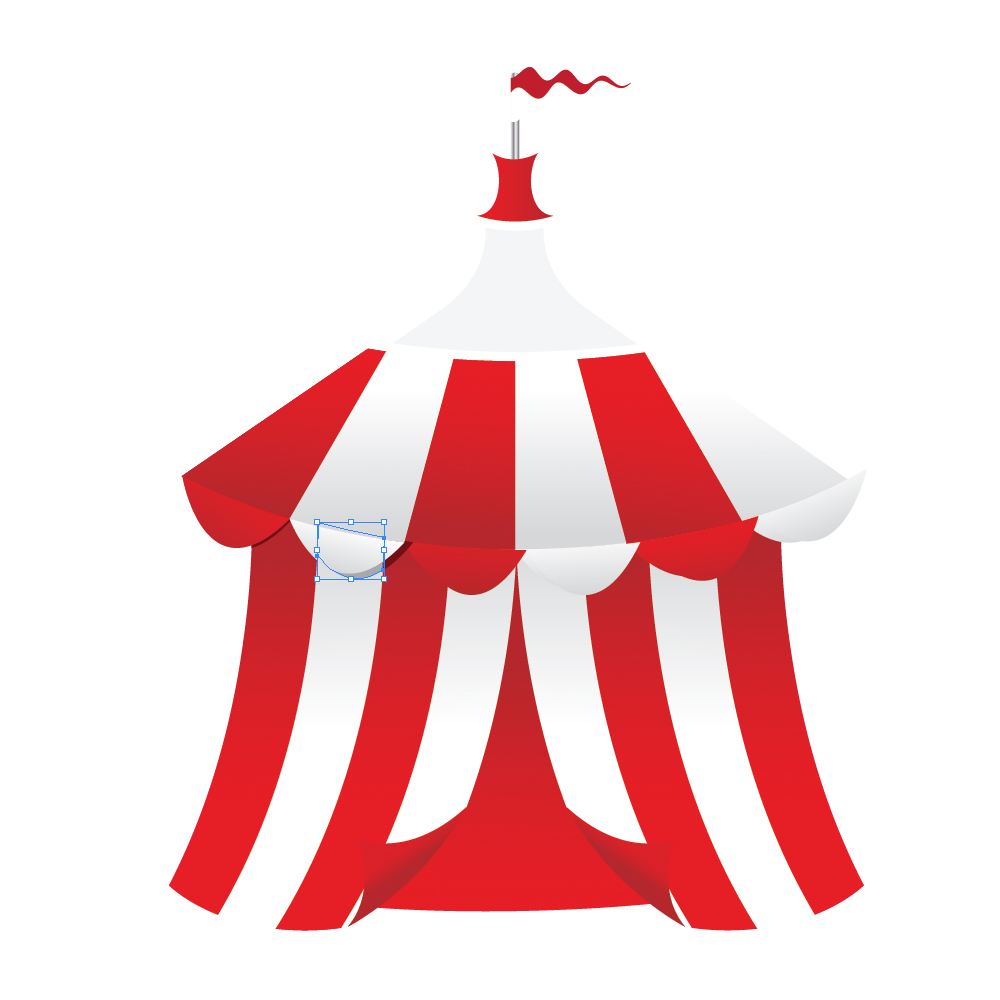
 The circus tent is done. Group (
 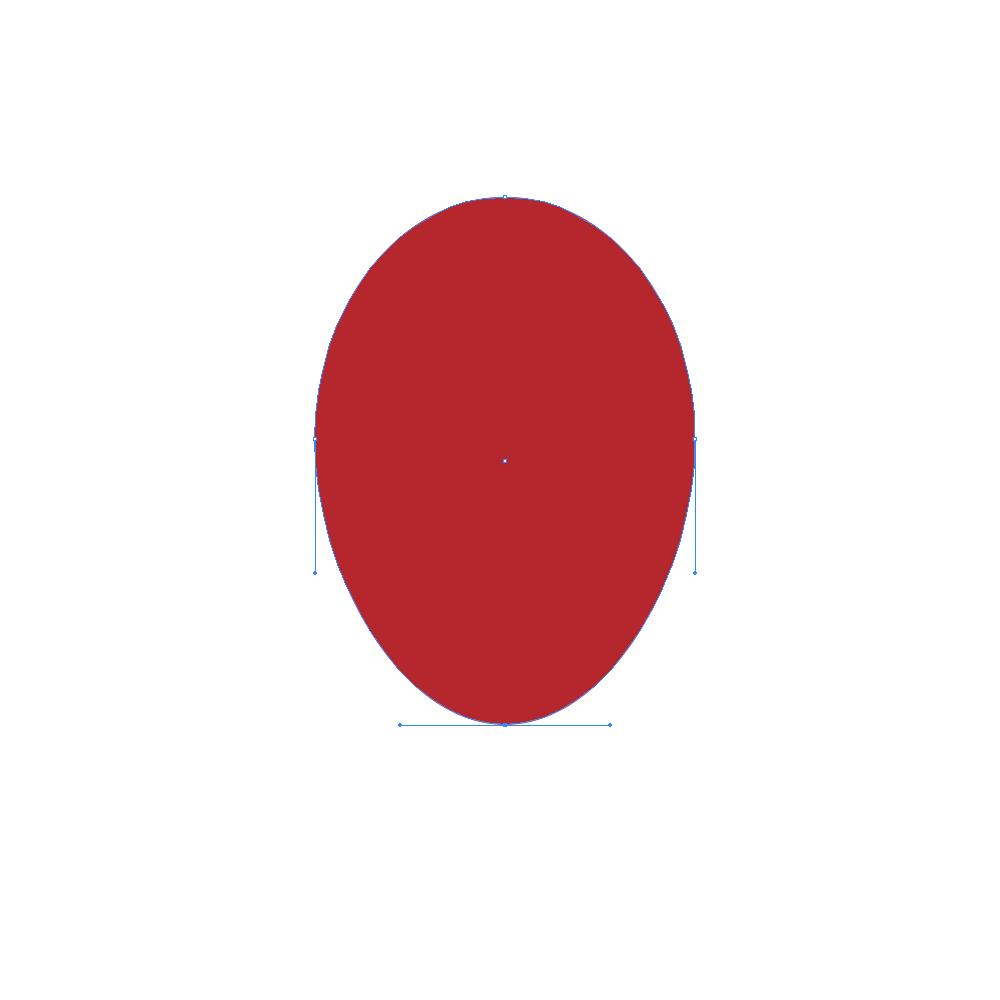 Grab the Pen Tool (
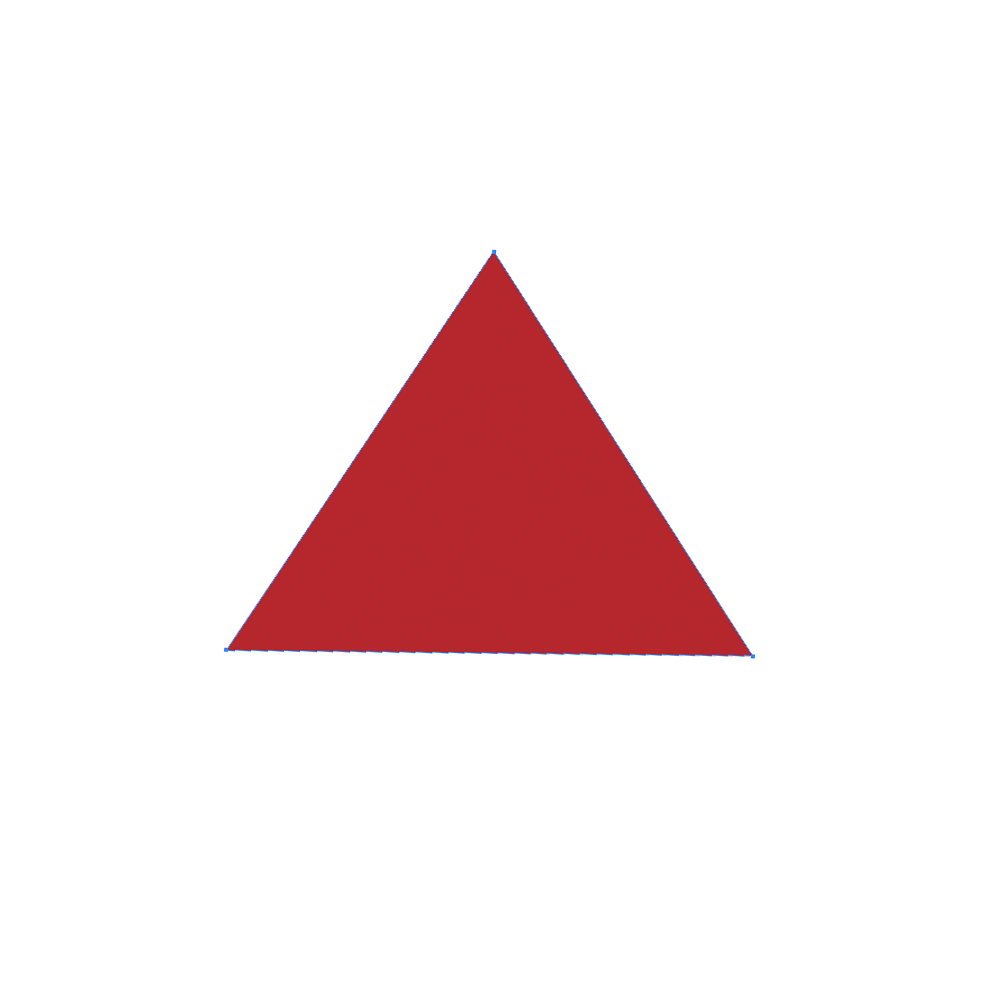 With the Ellipse Tool (
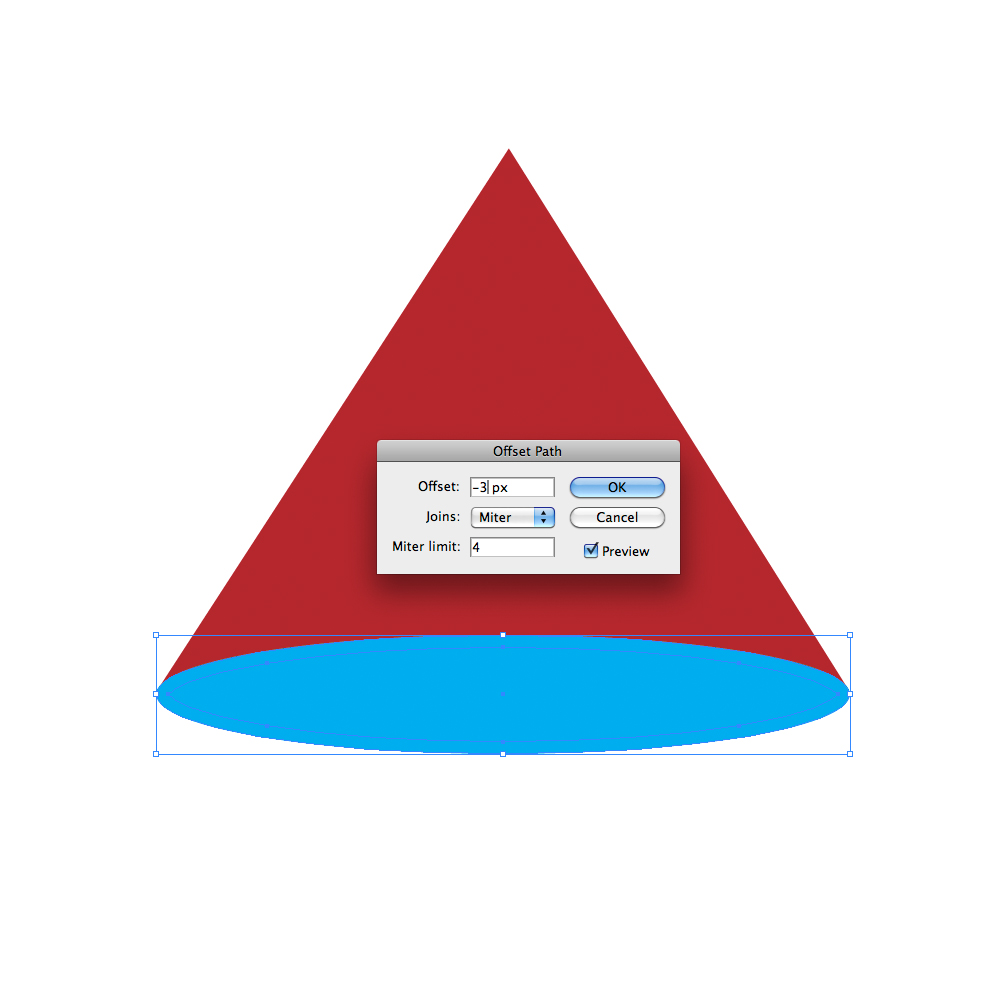
 Under the Object select Path > Offset Path. Set the value for Offset to
  Let's put all elements together and to apply some nice gradients.
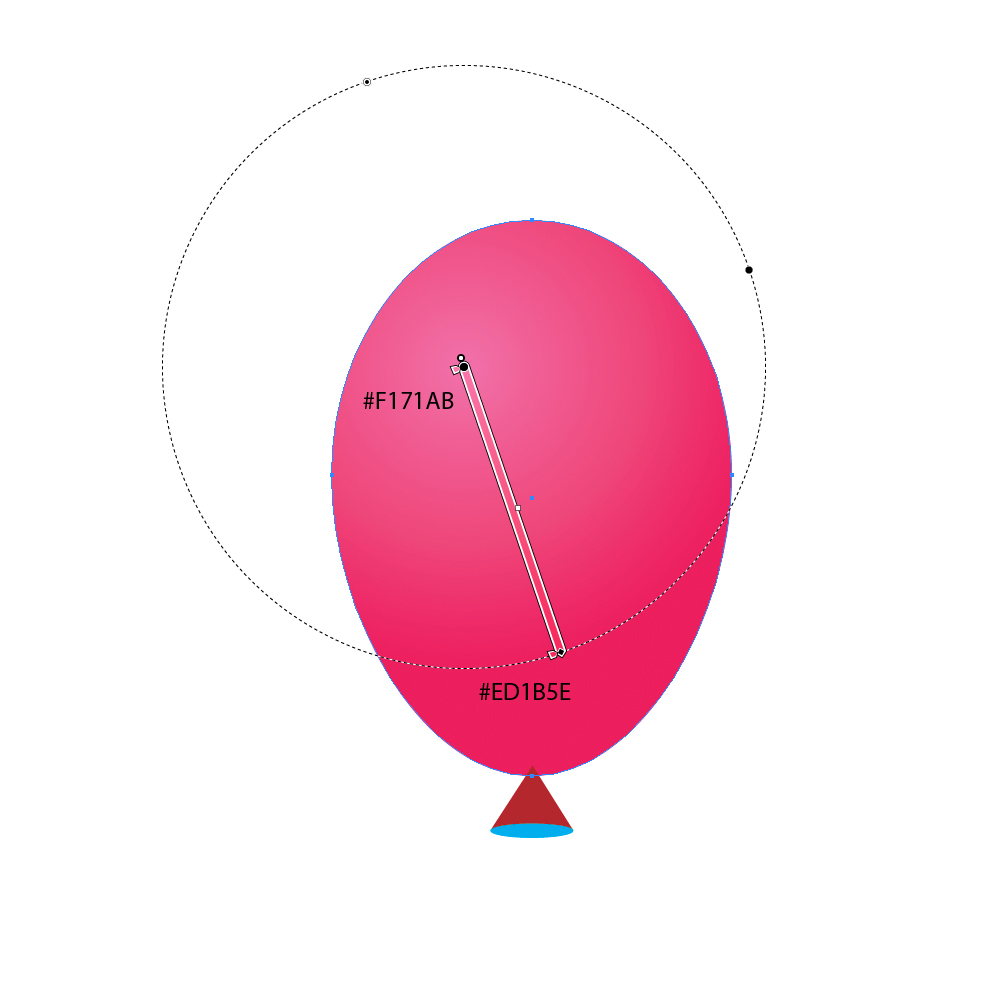 To lower part of the balloon apply linear gradient with same colors as we used for the radial gradient. With the Ellipse Tool (
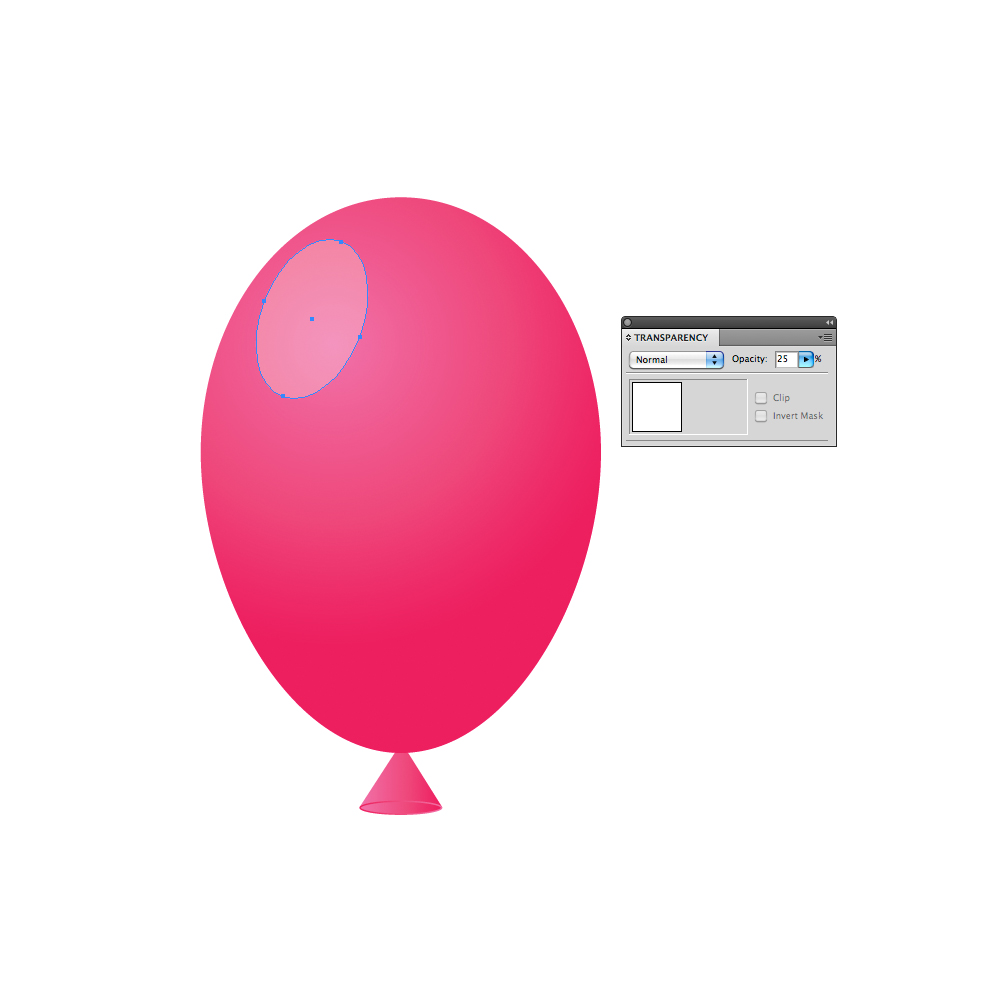 Using the same technique create balloons in oder colors. Group them (

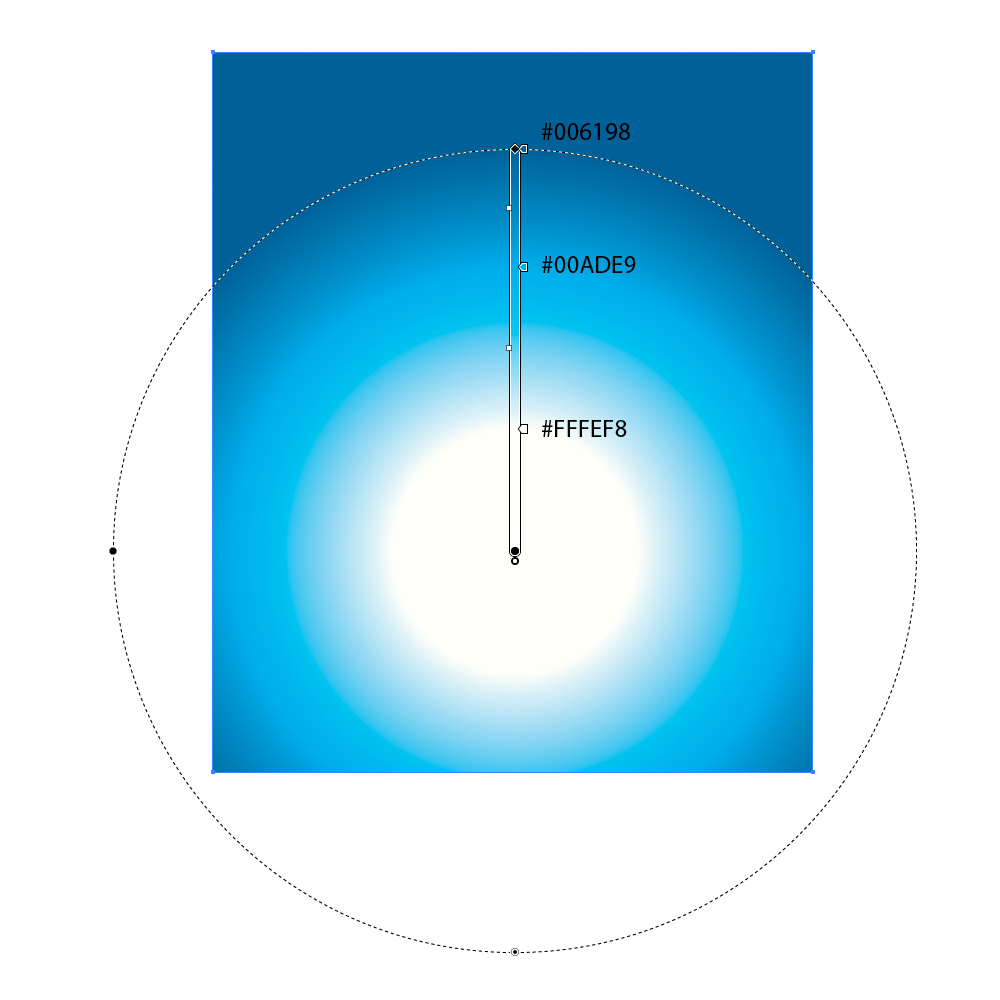 Grab the Ellipse Tool (
 Duplicate (
  Let's place our circus tent and balloons on the hill. We will have to create few more details in order to improve our illustration.
 We have to create shadow that tent cast on the grass. Grab the Ellipse Tool (
 Set the Fill color of the smaller ellipse to
  We will create the mirror image of the balloons. Select the group of the balloons and under the Object select Transform > Reflect. Set the Axis to
 Select them all and under the Pathfinder Panel hit the Unite button. Set the Fill color to
  Using the same techniques create few more clouds.
 Just few more flowers and...
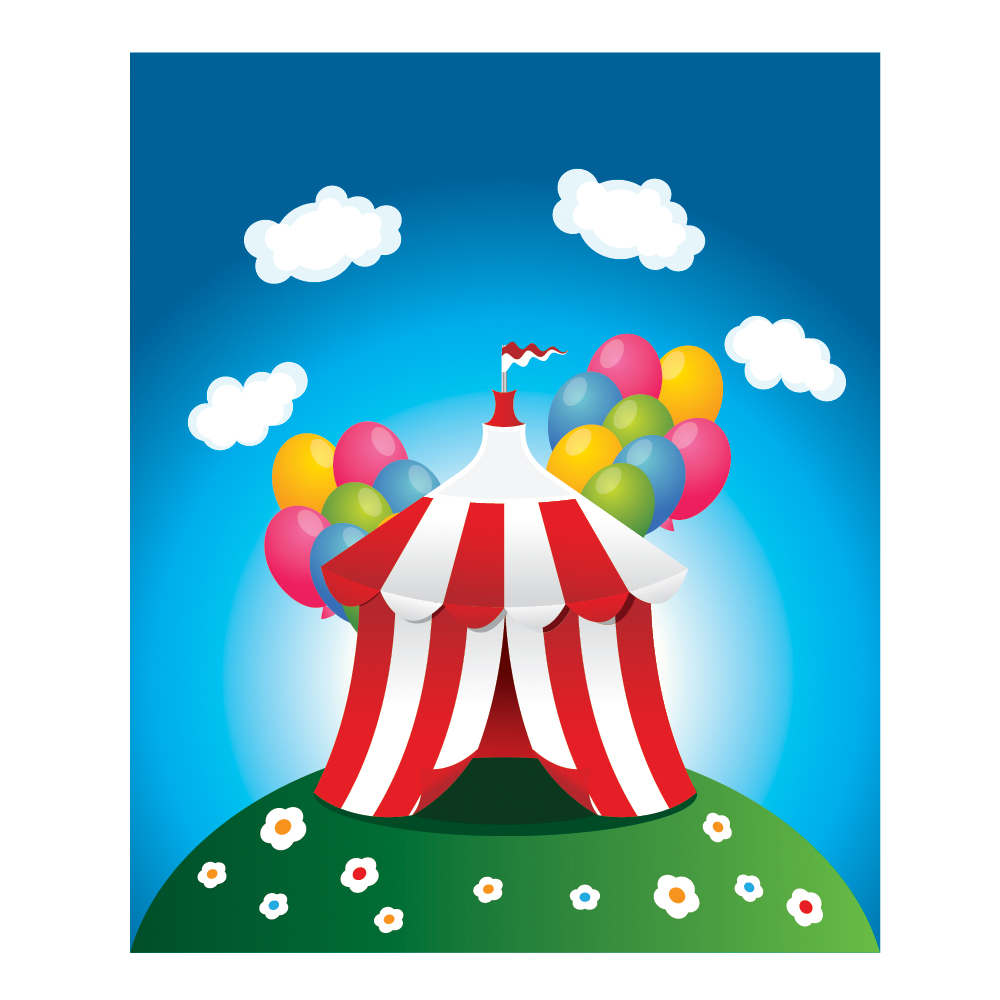 ...Voila! We are done.
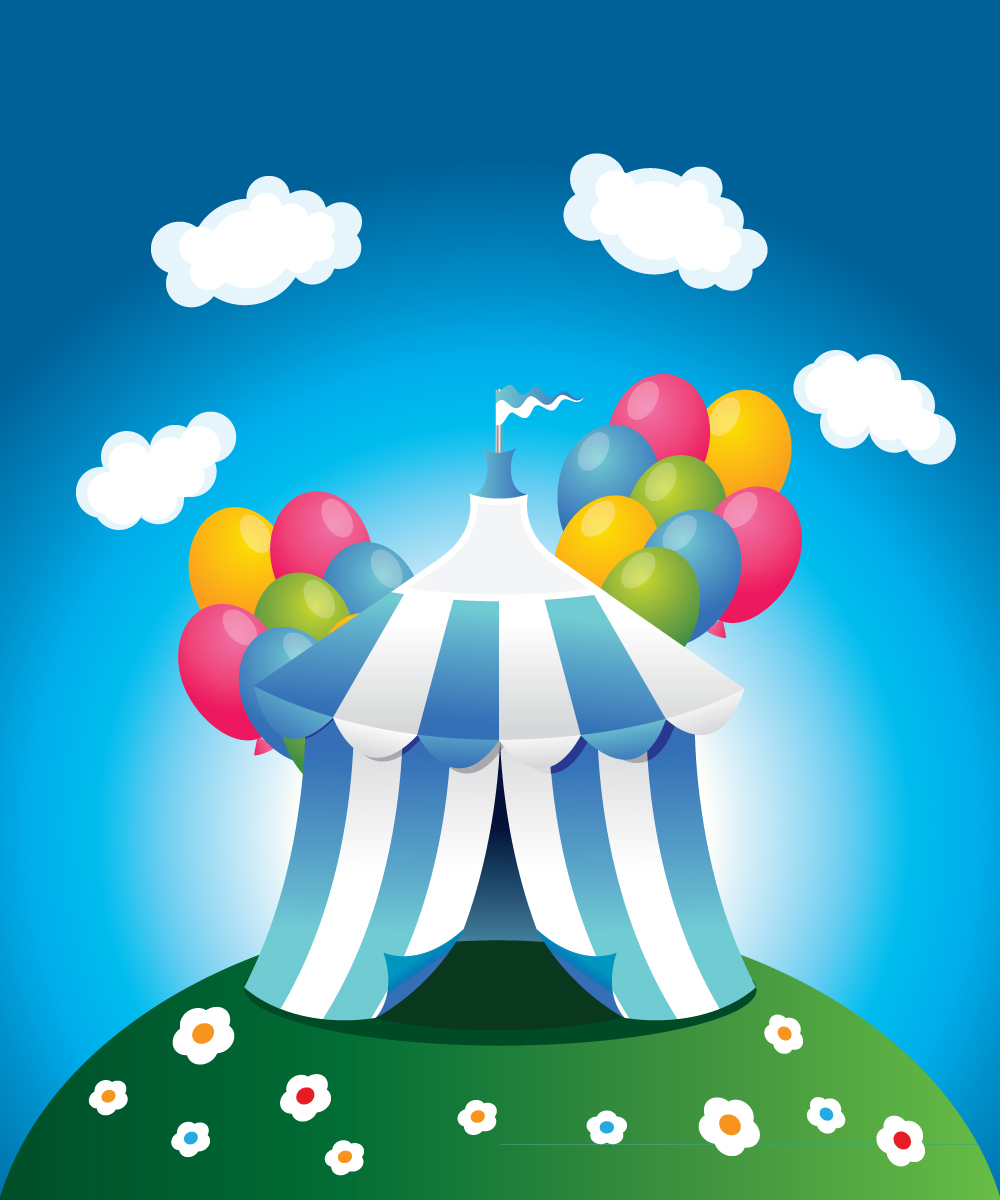
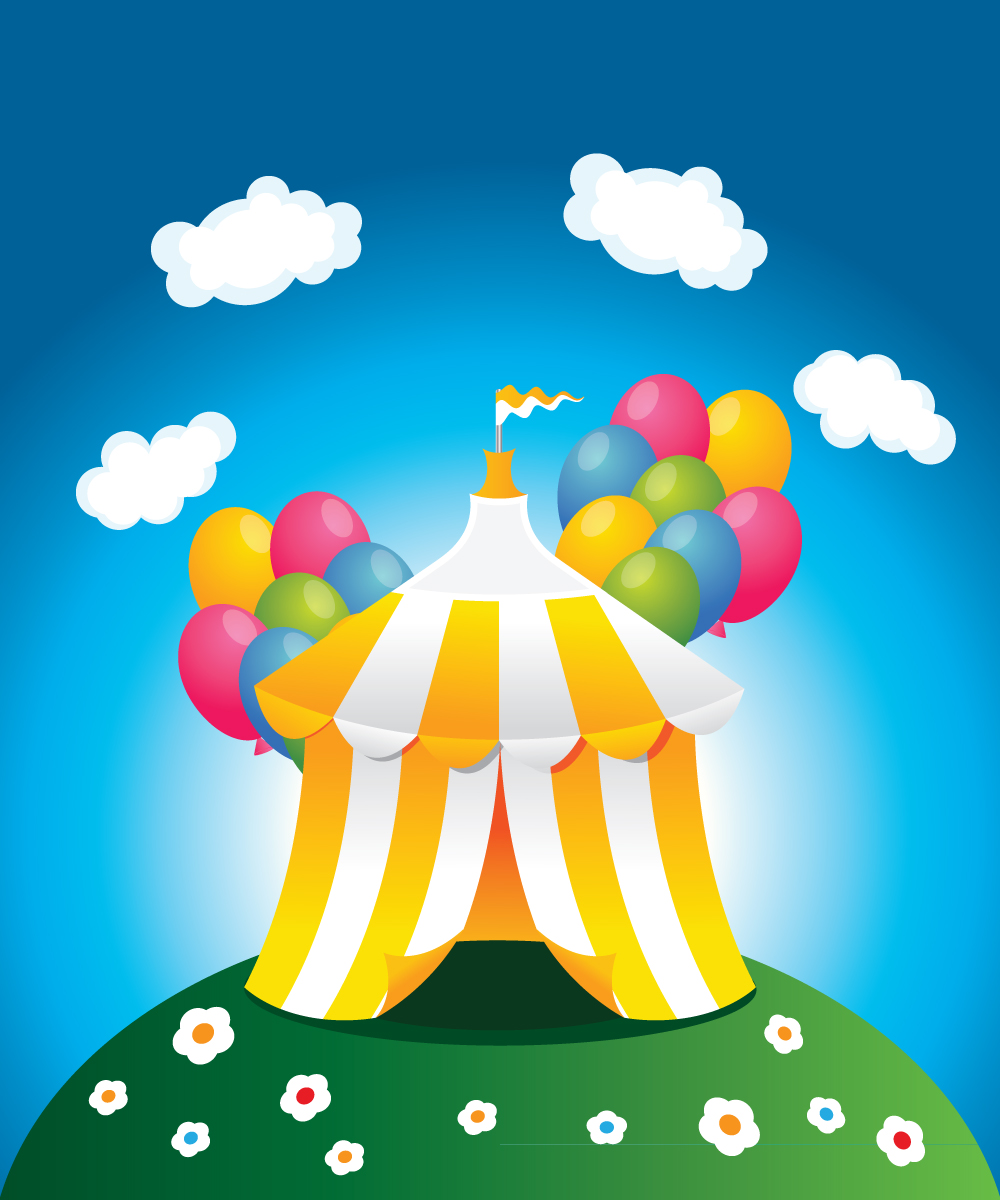
Feel free to create the circus tent in different colors.

Creating the Lower Part of the Circus Tent
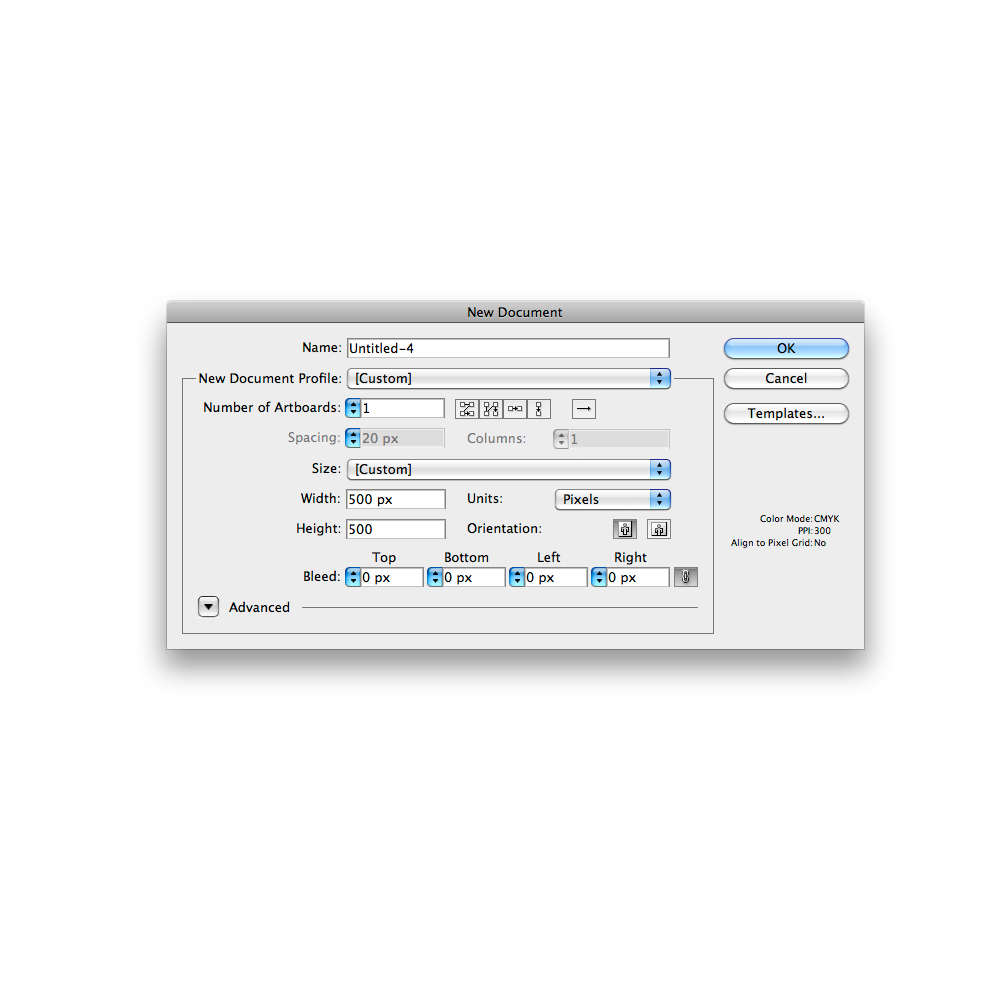
Create a new Illustrator document with500 x 500 pixels in size.
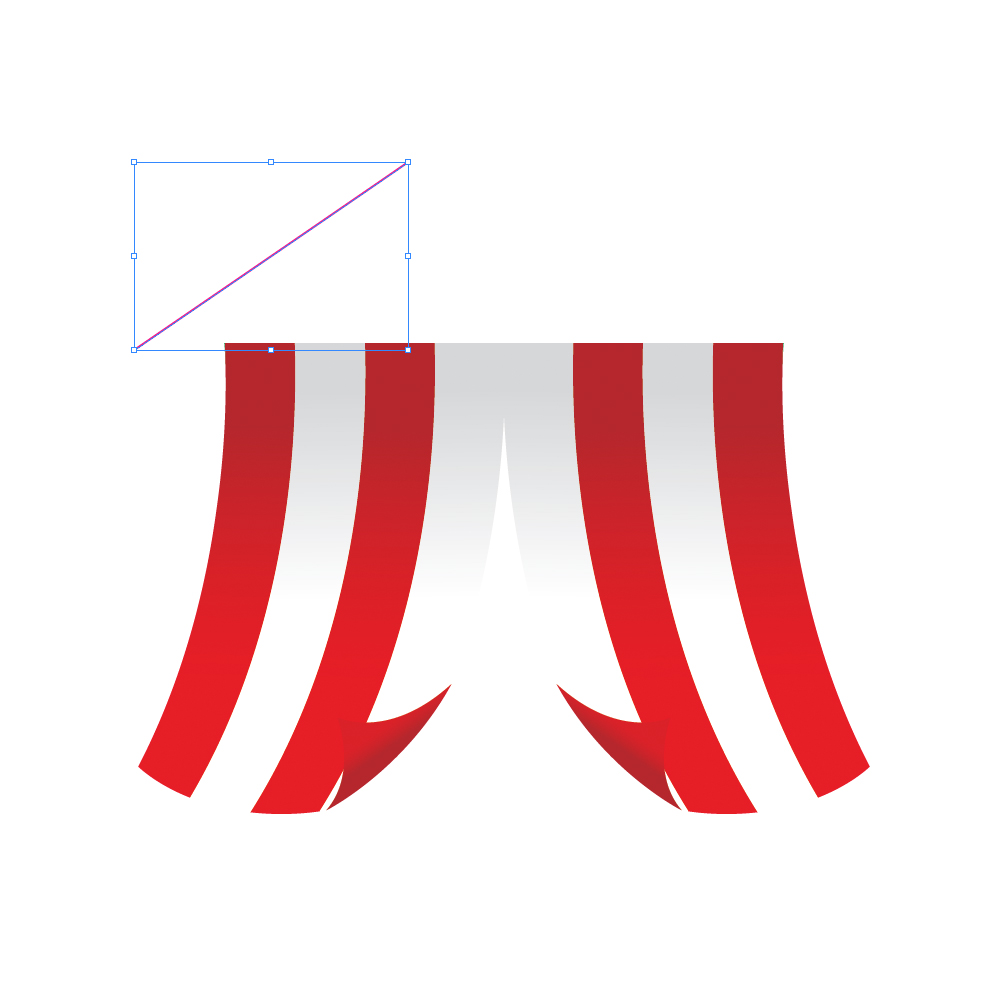
 For the start, grab the Pen Tool (
P) from the Tool Panel and create the path as it shown on the picture below.
 Holding the Alt key on the keyboard select the path and move it to the right. Don' t forget to hold the Shift key for the straight dragging. This way we will create the copy of the path. You should end up with something like this.
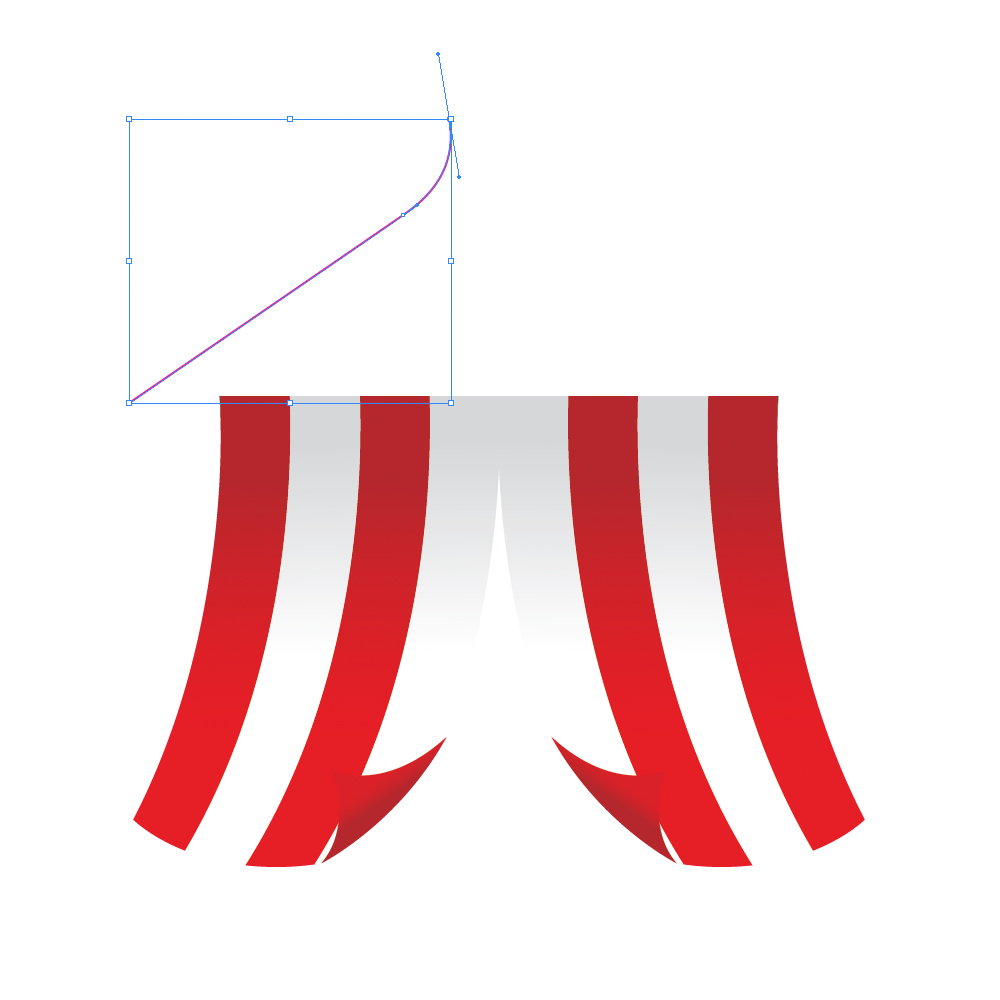
 Select the Pen Tool (
P) again and click on the end points of these paths in order to create a shape like this.
 Select the Add Anchor Point Tool (
+) and add the anchor point as it shown on the picture below.
 We need to nudge this anchor point few pixels downwards. To do that select the anchor point we've just created with Direct Selection Tool (
A) and hit the down arrow key on the keyboard.
 Let's create a nice arc. Grab the Convert Anchor Point Tool (
 Shift + C ) from the Tool Panel, click on the new anchor and drag it to right. Don't forget to hold the Shift key on the keyboard for straight dragging.

Creating the Stripes
Let's create nice stripes for the tent. Grab the Pen Tool (P) from the Tool Panel and create the path as it shown on the picture below.
 We have to create the copy of this path. Hold the Alt key on the keyboard and click on the path. Holding the Shift key on the keyboard (for straight dragging) move the copy to the right.
 Select both paths and under the Object select Blend > Make.
 Under the Blend Options set the Spacing to Specified Steps and the value to
 3.
 Under the Object select Expand and Ungroup (
 Shift + Ctrl / Cmd + G ) the paths. Select all the elements we've created so far and under the Pathfinder Panel hit Divide button.
 Ungroup (
 Shift + Ctrl / Cmd + G ) the shape we have created. We will apply nice linear gradients to the stripes.
 We will do the same for white stripes.
 Now we will create a folded part of the tents side. Grab the Line Tool (
/) from the Tool Panel and create the line as it shown on the picture below.
 Select the white strip and the line and under the Pathfinder Panel hit Divide button.
 Ungroup (
 Shift + Ctrl / Cmd + G ) divided strip and rotate the small part for 135 degrees. You should end up with something like this.
 We have to adjust a bit the folded part. To do that grab the Direct Selection Tool (
A) from the Tool Panel and adjust the position of the anchor points and angle of the handles.
 With the linear gradient we will create an illusion of curled side of the tent.
 Select all the elements we have created so far an Group them (
 Ctrl / Cmd + G ). Under the Object select Transform > Reflect. Set Axis to Vertical and hit the Copy button. It will create an mirror image. Just move it to the right as it shown on the picture below.

 Group (
 Ctrl / Cmd + G ) all the elements.
Creating the Upper Part of the Tent
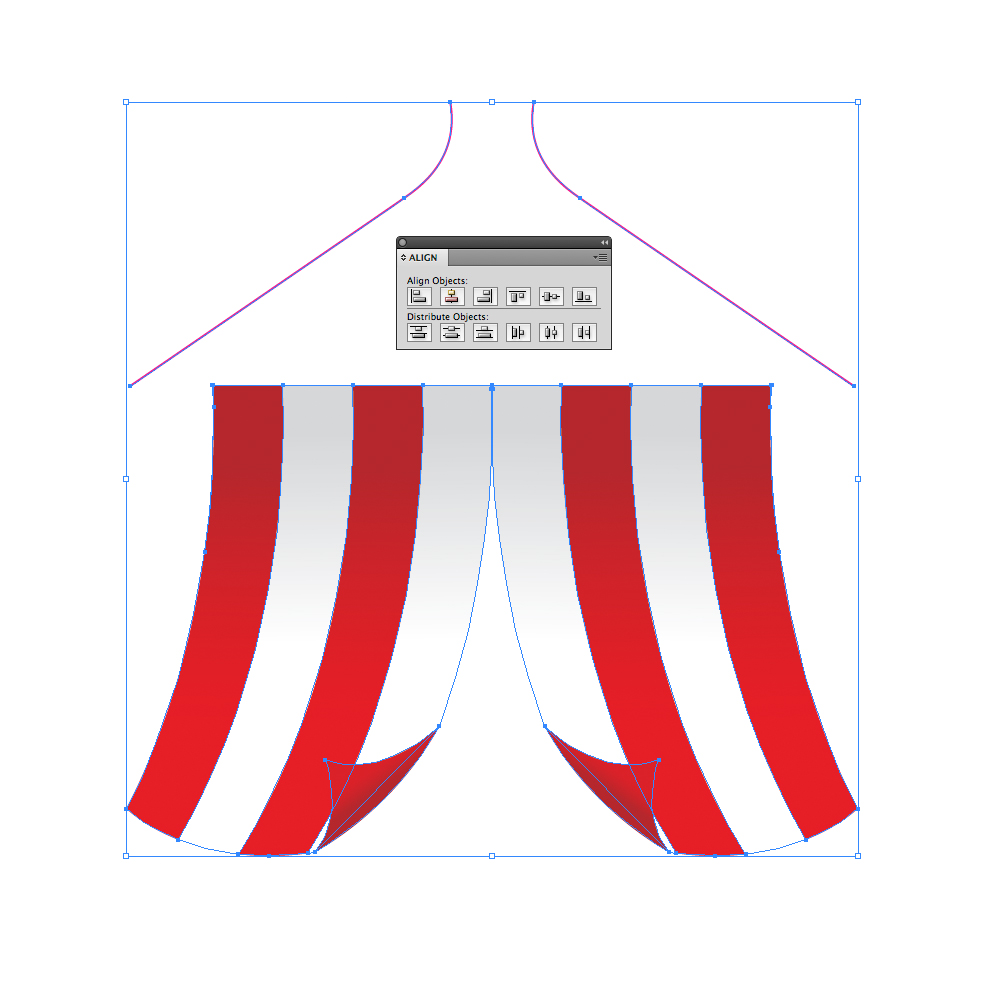
Now we have to create the upper part of the tent. Grab the Pen Tool (P) from the Tool Panel and create the path as it shown on the picture below.

 Under the Object select Transfer > Reflect. For the Axis select
 Vertical and hit the Copy button. Place the copy on the right side. Select both paths and Group ( Ctrl / Cmd + G ) them. Select all the the objects and under the Align Panel hit the Horizontal Align Center.
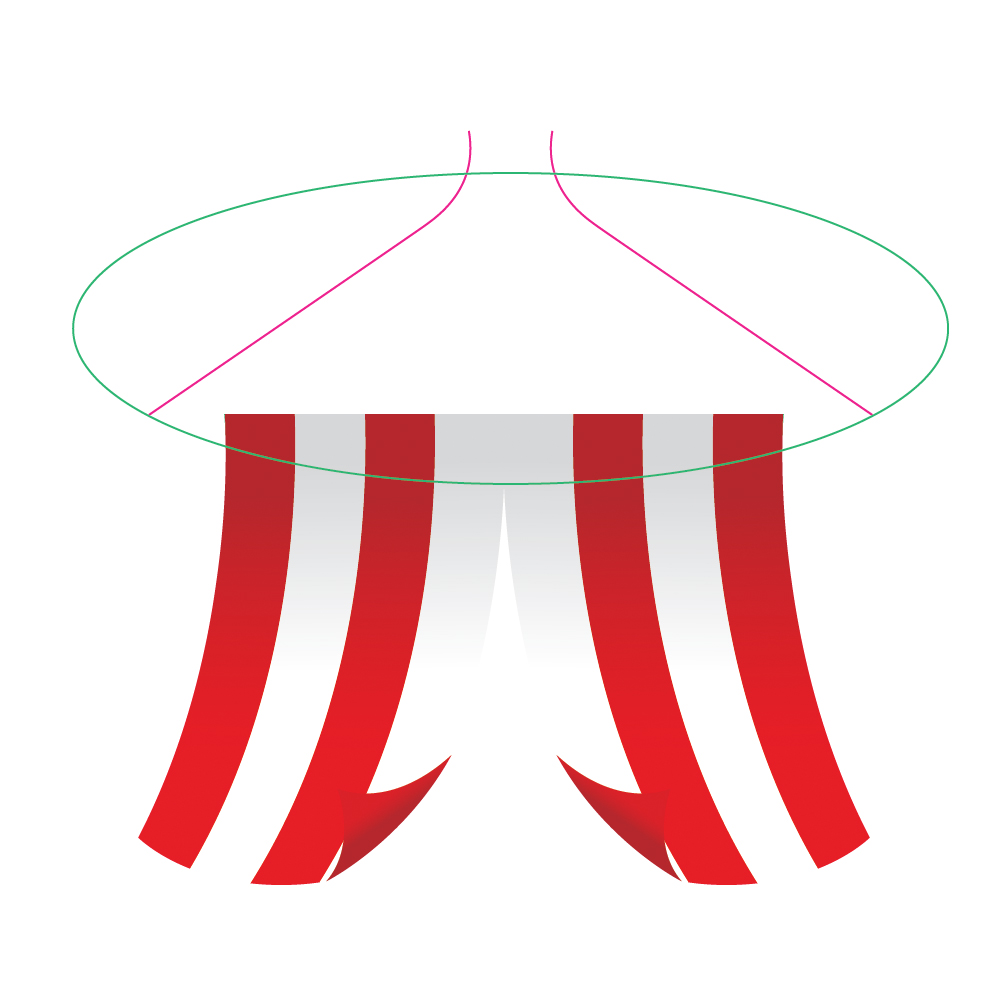
 Grab the Ellipse Tool (
L) from the Tool Panel and create the ellipse.
 Now we will have to add and to remove some anchor points. Select the Add Anchor Point Tool (
+) from the Tool Panel and add two anchor points to the ellipse.
 Grab the Direct Selection Tool (
A) from the Tool Panel, select anchor points we don't need and hit Delete key on the keyboard.
 Withe Direct Selection Tool (
A) select endpoints and under the right click hit the Join. Do that for the both sides of the upper part of the tent.
 With the Pen Tool (
P) close the path.
 Let's create red and white stripes for the upper part of the circus tent as well.
Duplicate (
 Ctrl / Cmd + C, Ctrl / Cmd + F ) the green shape twice. Move one of the copy upwards.
 Select both copies we have made and under the Pathfinder Panel hit the Intersect button.
 Grab the Line Tool (
/) from the Tool Panel and create a Vertical line. Hold the Shift key on the keyboard for the straight dragging.
 Grab the Rotate Tool (
 R ) from the Tool Panel, hold the Alt key on the keyboard and click right above the vertical line.
 The Rotation Option dialog will pop up. Set the value for the Angle to
 15 degrees.
 Hit the
 Copy button. It will create another line rotated for 15 degrees. To create more of those lines press the shortcut Ctrl / Cmd + D on the keyboard 22 times. It will create the whole round of lines.
 Remove unnecessary lines. Select green shape and the rest of the lines and under the Pathfinder Panel hit Divide button.
 Ungroup the new shape and apply red and white gradients, just like we did before. Use the same gradients we've used for the lower part of the tent.

 Set the Fill color of the blue shape to white (
#FFFFF). Under the Object select Path > Offset Path. Set the value for Offset to -5. Set the Fill color of the smaller shape to #F1F2F2.
 Grab the Pen Tool (
P) from the Tool Panel and try to draw the shape as it shown on the pictures below.


 Select all the elements of the upper part of the tent (except the green shape) and send it to front (
 Shift + Ctrl / Cmd +] ).
 Select only red and white stripes (as it shown on the picture below) and duplicate them (
 Ctrl / Cmd + C, Ctrl / Cmd + F ). Under the Pathfinder Panel hit the Unite button.
 Select the shape we have just created and the green shape and under the Pathfinder Panel hit the Minus Front button.
 Ungroup (
 Shift + Ctrl / Cmd + G ) the green shape and apply the same white and red gradients we have already used.

 Grab the Pen Tool (
P) from the Tool Panel and draw the path as it shown on the picture below.


Creating the Flag
Grab the Rounded Rectangle Tool from the Tool Panel and create a tiny rectangle. Apply linear gray gradient. We will create the shape of the flag with Pencil Tool (
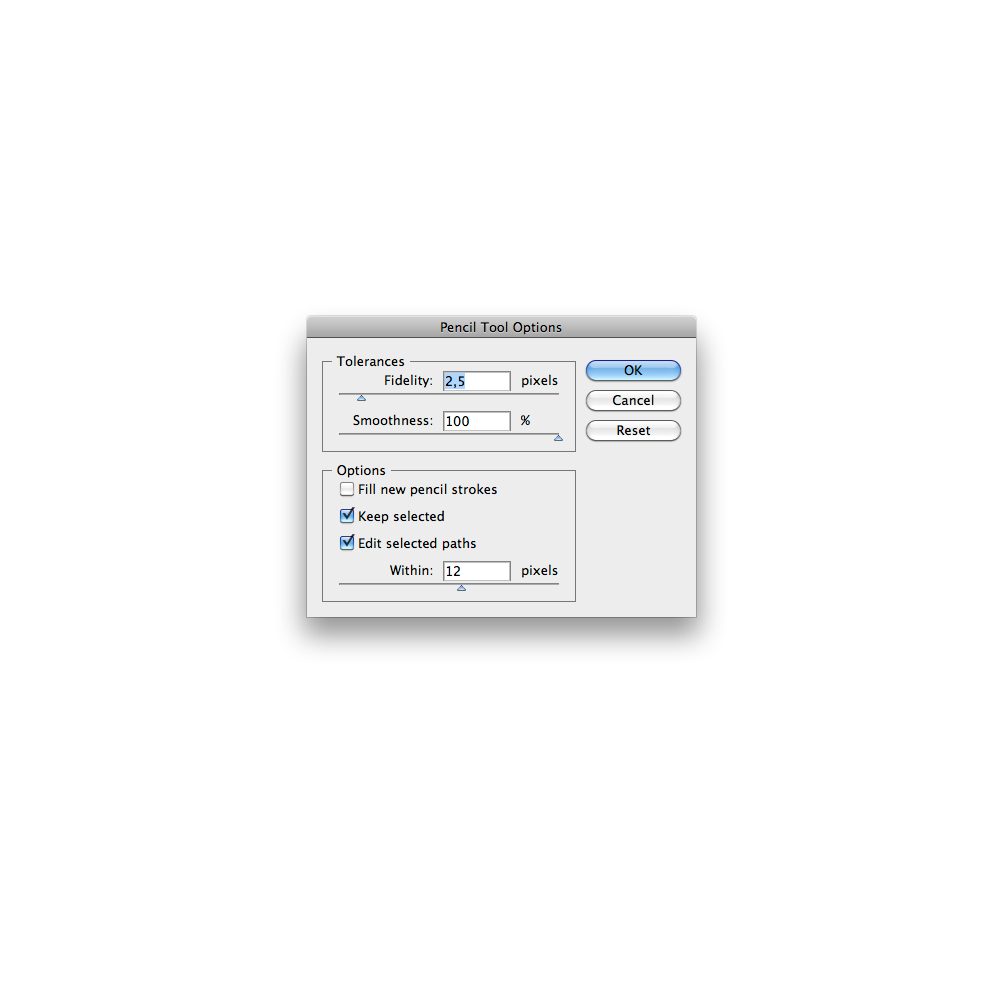
N), but first we have to set parameters for smooth line. With double click on the Pencil Tool icon in the Tool Panel we will bring up the Pencil Tool Options. Set the Fidelity to 2.5 and the Smoothness to 100%. Hit the OK button.
 Select the Pencil Tool (
N) from the Tool Panel and create a curved line as it shown on the picture below. Don't worry much about the shape. Just try to create a smooth waves.
 Duplicate the path (
 Ctrl / Cmd + C, Ctrl / Cmd + F ), rotate it a bit and move around as it shown on the picture below. With the Direct Selection Tool (A) select endpoints on the right click hit Join.
 With the Pen Tool (
P) close the path. Set Fill color to red.
 Duplicate the flag twice (
 Ctrl / Cmd + C, Ctrl / Cmd + F ), scale up one of the copies and rotate it. Select both copies and under the Pathfinder Panel hit the Intersect button.
 Set the Fill color to white (
#FFFFF), Group it ( Ctrl / Cmd + G ) and place it on the handle on the top of the circus tent.
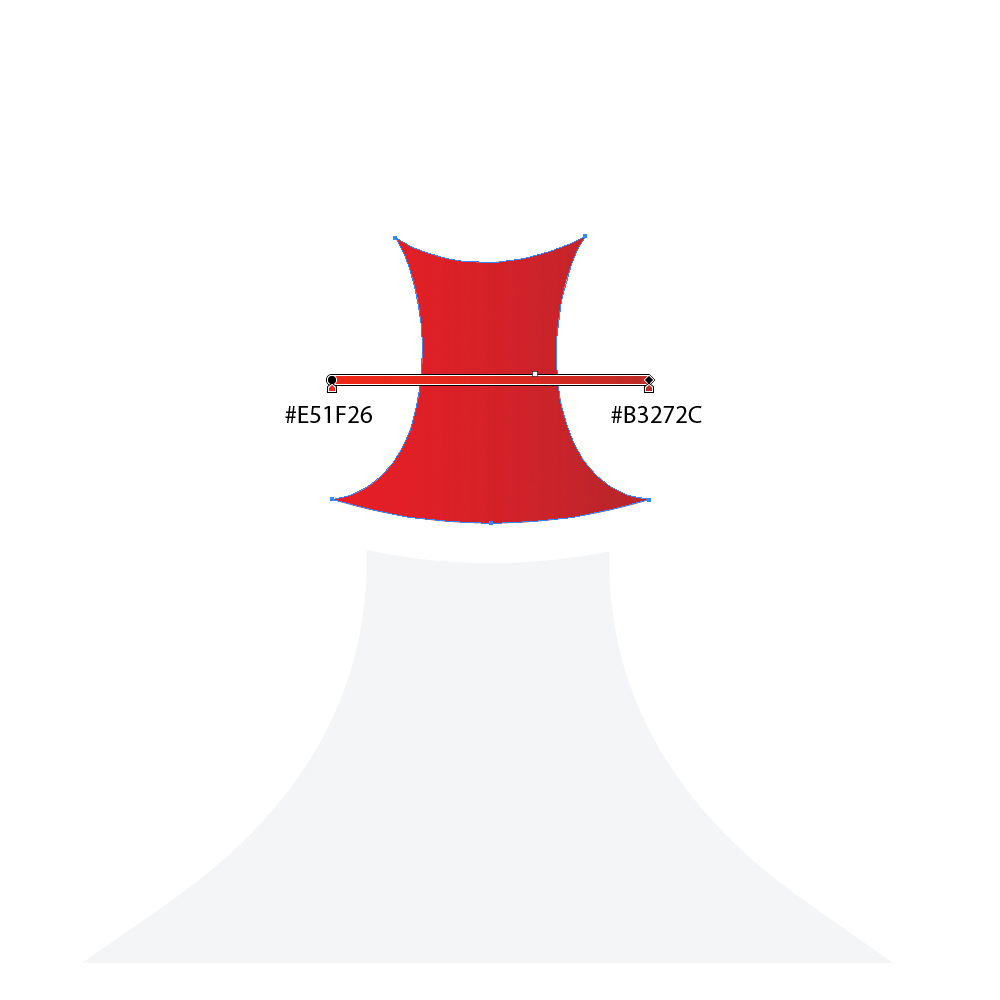
 Grab the Pen Tool (
P) from the Tool Panel and create the back side of the circus tent. The shape doesn't have to be perfect. Apply the same red linear gradient we are using from the start of this tutorial.
 Send the red shape to the back (
 Shift + Ctrl / Cmd + [ ).

Creating details
Select the small parts of the roof (as it shown on the picture below) and duplicate them (Ctrl / Cmd + C, Ctrl / Cmd + F ). Scale them up and move them to the right little bit.
 Ungroup (
 Shift + Ctrl / Cmd +G ) the lower part of the tent. Make sure to have all stripes ungrouped. Now we will combine some shapes inside the Pathfinder Panel.
Select the stripe and duplicate it ( Ctrl / Cmd + C, Ctrl / Cmd + F ). Holding the Shift key on the keyboard select the copy of the stripe we have just made and one of the parts we created in the previous step. Under the Pathfinder Panel hit the Intersect button.
 Set the Fill color to
 #720F16 and make sure to place it underneath the upper part of the circus tent. Repeat this step for each stripe. For the shadow on white stripes set the Fill color to #A7A9AC.

 The circus tent is done. Group (
 Ctrl / Cmd + G ) all the elements we have created so far.
Let's move on to the balloons.
Balloons
We will try to create create colorful balloons in just few steps. Grab the Ellipse Tool (L) from the Tool Panel and create the ellipse. With Direct Selection Tool (A) we will distort the ellipse little bit. Select the lower anchor point and nudge it few pixels downwards. To do that use the arrow keys on the keyboard.
 Grab the Pen Tool (
P) from the Tool Panel and create simple, irregular triangle.
 With the Ellipse Tool (
L) create ellipse as it shown on the picture below. Make sure to mach endpoints.
 Under the Object select Path > Offset Path. Set the value for Offset to
 -3.
 Let's put all elements together and to apply some nice gradients.
 To lower part of the balloon apply linear gradient with same colors as we used for the radial gradient. With the Ellipse Tool (
L) create a small ellipse and set the Fill color to white (#FFFFFF). Lower the Opacity to 25%.
 Using the same technique create balloons in oder colors. Group them (
 Ctrl / Cmd + G ).

Creating the Background
Beside circus tent and the balloons we have to create a background with cute clouds and a hill with some flowers. Grab the Rectangle Tool (M) from the Tool Panel and click somewhere on the Artboard. A Rectangle Option box will pop up. Set the values for width and height to 500 x 600 pixels. Apply nice blue, radial gradient.
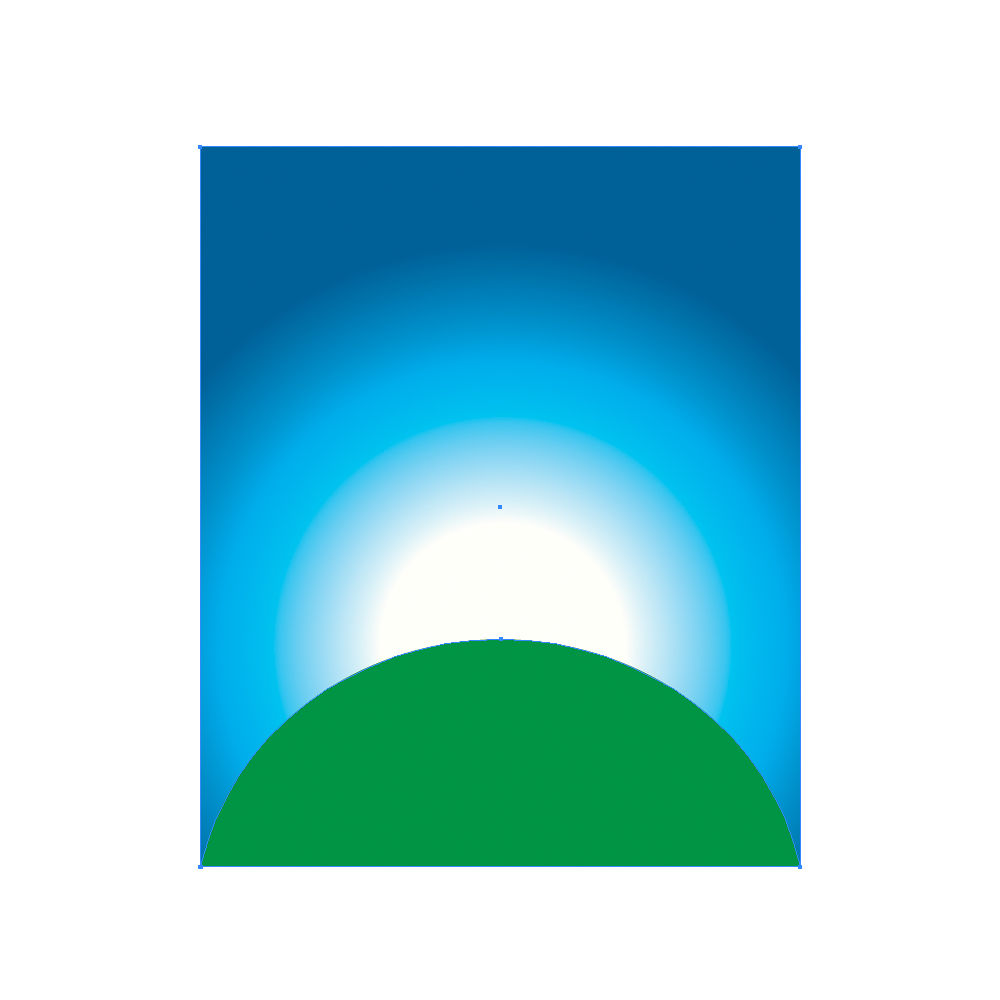
 Grab the Ellipse Tool (
L) from the Tool Panel and create an ellipse. Place it as it shown on the picture below.
 Duplicate (
 Ctrl / Cmd + C, Ctrl / Cmd + F ) the rectangle from the previous picture. Select both, ellipse and rectangle and under the Pathfinder Panel hit the Intersect button.
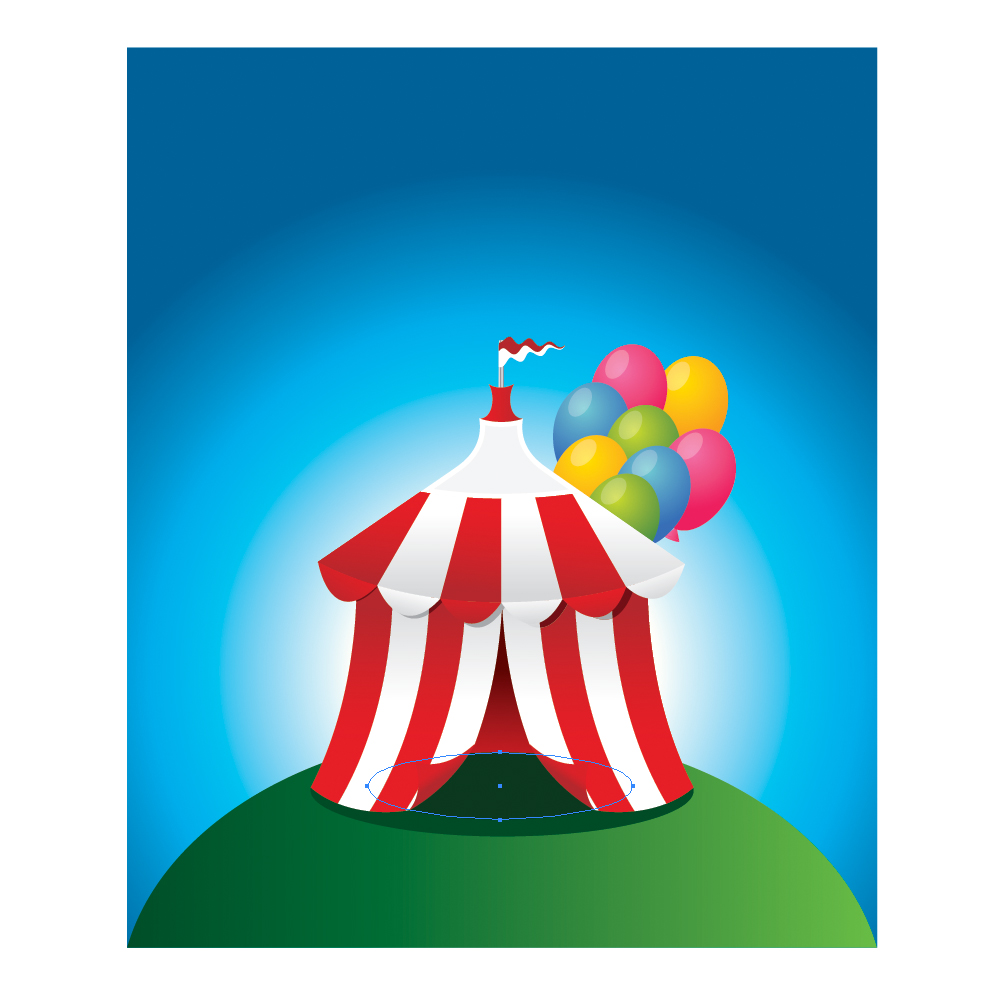
 Let's place our circus tent and balloons on the hill. We will have to create few more details in order to improve our illustration.
 We have to create shadow that tent cast on the grass. Grab the Ellipse Tool (
L) again and create two ellipses.
Set the Fill color of the larger ellipse to #004B25.
 Set the Fill color of the smaller ellipse to
 #0C381E.
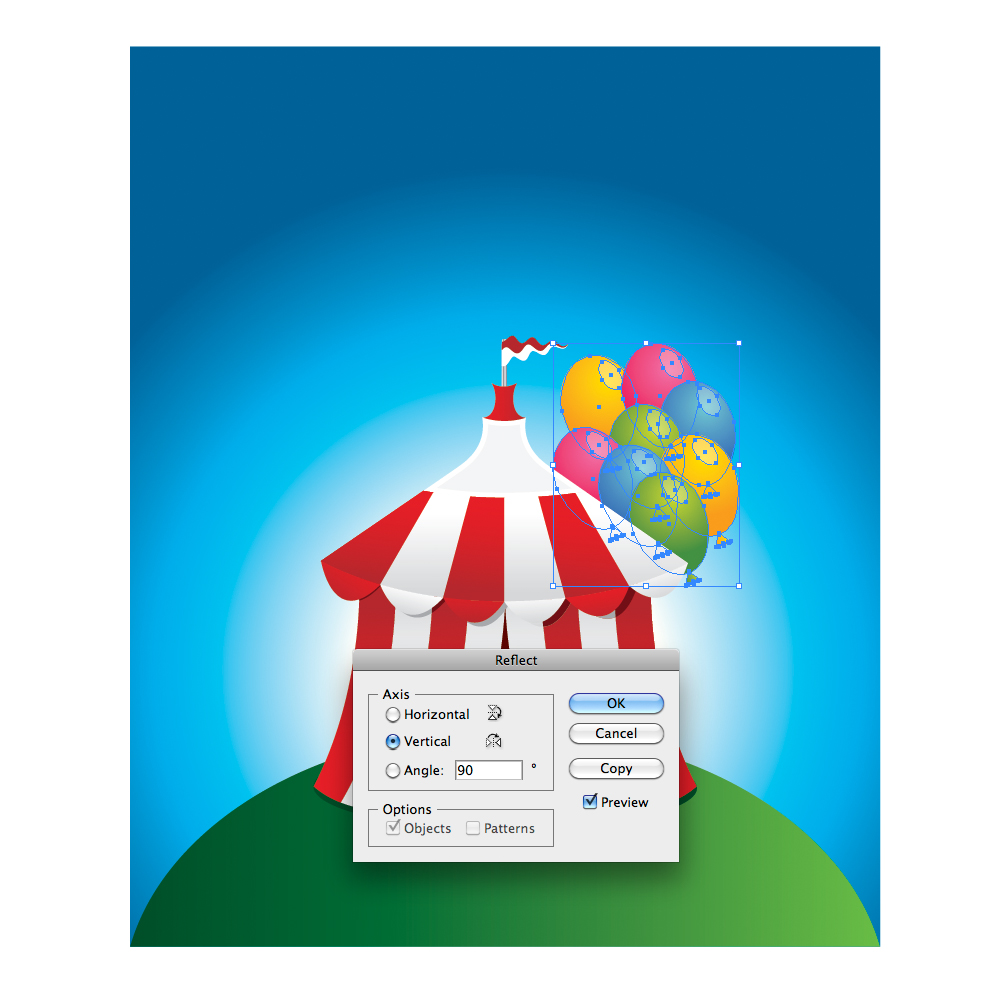
 We will create the mirror image of the balloons. Select the group of the balloons and under the Object select Transform > Reflect. Set the Axis to
 Vertical and hit the Copy button. Move the reflected balloons to the left.


Creating Clouds
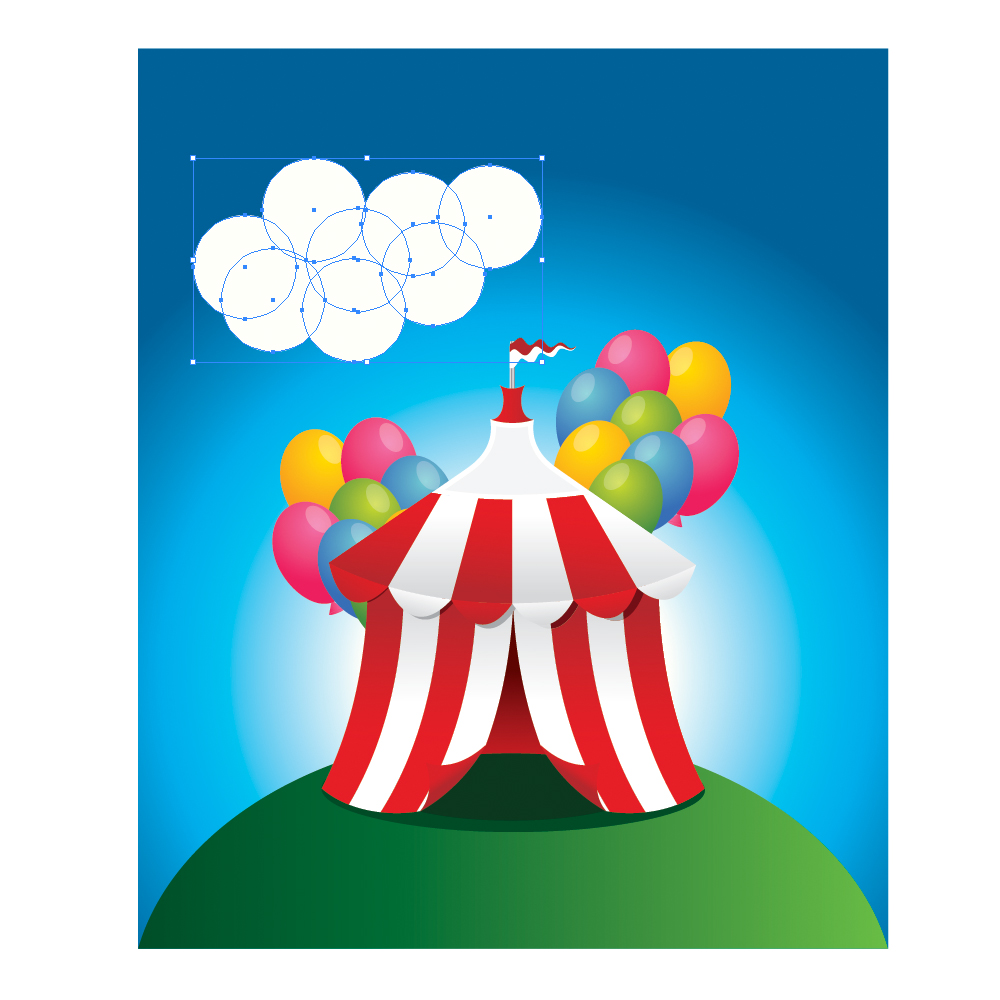
Let's create few cute clouds. Grab the Ellipse Tool (L) from the Tool Panel and create many overlapping circles.
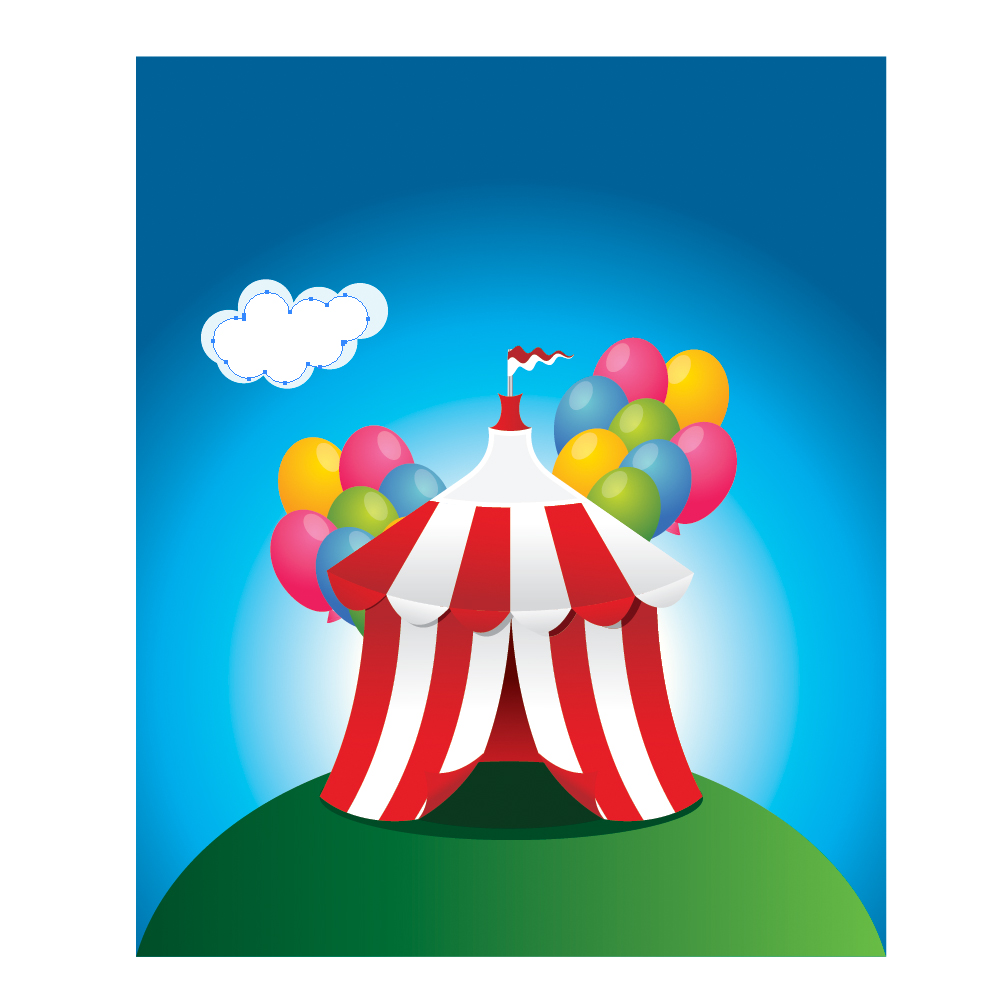
 Select them all and under the Pathfinder Panel hit the Unite button. Set the Fill color to
 #E6F5F9. Duplicate the cloud ( Ctrl / Cmd + C, Ctrl / Cmd +F ). Scale down the cop of the cloud and set the Fill color to white (#FFFFFF).
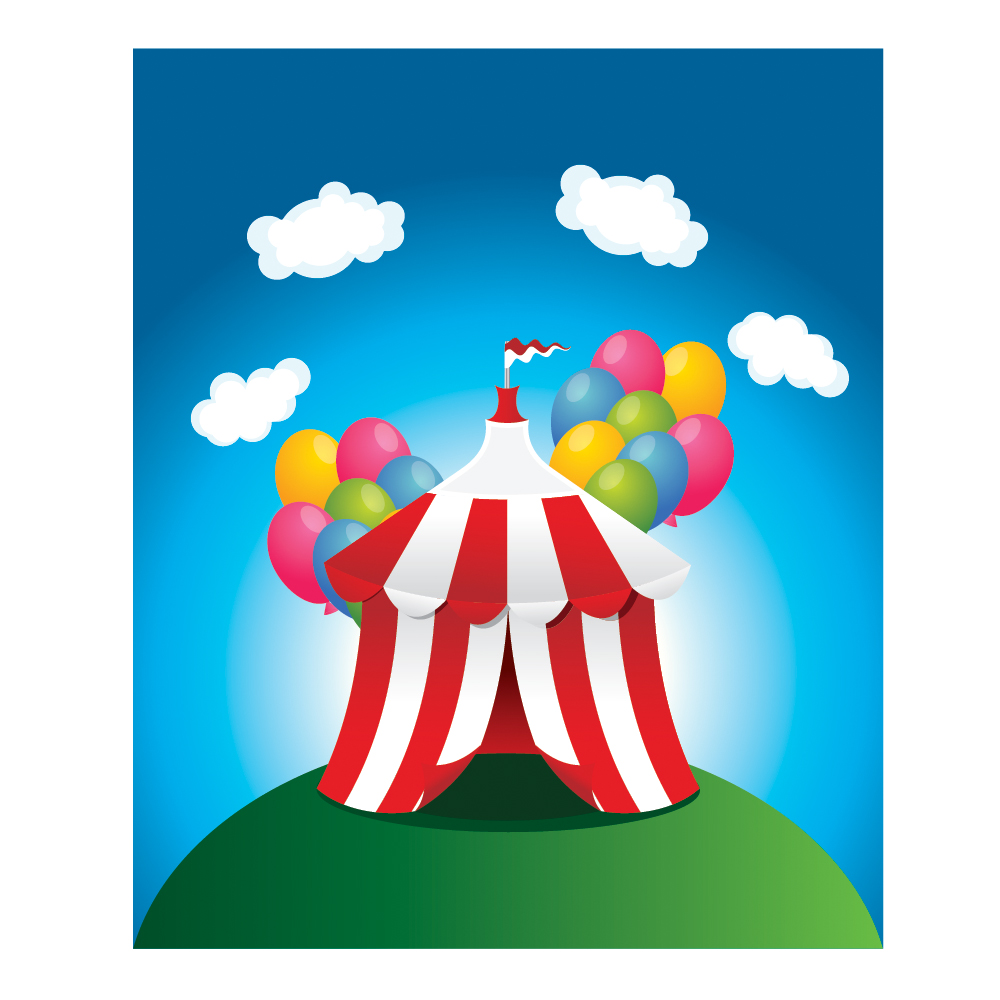
 Using the same techniques create few more clouds.
 Just few more flowers and...
 ...Voila! We are done.
Feel free to create the circus tent in different colors.


Nice tutorial: i have the perfect purpose for this one!
Nice tip for a colorful Adobe Illustrator creation! Have you heard about how to package Adobe Illustrator files?
Awesome tutorial! Thank’s a lot to share it!
Glad that you are enjoying the tutorial!
Noupe Editorial Team
Superb tutorial.
Thanks for this tutorial, this is great and I have passed over to our new trainee developer to give it a try. This has been a great help as we have a new project starting next year with a European Circus company.
wondraful tutorials… great work..
thanks a lot….